As I continued the construction of the Nenana Depot kit, two problems prompted a solution to having a removable roof and second story. After completing assembly up to Fig 15, I attempted to dry fit parts E1, E2 and E3 per Fig 24. I had not yet glued the ceiling or corbels to the lower walls. The steps below are illustrated by the attached images.
1. For whatever reason the positioning tabs on parts F8 and F7 and F7 did not line up with slots in roof sections E1, E2 and E3. The slots appear about 3/32" offset toward the end of the platform. The easy fix is to remove the offending tabs and more complex fit is to cut new slots.
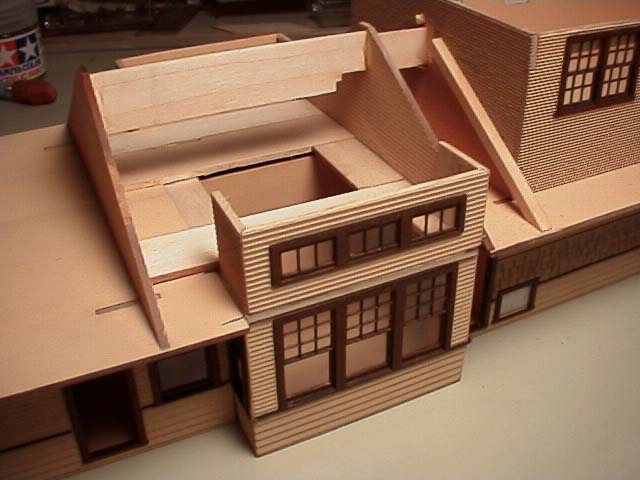
2. While dry fitting, I was not satisfied with the lack of clearance between the clerestory window trim and the shakes on the roof over the office bay and rest room bay. The solution is to cut the clerestory wall sections flush with the top of the first story walls and then extend them up about 8 scale inches. The solution to the removable roof riddle is now at hand since the lift required is the same thickness as the ceiling material from F1, etc. Use scrap material from the kit ceiling sheet and bridge the gap between the Waiting Room ceiling and the Freight Room ceiling securing the two sections together while they are dry fitted to the first story walls. Be careful not to glue the ceilings to the walls below! Reinforce this joint with an oversized ridge beam and additional rafters added to the second story end wall, part C4.
3. Now attach the clerestory wall sections to the top of the filler ceiling sections and maintain them in line with the office bay and rest room bay below. Some final angle trimming will be needed on the short walls of the clerestory sections to properly fit the dormer roof sections during final assembly.
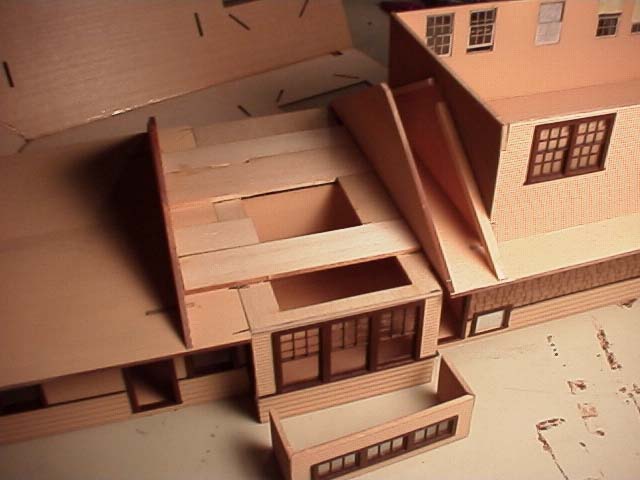
4. Slightly taper the top edges of the tabs sticking up from the first story walls. Harden these with ACC infused into the grain of the wood. After curing and a little filing, the tabs will form perfect alignment pins for your now removable roof and second story. As you complete assembly of the roof sheeting and add the shingles, keep the roof section setting on the first floor to ensure that everything remains square and true.