.
The Denali Business Car on the Alaska Railroad has a colorful
history:
http://alaskarails.org/fp/passenger/pass-retired/denali/denali.html
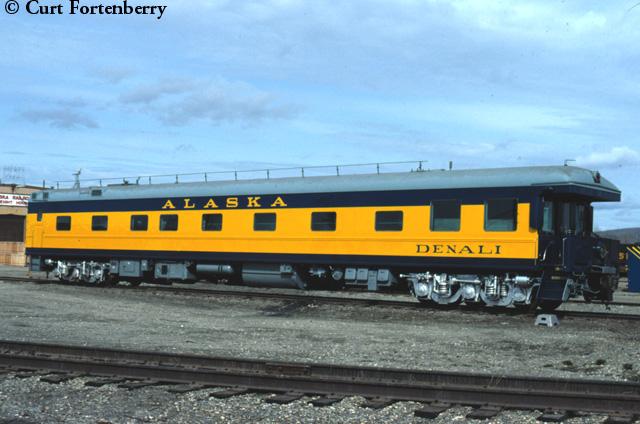
This photo by Curt Fortenberry is the basis for a 6 year project that finally has made its way out of the box.
Casey Durand, my son, started with a floor and roof and then scratch built the walls, platform and some of the underbody detail and it went into storage when Overland Models announced they were going to produce a brass model.
There were not enough pre-orders and Overland cancelled production. With all the research for that project in hand "Denali" came back to my bench where the roofline was finished and detailed. Many extra photos provided the detail for the underbody components that are so much of the cars presence.
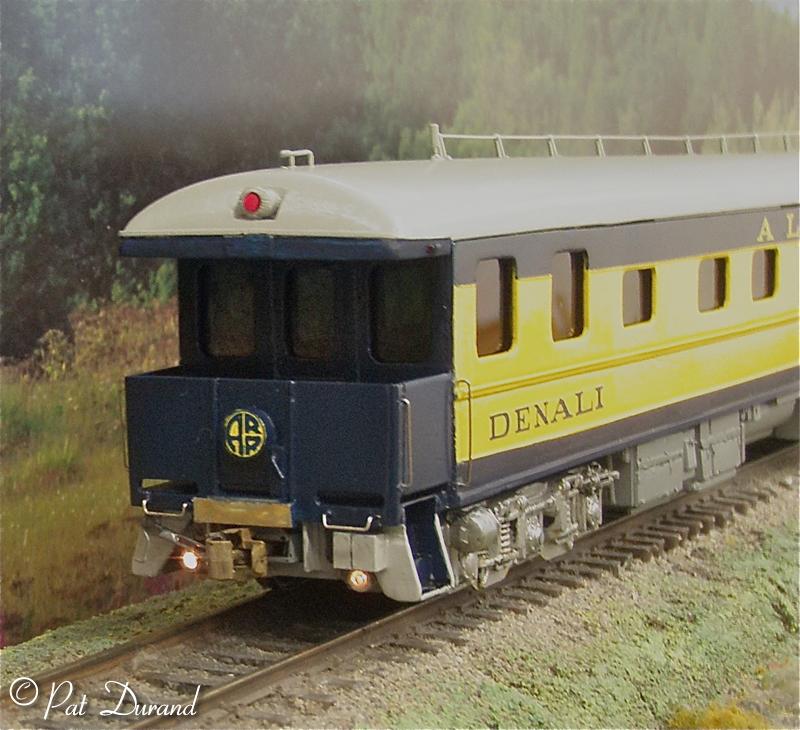
The roof is removable to reveal the interior walls and allow for lighting effects. A Digitrax DH123 decoder was installed to support the rear red light and clearance lights at the roofs edge when the car is moving forward. The ditch/rail inspection lights at the rear are protected by resistors but also can be turned off or their brightness controlled by the decoder. Interior light are controlled by the remapped reverse light circuit.
The original plastic trucks were modified to provide electrical pickup. Phosphor Bronze flat sheet was cut into strips the width of the tire. These were center drilled and super flex 29 gauge wire soldered in the hole. The truck bolsters were then drilled and the wire inserted from the bottom so that the flat bronze strip rode on the top of wheels 1&2 and 2&3. The wipers were adjusted with some down pressure providing both electrical contact and the bonus of "sprung" trucks with slight brake applications to keep the train stretched out.
While the trucks were off, the brake cylinders were replaced with larger units and some 6 other detail parts added to the truck side frames to update them to match proto photos. Kadee 118 couplers were modified by removing the shelves and then body mounted on both ends.
A Tainstation buffer was added on the kitchen end and the car negotiates 18 inch radius curves just fine.
The tinted windows were obtained by using clear acrylic sheet with automotive tint film applied over the entire sheet. After this cures for about a week it could be cut and trimmed to fit inside behind the window openings.
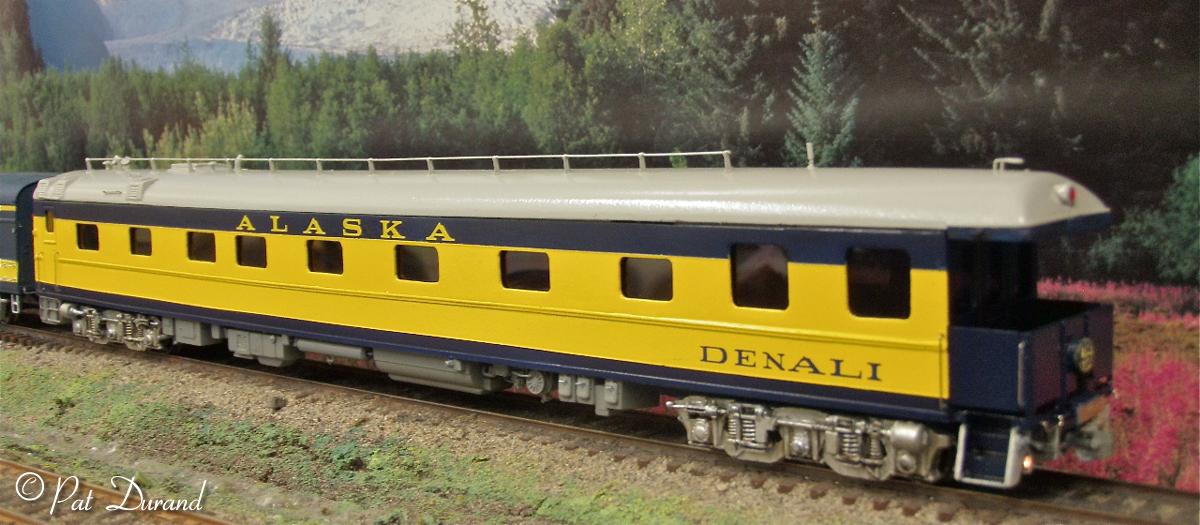
Thanks to Curt Fortenberry, the correct sized DENALI decal set is now available. I wanted the pre 1989 painted version and settled on the following paint combinations:
The Blue is PollyS BAR blue and is a good match to the Blue used on Atlas and Athearn ARR locomotives.
The Yellow is actual Alaska Railroad rattle can yellow mixed by the local Auto paint shop to their spec. If you do this have them add extra hardener so it dries faster and harder. Note this paint works fine on slab sides but not well where rivet detail is present.
The roof and ends of the 1971 to 89 vintage cars is ModelMaster Acrylic Light Dove Gray. DO NOT USE their rattle cans, but rather buy the one ounce bottle of Acrylic and cut them 25% with water and airbrush several light coats.
The underbody is PollyS 50/50 Harbor Mist Gray and Aged Concrete. I liked it and you can be creative as well.
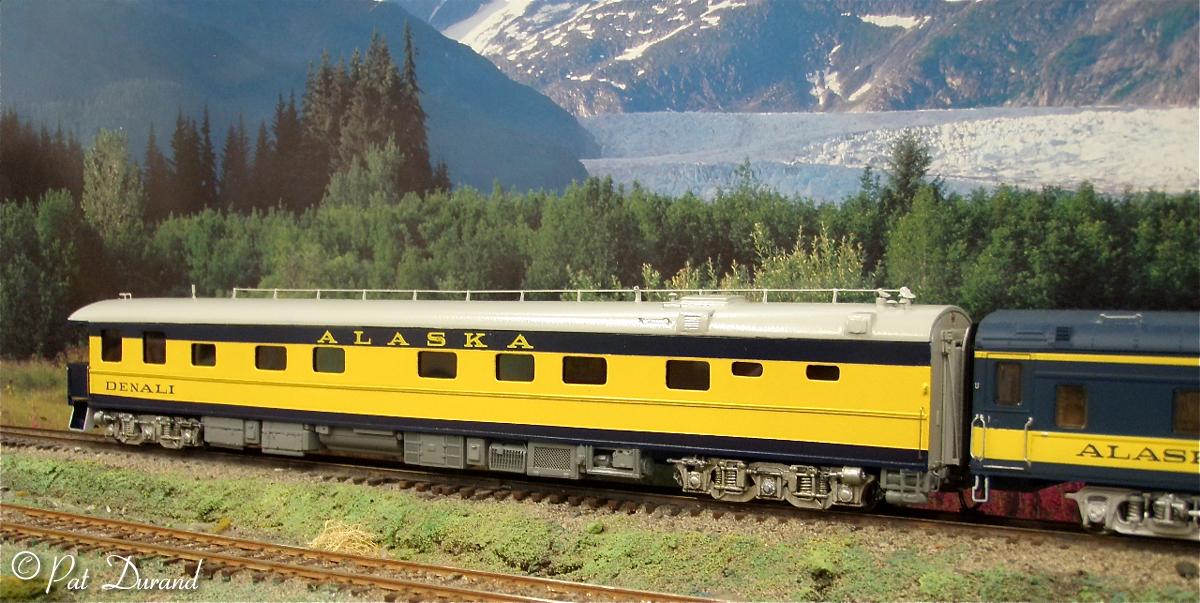
We caught the Denali on two trips over the South Glacier Bridge. In the first view she is following a former UP car painted in the post 1989 paint scheme with the dark blue and two yellow strips.
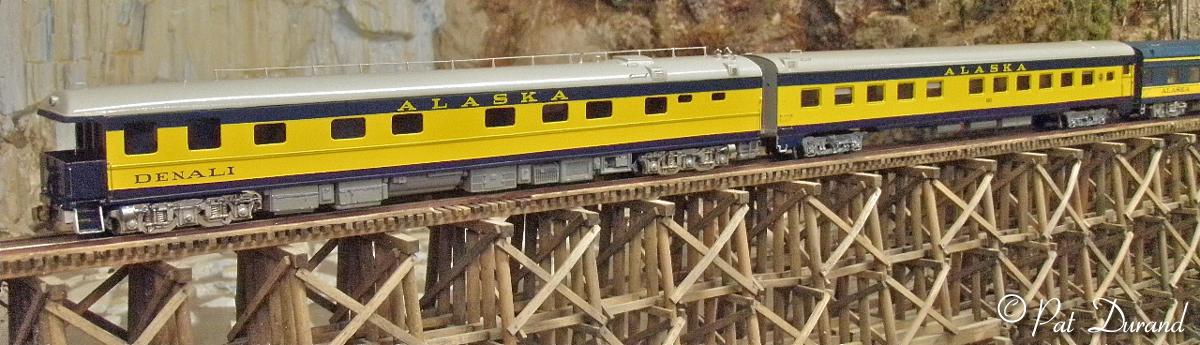
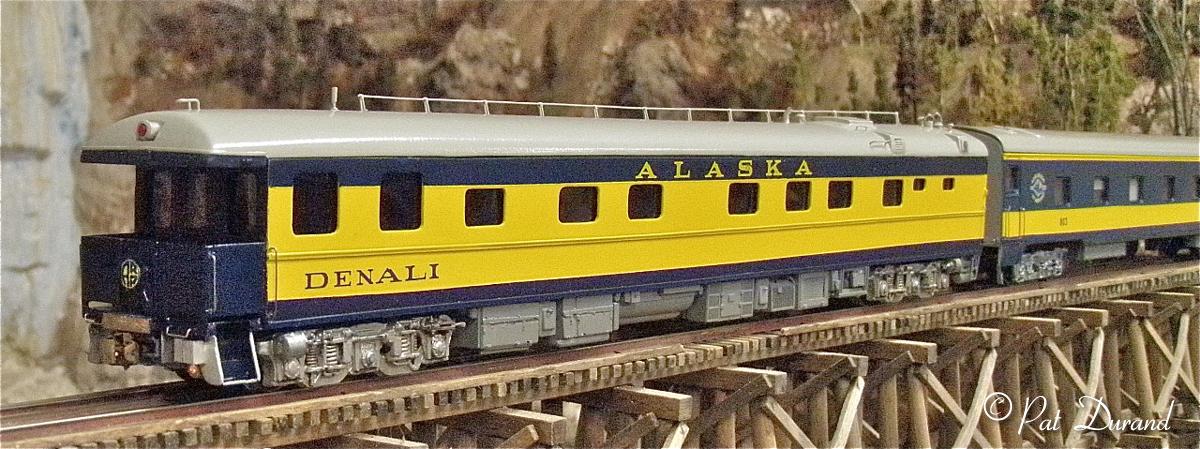
In this second shot she is following a UP car in the 1971-89 paint scheme to match the Denali. The car number in both cases is 803, a number that might have applied to three compartment sleeper cars if in fact they had ever operated on the Alaska Railroad. The did not in this era. I painted the opposite sides in two different eras to experiment with the paint and "expand" my fleet for photo sessions.
I think Casey and I have this down now. He does the fabricating and I do the paint and details.
Have a great day chasing trains.
Pat Durand
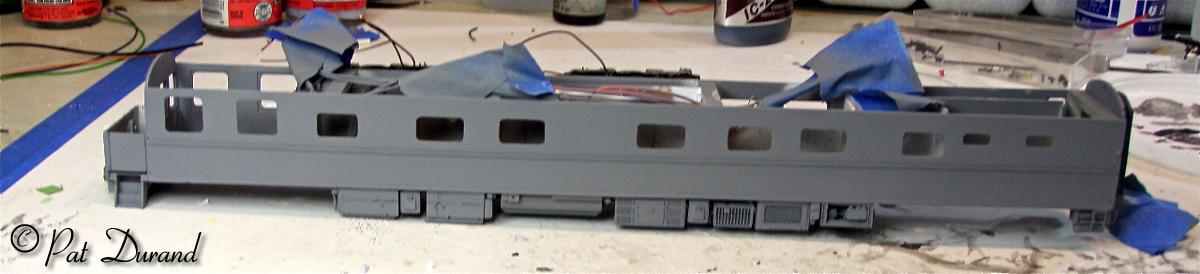
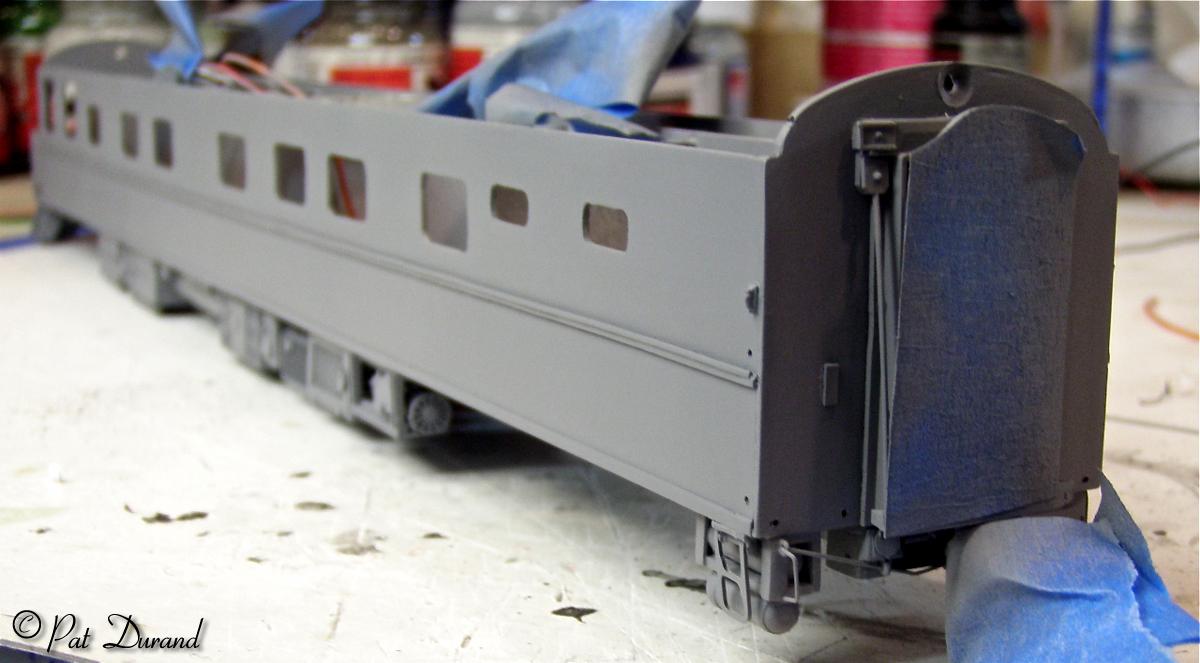
Denali in the works:
"I have the first primer coat on the Denali. A few little touchups and then I am committed to the final paint job. Put a DH123 decoder inside. The ditch lights are hooked up to the orange and gray throttle wires so they can be dimmed or made brighter up to the limits of the resistor. The red tail light and markers are hooked up to the white forward light but can be programed to stay on or be turned on and off with direction. The yellow function wire is hooked to two subdued interior lights that can be turned on or off through the decoder. This gray will be the underbody color. Already have the roof painted in a lighter dove gray and the vestibule end is already painted that color also. Next is to mask and paint all the blue.