November 6, 2019
 |
|
 |
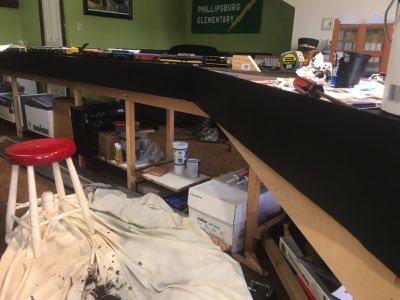
| Over the next week I worked on the newly mounted fascia. Before painting I spackle the joints between the fascia boards and sand lightly once it dries. This generally took two or three iterations each requiring 24 hours drying time. |
After doing a little research I chose black paint for the fascia as it kind of disappears and allows focus on the layout. Using a paint roller is preferred to avoid brush strokes caused by paint brushes. I applied two coats allowing each to dry 24 hours. I'd be lying if I said I didn't get paint all over my hands. |
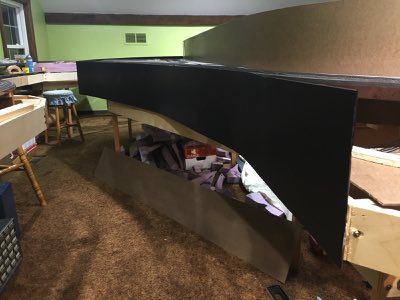
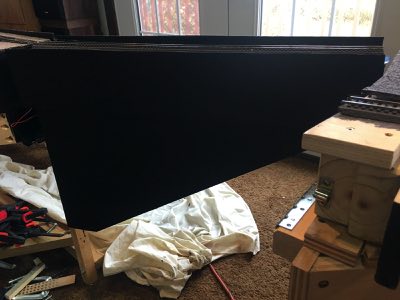
This photo was taken after two coats of black paint on the fascia board at the Anchorage depot and APU. Since top side foam board is not yet in place I was also able to paint the top third of the opposite side of the fascia board. This was a huge bonus! |
 |
 |
|
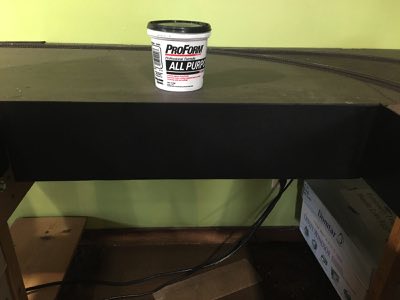
| The painted fascia board on the APU as it curves to the south. I did use a drop cloth and was surprised to find paint rollers drip from time to time. Just ask my black spotted white socks. |
Moving past the APU we see the painted fascia board heading north past Alaska Marine Lines. |
With Veterans Day on the horizon the theme for our train night dinner was "honoring veterans" featuring red, white and blue tablecloth, dishes, mini flags, balloons, fruit salad and cookies. Barbecue and French fries were on the menu as well. We also offered a word of thanks and round of applause to Leigh for her service to our country through the United States Army. |
 |
 |
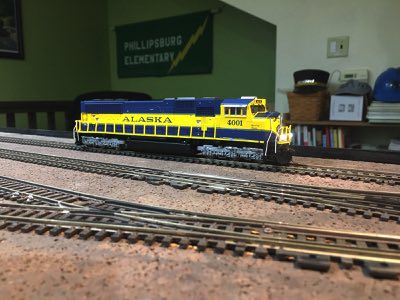 |
| Rick has plenty of surprises for us tonight. He upgraded SD70M #7002 to RailPro/Keep-Alive/iPhone speaker, installed LED ditch lights plus painted and installed hand rails. The actual EMD demo locomotive was evaluated by the Alaska Railroad which lead to the eventual purchase of 28 SD70MAC/SD70M-T1s. My good friend engineer Frank Dewey did the test evaluation of #7002 and found it could hold up under anything Alaska could throw at it including extremely cold temperatures. |
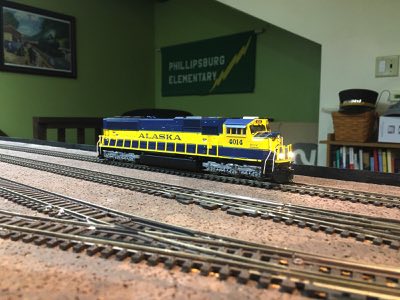
Rick also upgraded SD70MAC #4014 to RailPro/Keep-Alive/iPhone speaker and installed LED ditch lights. |
Finally, Rick upgraded SD70MAC #4001 to RailPro/Keep-Alive/iPhone speaker and installed LED ditch lights. |
 |
 |
|
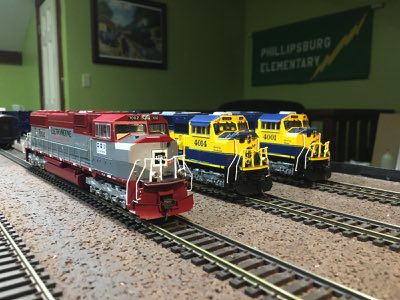
| Here are the three SD70MACs together. Rick is finishing work on one more SD70MAC at home. Maybe we will see it next week? |
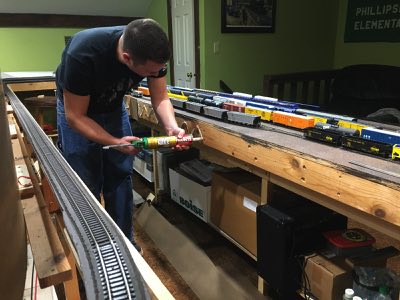
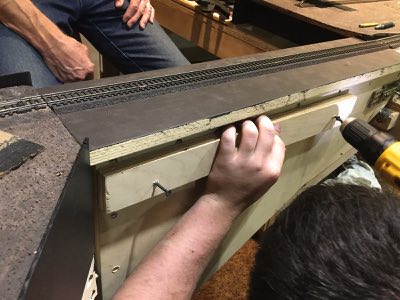
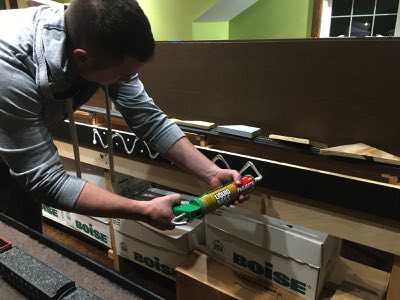
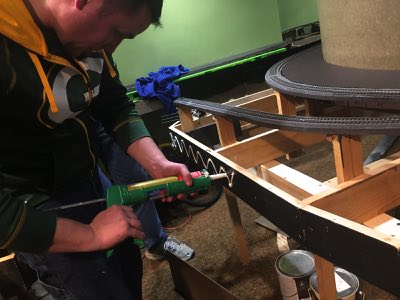
LJ applies Liquid Nails to the bench work along the eastern section of the Anchorage yard. |
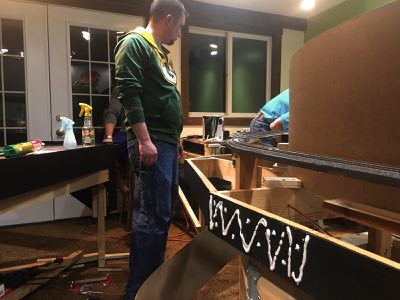
LJ and Rick place fascia along the yard. The two 8'x6" sections fall short by several inches so a short segment is added. |
 |
 |
|
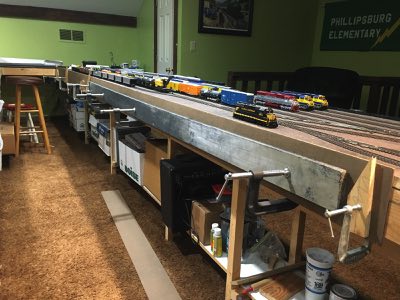
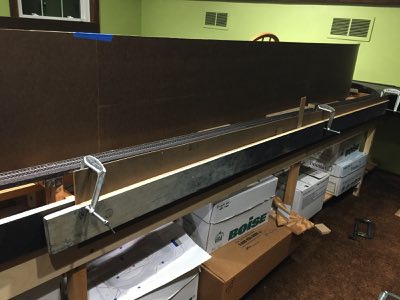
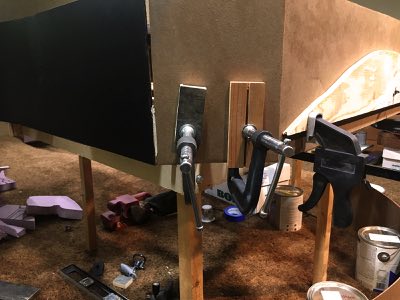
| All clamps are in place along the eastern section. I will spackle and paint these in a couple of days. Next week fascia will be placed at the northern end of the Anchorage yard as well as the swing gate. |
This month marks the second anniversary of the HO scale Alaska Railroad at Clayton, Ohio. I am thankful for all those who have helped me achieve my dream and look forward to what the future will hold! |
|
November 13, 2019
 |
|
 |
| Again, over the next week I worked on the newly mounted fascia. Before painting I spackle the joints between the fascia boards and sand lightly once it dries. This generally took two or three iterations each requiring 24 hours drying time. Next, I painted the fascia board with two coats of black paint. This finished the eastern side of the Anchorage yard. |
There is a continual learning process to each step. On fascia painting I discovered it was much easier painting the upper inside of the board with a paint roller before it was mounted than paint brush and paint guide later. |
LJ applies Liquid Nails to the bench work of the northern end of the Anchorage yard. Next, he and Rick put the fascia board in place and secure the clamps. |
 |
|
 |
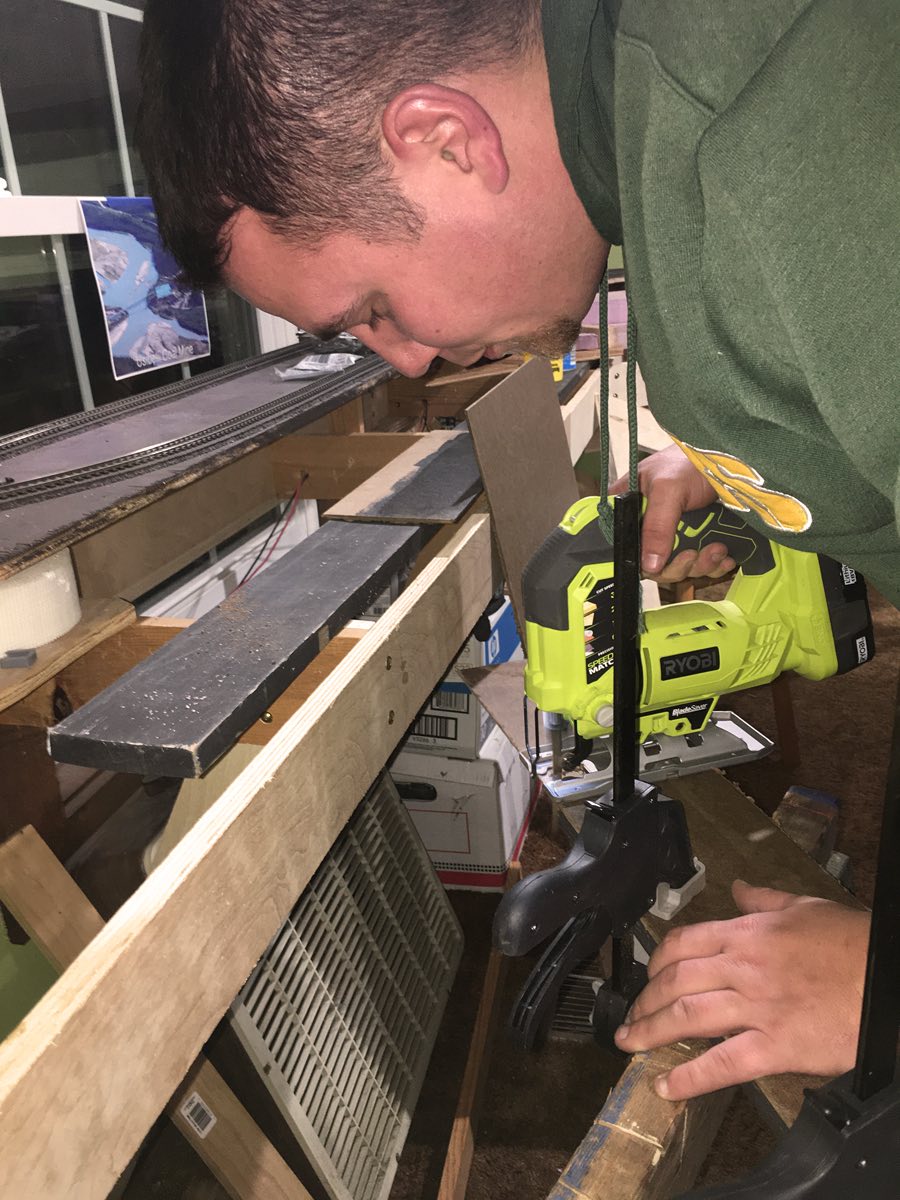
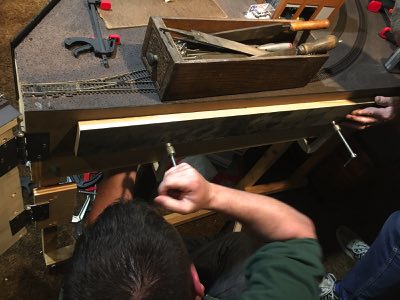
| Using a hand saw Rick notches the fascia board for the hinge of the swing gate. A rasp file and sand paper finish up the edges. Success! Everything fits nicely into place. |
LJ uses a jigsaw to cut the fascia board sections for the swing gate. |
The plywood road bed is wider than the swing gate itself. Therefore, a board is added to the swing gate face so the fascia board has support underneath. |
 |
|
|
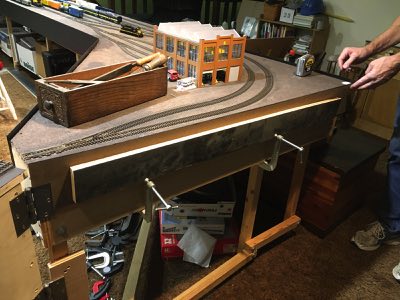
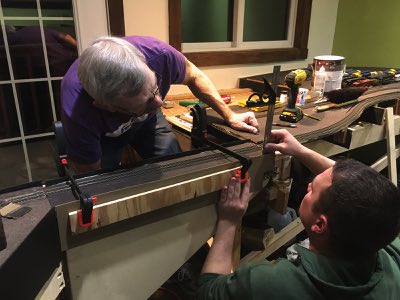
| LJ and Rick carefully add fascia on both sides of the swing gate. Multiple measurements and adjustments are made to ensure everything lines up correctly. |
Using the deeper clamps Rick brought the fascia board are secured in place. Rick uses paper towels to wipe away excess glue. |
|
November 20, 2019
 |
 |
 |
| During the week John continues to paint the fascia. |
The northern Anchorage yard fascia receives two coats of paint. |
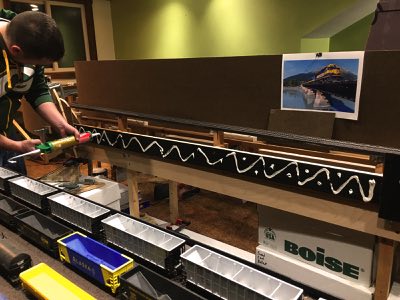
The swing gate fascia as well as the gate itself receives two coats of paint. |
 |
 |
 |
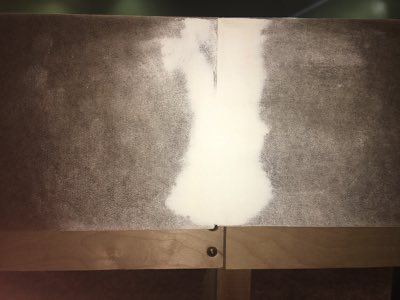
| John applies spackle where Anchorage Sand and Gravel (AS&G) and Anchorage yard fascias meet. Once the spackle is dry John sands it smooth and then two coats of paint to the AS&G fascia. |
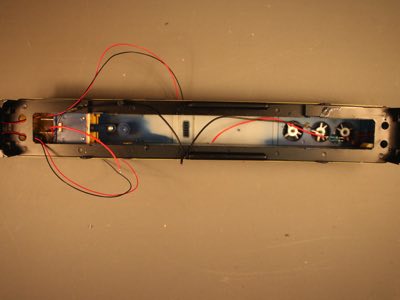
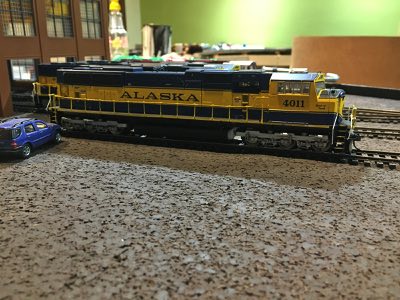
Rick continues to work on SD70MAC #4011. Here is the shell with front and rear LED headlights and ditch lights installed. LED current limiting resistors are installed in top of shell out of the way of the RailPro decoder. |
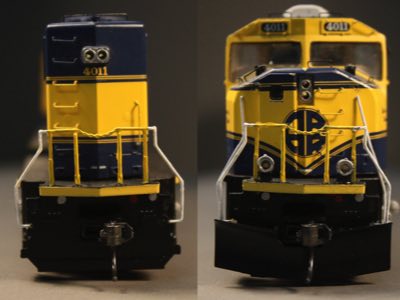
The ditch lights are installed and look great! Also, the front and rear handrails are installed on shell. Finally, the front handrails are painted by hand. |
 |
 |
 |
| LJ and Rick take the remaining sheet of fiber board and measure and mark it for cutting for the TwentyMile and Portage depot fascia. Both sides of the fascia are then sanded. No actual photos were taken ass hands were busy with the cutting process. |
LJ applies Liquid Nails to the first TwentyMile fascia segment. |
Next, LJ and Rick clamp the fascia board into place. The second TwentyMile fascia board will be mounted next week after the Portage depot fascia is in place. |
|
 |
|
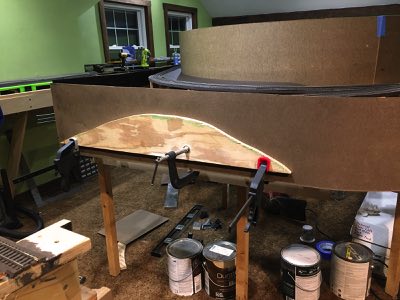
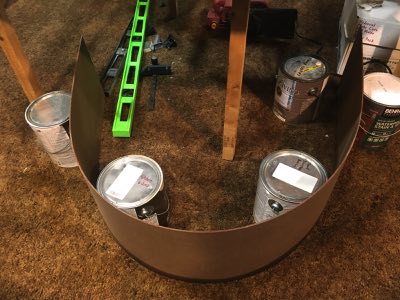
| The Portage depot fascia board needs bending to fit the curve of the table. John will spend the next several days wetting and slowly bending the board into shape. If it is bent too fast it will snap in half. |
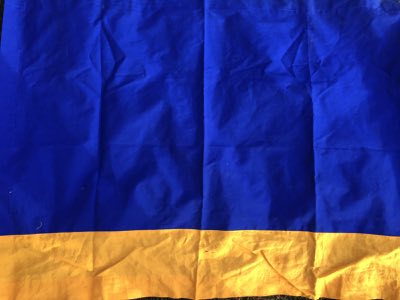
Terry made skirting (in Alaska blue and gold) for my old layout. We kept it and she is now reworking it to fit the front (Anchorage yard) of the layout. This will make for a beautiful first impression as folks arrive. |
|
November 27, 2019
 |
 |
 |
| After a dinner of "make your own mini pizzas" its time to go play trains. Rick shows off the final locomotive RailPro conversion with an interesting side story. The plastic hands rails and stanchions on SD70MAC #4011 disintegrated over the years. By an incredible coincidence Rick found HO scale metal stanchions he bought 20 years ago. He installed the stanchions, added hand rails and then applied a coat of paint. An incredible and exciting bit of modeling indeed! |
The garage becomes a dust bowl as LJ, Rick and John cut more fiber board and then sand both sides to remove the slick finish. LJ applies Liquid Nails to the Portage depot area. |
Rounding the corner and heading south LJ applies Liquid Nails to the north section of TwentyMile bridge. |
 |
 |
 |
| A rounded corner leading into the Portage depot is impossible so a short fiber board section is added. |
LJ and Rick mount the fiber board for the fascia for Portage depot. Scrap wood is used is ensure the clamps do not leave circular marks on the fascia. |
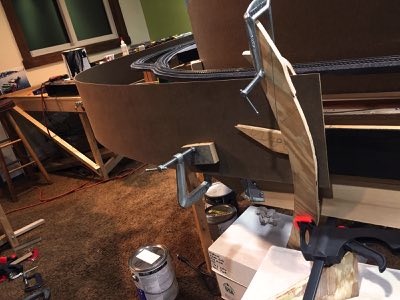
The work I did curving the fiber board over the past week scores a bull's-eye as it fits perfectly. Clamping this section is very tricky and requires a bit of funky creative thinking. |
|
 |
 |
| Whew! The crew breaths a sigh of relief as the curves and clamps come together perfectly. |
LJ applies Liquid Nails to the TwentyMile fascia segment. |
LJ and Rick have the process down pat and quickly secure the fascia with wood scraps and clamps. |
 |
|
 |
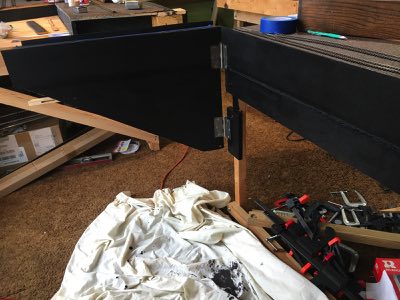
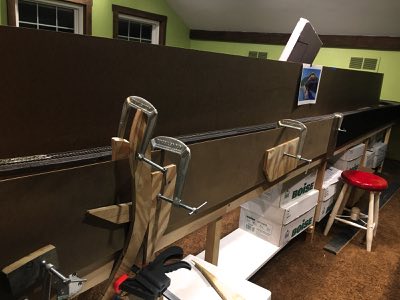
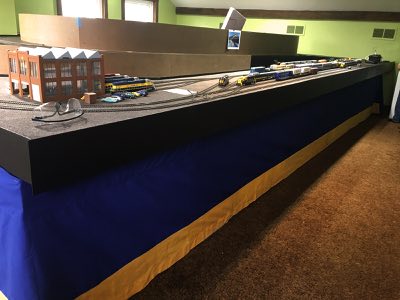
| We reach an incredible fascia milestone tonight as we join the Anchorage yard with the APU and Alaska Marine Lines. Two thirds of the fascia is now installed! However, several challenging curve sections still remain including the dreaded "S" curve. |
Computer expert Rick downloads the engine, bell and horn sounds for all the different locomotives into the RailPro handheld controller. Each locomotive will require these sounds to be downloaded from the controller. |
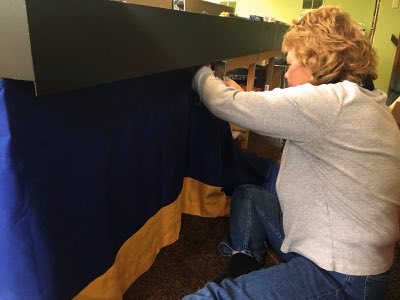
Terry invested lots of hours into the old layout skirt. Seams are ripped out, all the panels are sewn together and wrinkles are removed with the hot iron treatment. The finished product is put in place with a staple gun. |
 |
 |
|
| What an eye popping difference the table skirt makes! |
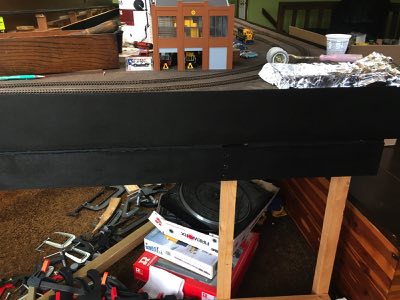
John spends the next several days slowing curving the next piece of fascia. This fascia will join Alaska Marina Lines with the Furrow Creek double track. |
|