 |
 |
 |
| Even though he is working 55 hours a week Mikel Levine still finds time to work on TwentyMile Bridge in his home in Denver, Colorado. The detail of his work is absolutely incredible! "I got some time to work on your bridge the end of last week. It was nice to be able to sit down and work on it." |
Mikel says of his work of art, "I have one span almost complete. The bottom needs some cross braces added. The second span is almost complete. The third, fourth and fifth spans still need the outer portion of the span detailed. That entails drilling 924 holes and adding some rivet detail After the spans are complete, I can begin working on the deck and ties." Absolutely amazing! |
The completed bridge will be 48 inches long, 3 inches wide and 1 5/16 inches deep (from bottom to top of rail). Mikel attached two pdf's of the cad drawing of the piers (1, 2). "The dimensions are close but reality will dictate the final dimensions. I think it will be close enough to get you started. The pier parts are estimates as I just sketched them out today to give you an idea." |
 |
 |
 |
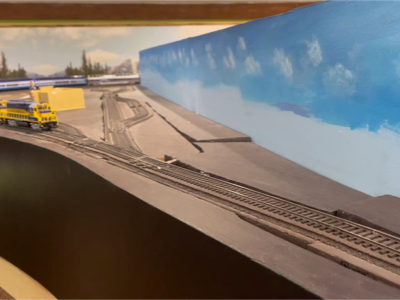
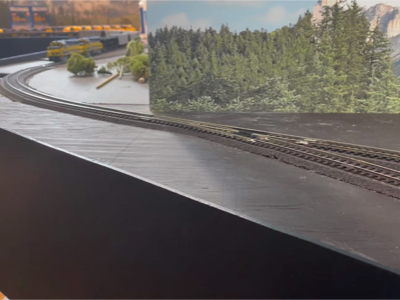
| David returned Monday after a two-week hiatus of looking after his fever stricken son. He lovingly gave sky and clouds on the inner scenery backdrop at TwentyMile Bridge. We chatted about music and David learned I have recorded over ten hours of music I composed on a small recording studio. He is determined to bring it to the light of day. |
Finished clouds and sky at TwentyMile Bridge. It will be extremely exciting once he begins painting the land forms. |
Finished sky and clouds at double track. On his next visit David will complete the remaining sky at the north end as well as Flint Hill Refinery. |
 |
 |
 |
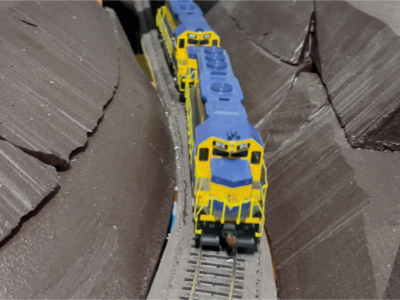
| As most model railroaders know keeping the rails clean is a very important task. With 256 feet of mainline it would be hard for me to do this by hand. Thank goodness for my CMX Clean Machine Track Cleaning Car! I load it with mineral spirits and install a fresh cleaning pad in preparation for a couple of loops around the layout. It generally takes two locomotives to pull this heavy car so I turned two heritage units loose much to the delight of railfans. |
Once the track is clean I run the entire fleet one at a time around the layout at a very slow speed. Almost all of them run without pausing. Those who give an occasional burp are bad ordered to the Electrical Wizard for upgrading. |
The Lorax would be proud as Jackie and I have created 400 bumpy Chenille trees for the layout. Next up will be pot scrubber trees. |
 |
 |
 |
| Rick's goal for train night is to replace the main south Anchorage yard turnout with one he repaired. It took quite a bit of effort to dislodge the turnout from the paint plus unsolder the joiners. |
Rick installs the new switch, solders the joiners, taps in the rail nails and positions the Tortoise spring wire. The switch points work smoothly. Success! The Tortoise machine is held in place with two screws. Rick glues some wood underneath in place and uses wood blocking to keep pressure on the area. Next week he will have some additional structure to install the remaining two Tortoise screws. |
Numbers 1500, 1517 and P31 pause intermittently as they traverse the layout. Rick cracks open the locomotives and finds the Proto 2000 trucks loose connectivity by the way they are designed. Upgrading these units is no problem for the Electrical Wizard! |
 |
 |
|
| In the words of the master, "I just finished testing. I had only done the rear truck and that was the picture I sent (the bottom plate is removed in the pic). Front truck was then done. It runs very well. I was able to run it at 10% and it did not stop." |
"The attached pic shows the truck disassembled. The four arrows point to where the jumper was soldered. The other end of the jumper was soldered to the axle bushing. The red and black wires in the picture route power from the truck to the PC board that the RailPro 9-pin harness is wired to. Each truck has a red and black wire connected to the PC board. All 8 wheel bushing have the jumper wire which provides very good power transfer." |
|


