 |
 |
 |
| Foam board cut the previous week received a coat of brown paint. Once the paint dried the foam board was put into place. The only remaining foam board is the segment between Flint Hills Refinery and TwentyMile bridge. Most of this is in place, but needs quite a bit of fine tuning before receiving a coat of paint. | Cleaning 260 feet of mainline, some of which is not easily accessible, can be quite a challenge as well as exhausting. I bought this Centerline Rail Cleaner over 25 years ago and decided to let it run while I worked on other layout projects. Eventually, I am going to put a crowbar in my wallet and cough up some big dollars for the CMX Clean Machine. | Imitation is the sincerest form of flattery. While staying at retired ARRC employee Curt Rudd's home in Anchorage my wife Terry fondly gazed upon their blue and yellow five gallon buckets filled with Marigolds. This past week she fielded the same on the balcony outside the train room. Please forgive the distortion of the panoramic photo. She also has planned two vintage metal rocking chairs, one in blue and the other in...well, you know. |
 |
 |
 |
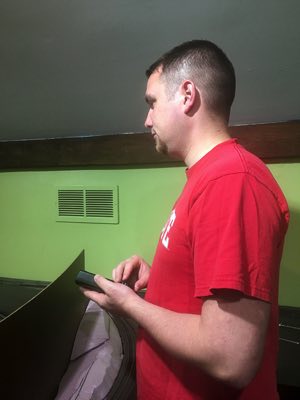
| While in Ohio's Hocking Hills region we spotted little balls of moss growing out of an old industrial road. Deciding they looked like little bushes we brought them home and placed them around the diesel shop. While Terry was in the train room this past week she gathered them up on a plastic tray and placed them on the balcony to enjoy the rainfall. Now fully rehydrated they are ready to return to to the diesel shop. If I had the skills I would make little ARRC concrete flower planters for them! | Rick spent most of the evening testing locomotives. Since he removed the Keep-Alives several weeks ago almost all the problems seem to have vanished. Currently he has tested 9 of the 24 locomotives and found only 1 in needing of module replacement. | After a few lessons from Rick on RailPro Assistant Software John spends the evening transferring the icons he created to each of the handheld controllers. Once all the icons are transferred then custom sounds (engine, bell, horn, etc.) will be transferred to each locomotive's RailPro module. |
 |
 |
 |
LJ spent a great deal of his evening on the floor under the tables checking for locations where foam board was lacking support. He uses wooden risers to support fiber board "shelves" for the two-inch foam board. |
LJ reaches a major milestone by installing the last of the support structure. All foam board is now in place and has the proper support. |
For his final task of the evening LJ fastens the wrought iron holders for the handheld throttles. The holders also provide a nice charging station as well. Tonight LJ finished all his projects so he will spend all upcoming weeks running trains! |
 |
 |
|
Terry and Leigh enjoy a rockin' train night painting amazing artwork on smooth stones. Each of our four grandsons will receive a hand painted stone. More stone painting is on the horizon and it was reported some of them will be placed in geocaches. |
John begins the huge task of weighing freight cars. Proper weight will promote a smooth ride and also prevent "stringlining" of curves. NRMA states a 6 inch car should weight 4 ounces. Each additional inch in length requires an additional half ounce. | Almost 200 freight cars will require measuring and weighing although duplicate cars will cut this number down significantly. Weighs will be added when required. Boxcars will be easy, but cars such as hoppers will require some disassembly before placing the weights. |
 |
 |
|
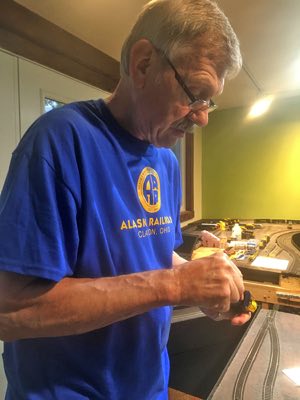
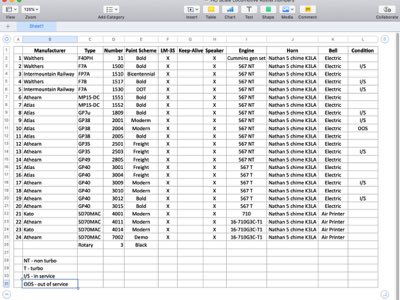
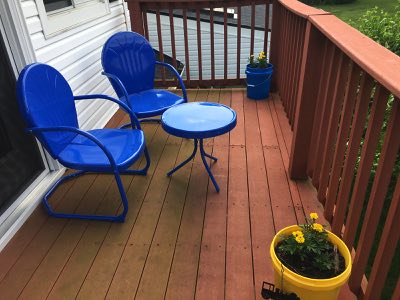
| Half my freight car roster (108 units) is unboxed and on the rails of the layout. Over the past week I've spent a multitude of hours checking coupler height as well as measuring and weighing each of them. I created a spreadsheet which shows all details plus a column showing how much weight needs to be added to each. I've had no problems with stringlining across curves so adding weight is not a high priority. | Terry spotted this beautiful Alaska blue table and chairs set at Menards and purchased them for the balcony outside the train room. This will be a wonderful spot to take a break and enjoy the beauty of nature. I mentioned to her about purchasing a yellow set for the other end of the balcony. We will see.... | After a phenomenal dinner of homemade pot roast, mashed potatoes, salad and bread we head up to the train room. With amazingly precise hands Rick disassembles locomotives to check for proper operations. Tonight he finishes with seven locomotives and next week will only need to check a final seven. Tonight one of RailPro modules fail testing and will need replaced. |
 |
 |
|
After spending two years cutting, drilling, hammering, wiring, soldering and crawling on the floor LJ finally reaps the rewards of his efforts by running trains on the layout. |
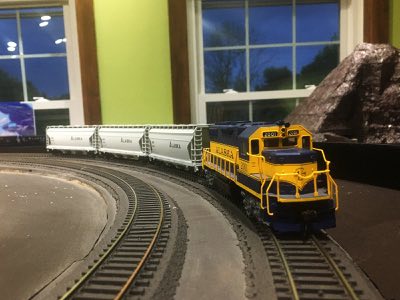
LJ selects GP38-2 #2001 to head up a three hopper consist. Lots of fun! We are all on the edge of our seats to see what locomotive and freight car consist he selects next week! |
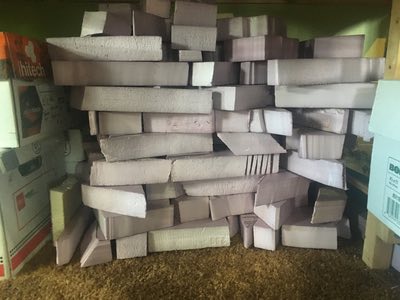
With foam board projects in the rear view mirror John neatly stacks the leftover foam blocks in a space under one of the tables. For the first time in two years the area under the APU and Alaska Marine Lines is empty! Some of these foam blocks will be used for the large mountain in the Tunnel Subdivision. John also gathered all wood scraps and stacks them under the table at the "dreaded" S curve. Time to run the vacuum cleaner! |
