December 6, 2019
 |
 |
|
| Ditch Lights: The green wire on the 9-pin end of the RailPro decoder is the ditch light control line. Both black (negative) wires of the two ditch light are connected to the decoder control line. The two red (positive) wires of the ditch lights are connected each to a resistor. The other end of the resistors connect to the blue (positive) wire of the 9-pin end of the decoder. The positive side of the front and rear headlight also connect to the blue wire. The ditch light connected as shown will blink at the same time. |
Ditch Lights: The left ditch light has been connected to the green wire (upper in photo) of the 6-pin end of the RailPro decoder. The right ditch light (lower in photo) remains connected to the green wire of the 9-pin end of the decoder. |
Ditch Lights: The Handheld Controller was used to modify the ditch light setup. The button was edited to use two control lines: Output 3 (green 9-pin), and Output 5 (green 6-pin). The ditch light file was changed to DitchRev2 (downloaded from Ring Engineering). |
|
|
|
| Taller fascia boards have very little strength and are prone to bending when pushed. Therefore, small pieces of fascia board are glued on the inside across side-by-side joints to provide strength. Corners are an entirely different matter. A 2"x4" board is cut at the appropriate angles and glued in place to serve as a brace. |
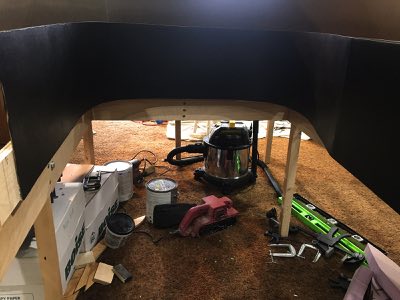
With an artist's flair Rick uses the hot wire to cut the northern foam board segment for the Portage depot. The cut tends to be larger than required and thus more foam board is removed after the test fit. Rick is very precise in his cuts thus a number of iterations takes place before the piece fits snugly in place. Little residual foam chips on the floor will be cleaned up by the janitor later in the week. |
LJ uses the jigsaw to make a cut for the southern foam board segment for the Portage depot. John holds the vacuum cleaner nozzle close by to pick up the foam board dust. Clean-up is essential since static properties of foam board dust cause it to adhere easily to clothing and thus carried out of the train room and throughout the rest of the house. |
 |
 |
|
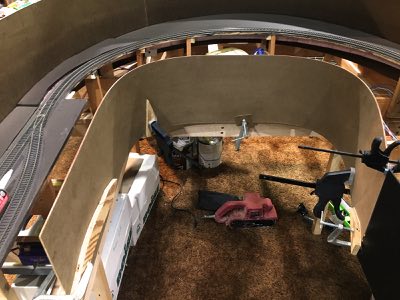
| Test fitting of the northern segment reveals it is too snug and must trimmed in various spots. |
After several iterations the northern segment fits snugly in place. |
After much cutting and gnashing of teeth both segments finally fit into place. Next week simple braces will be installed to hold the foam board at the correct height. |
 |
 |
|
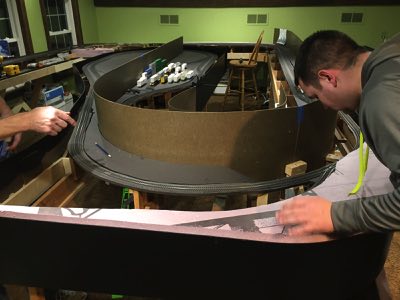
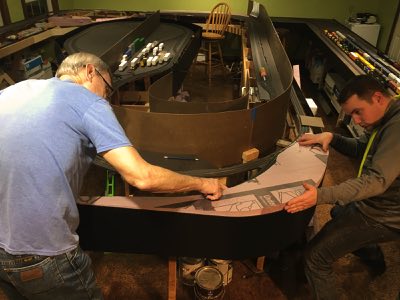
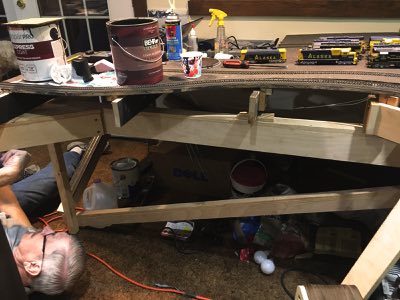
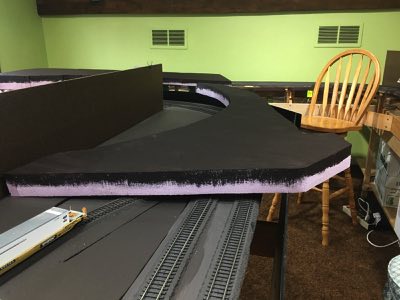
| LJ applies Liquid Nails to the curved transition between Alaska Marine Lines and the Furrow Creek double track. |
The pre-bent fiber board fits perfectly and is quickly clamped into place. The CEO bubbles over with excitement seeing the incredible progress. |
|
December 11, 2019
 |
|
|
| During the week John spackled and sanded the curved fascia north west of Alaska Marine Lines. Only one more coat of paint to go! |
To create a smoother fascia along the Whittier subdivision it was decided to remove a protruding L-girder support (circled in red). First, an engineering change order is submitted (just kidding!). Ricks installs a new cross piece underneath the structure. Next, Rick uses a hand saw to cut off the protruding point, |
The finished product looks good and does indeed facilitate a smooth surface for the Whittier fascia. Rick vacuums the carpet underneath to remove all saw dust and wood splinters. |
 |
 |
|
| In parallel with Rick's construction, LJ measures for the missing end braces. After locating a suitable piece of wood he heads for the balcony to use his new mitre saw to make the cuts. |
LJ screws each of the three missing end braces into place. With a smooth support structure in place the fascia can be installed. |
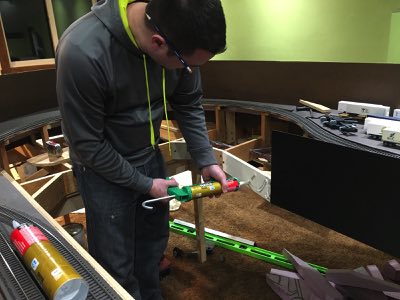
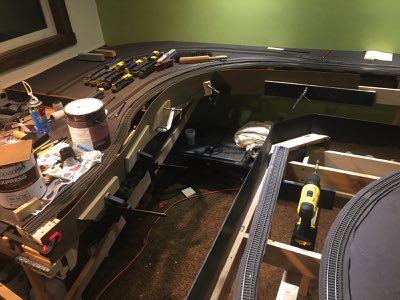
LJ applies Liquid Nails to the curved region of the Whittier subdivision. |
 |
|
 |
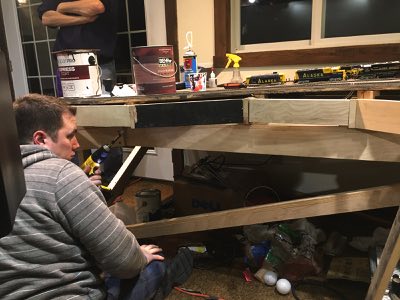
| LJ and Rick install the fascia board using scrap wood and clamps. LJ measures each area and they move the fascia up or down according to the required height. |
Paul returns to our weekly train night after a medical leave of absence. He paints four foam land forms cut from previous sessions. |
When Paul needs foam board a member of the team stops work and retrieves a piece for him. The top is painted with brown paint. The sides are painted about half way down so pink is guaranteed not to show when the foam board is in place. |
 |
 |
|
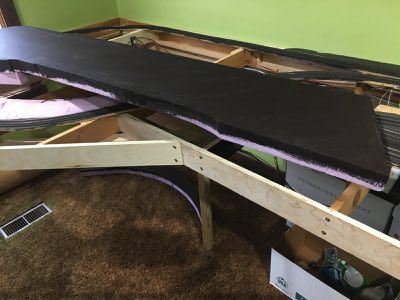
| After Paul finishes painting the Portage depot foam pieces they are placed on top of wood scraps on the layout to dry. The largest piece painted tonight is the land form for the Flint Hill Refinery (shown above). |
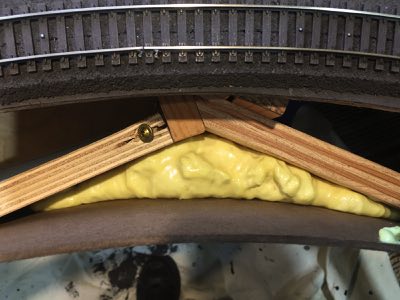
Two days later John removes the clamps and puts expanding foam in the gaps between the fiber board and wooden braces. Spackle is then applied to an area where the fiber board cracked. |
|