July 2, 2019
Dinner Whittier Whittier

Terry serves up an impressive dinner of meatloaf, mashed potatoes, peas, homemade bread and Jell-O fruit cups. The table is decked out in a patriotic theme in tribute to July 4th. Later on she serves up a delicious dessert of fruit pizza. Yum! Tonight my sister Jackie and brother-in-law Rick joins us. Rick is working to convert the locomotive fleet from DCC to RailPro.

Last week LJ finished wiring the Tortoises for the Port of Whittier. This week he programs the RailPro system for the new switches and runs F7A #1500 through all the switches and track to ensure all is working properly. Success! The mainline and all sidings and switches are now 100% operational.

Rick has been working on the sister unit F7B #1503 (not pictured above) and brought it in tonight. Rick and LJ confirm the RailPro LM3 and iPhone speaker work correctly. Success! Rick will now generate an order list of LM3s, Keep Alives, iPhone speakers and 8-to-9 pin convertors for the remaining DCC compatible locomotive fleet so they can be converted over as well.

Tom painting Tom painting
Paint

Tom begins painting track and cork using a 50/50 mix of water and camouflage colored paint. Eventually, ballast will be laid and if coverage is not perfect then this earthy tone will show through.

The paint color is based on a camouflage spray paint we used in initial trials. We feel in love with the color. Since over spray is a problem John took a paint sample to Lowe's who shot it with a laser system and were then able to provide a perfect match in latex. The latex is mixed with water and then applied with a brush.

Tom and John work together to paint the Whittier depot siding and mainline. The unpainted areas between the rails will eventually have a dark tan paint applied to simulate dirt.

LJ wiring
Painting
Painting

LJ spent most of the evening shortening and/or tying up all the wires under the layout. This will prevent wires being pulled out as storage boxes are pulled out or put away as well as encounters with Zeus's tail. Acrobatics under the L-girder tables is hard work and LJ does it without complaint.

John continues painting the rails through the entry point to the Port of Whittier.

Even though everyone else has gone home John continues to paint the rails. Thanks goodness for classic rock radio! Painting continues through the notorious "S" curve and finishes at Usibelli Coal Mine siding.


July 18, 2019
Blue board Blue board MP15

Rick's been busy at his home working on converting the locomotive fleet to RailPro plus adding Keep-Alives and speakers. He created a blue board which when mounted inside the locomotive will keep the speaker from falling into the drive shaft/universal joint.

Here is an example of the blue board mounted into F40 #31.

The MP15-DC does not have room for the RailPro module. Rick will need to remove the circuit board and hard wire the module in by hand. More on this in weeks to come.

GP40 GP40 GP40

A top view of two GP40s. The top unit has a RailPro module installed.

This side view of the GP40 shows the installed RailPro module.

Side view of GP40 with RailPro module installed and shell replaced (mostly).

3067 GP40 F7A

This GP40 locomotive shows the installed speaker and RailPro module. There is not room for a Keep Alive so Rick is installing it inside the weight set.

Side view of the GP40 locomotive. The weight set has a small silver cover. Rick will remove this and place the Keep-Alive inside.

Top view of the F7A. All items are installed. However, this unit needed the addition of a 21 pin board for connection of the RailPro module.

Painting track Cutting foam with hot wire Foam board

During the week John continued to paint the track and cork roadbed. Now mainline, siding and switches are painted from Whittier through Usibelli Coal Mine to Flint Hills Refinery.

Tonight is the beginning of installing foam board in all the gaps. LJ uses the Woodland Scenics hot wire to carve the foam board to the proper size.

LJ installs a small "shelf" to hold the foam board once it is put into place. Lots of planning and discussion took place on where and how future foam board would be installed.

1530 2503 31

Rick brought to life five locomotives tonight! Each one has a RailPro LM-3S module, Keep-Alive and iPhone 4s speaker. Here is F7A #1530.

GP35 #2503

F40PH #31

1517 4001 1500

F7B #1517

And yes an SD70MAC!

Number F7A #1500 was the original unit brought to life by Tom under the RailPro system. Now we have a total number of six operating. Rick is working on another five and plans on bringing two more to life next week.


July 25, 2019
1551 3015 Paint

Rick converted MP15 #1552 to RailPro over the past week. The test run proves successful although overall movement is temperamental and Rick suspects a brush may not be making adequate contact. Back to the shop!

Now that Rick has converted all DCC ready locomotives to RailPro (and Keep-Alives and speakers) the next challenge will be to do the same for DC locomotives. Of course, #3015 will be the first to undergoing the conversion! This 22 year old unit experienced deterioration over the years and Rick will replace degraded plastic mounting blocks complete with self made custom size screws.

John continues the painting process through Flint Hills Refinery and continuing on to the double track between Furrow Creek and W. Tutor Road.

Foam Foam  

Filling in the L-girder bench work with foam board continues with LJ making custom Dremel cuts on the underside of the board to accommodate wooden cross pieces. The going is slow and management is considering the purchase of a small portable router.

Creating a custom fit takes a great deal of time and patience. Each foam board needs to fit closely, but still have the ability to be removed so the limited mobility user can extricate it to work on scenery.


July 29, 2019
Foam cutting
Foam cutting
Foam placement

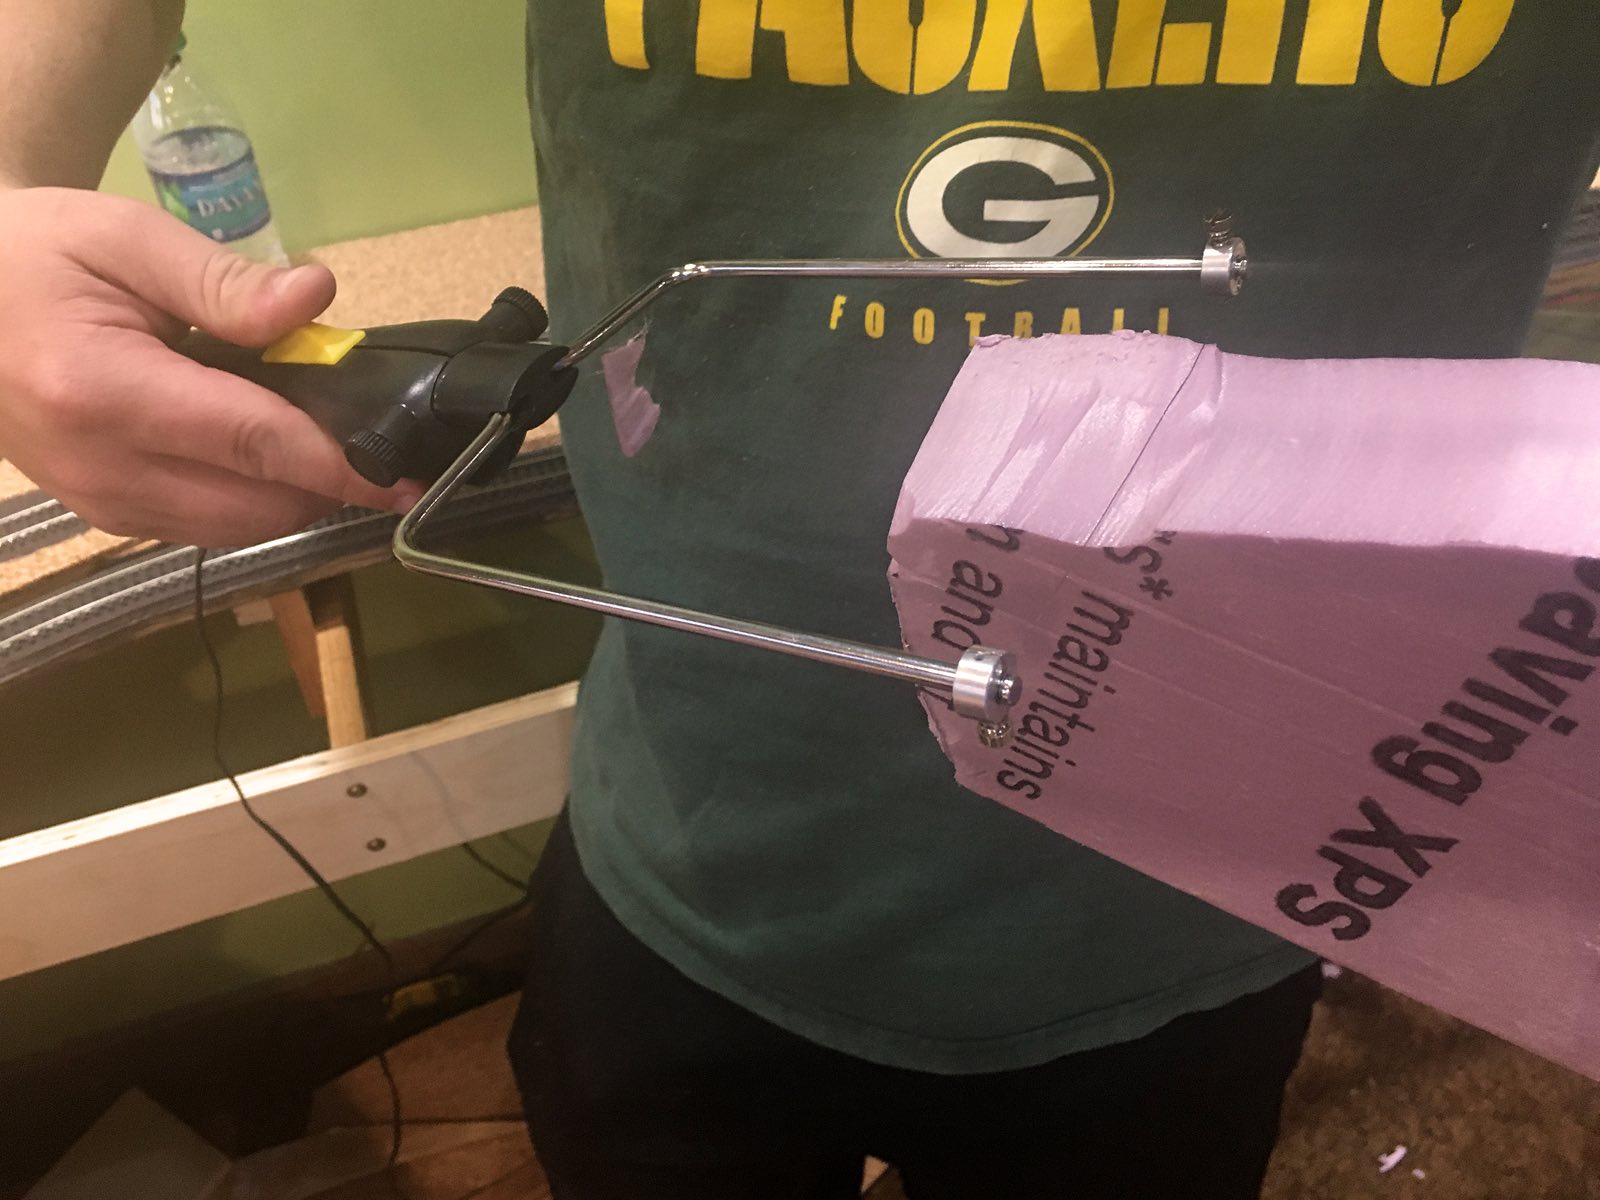
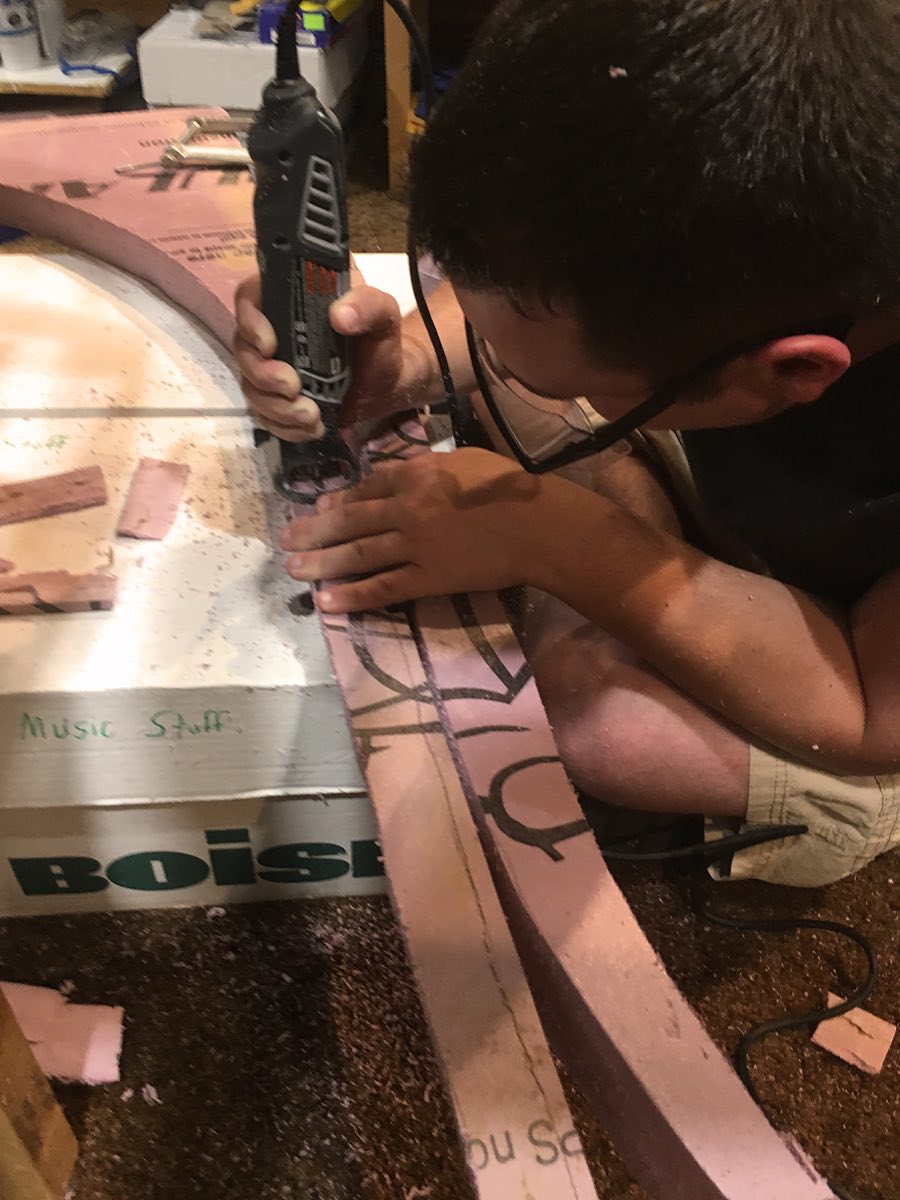
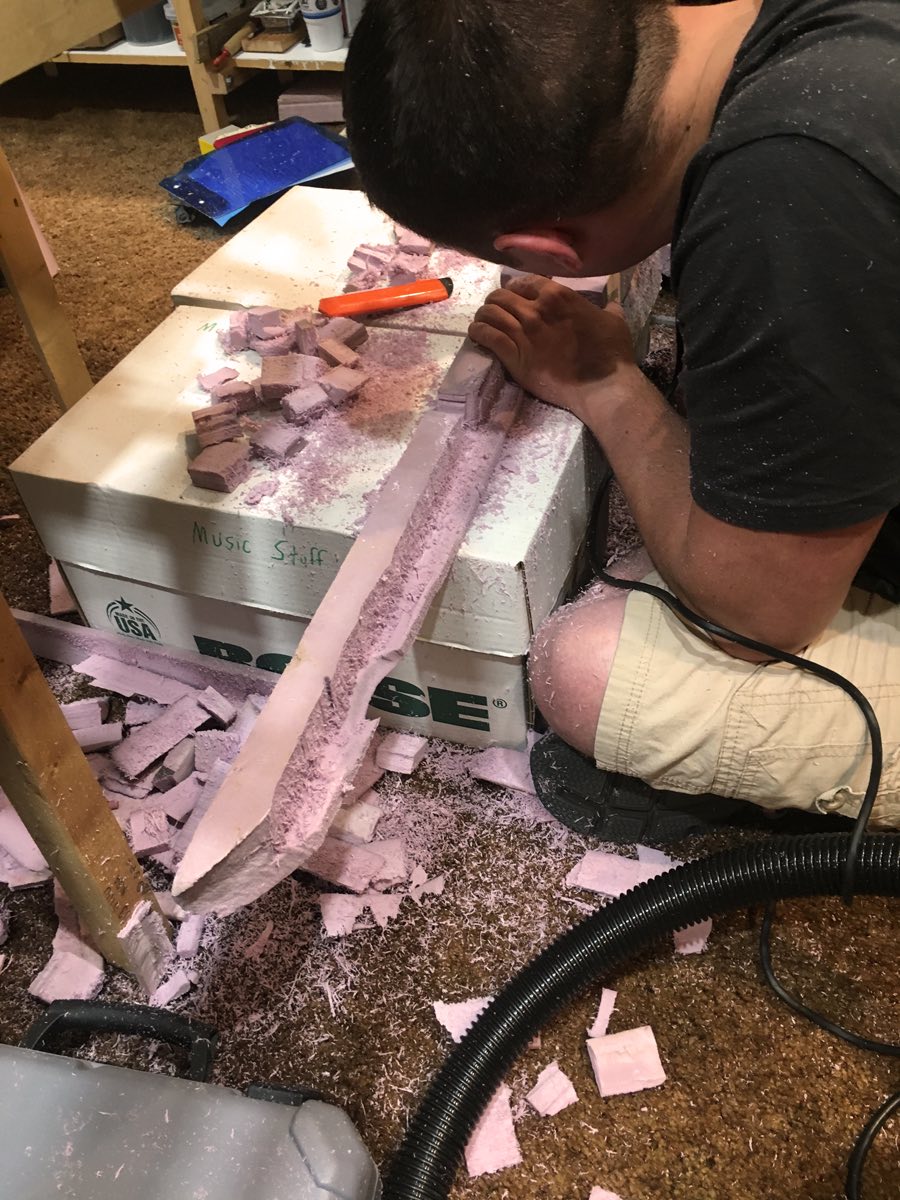
LJ is really into cutting the foam board tonight! His special Dremel attachment enables him to make precise width and depth cuts needed to fit the panels into place.

This work also creates an incredible mess of foam board shavings with obnoxious static cling properties. Staying on top of vacuuming duties is critical so foam bits are not tracked everywhere.

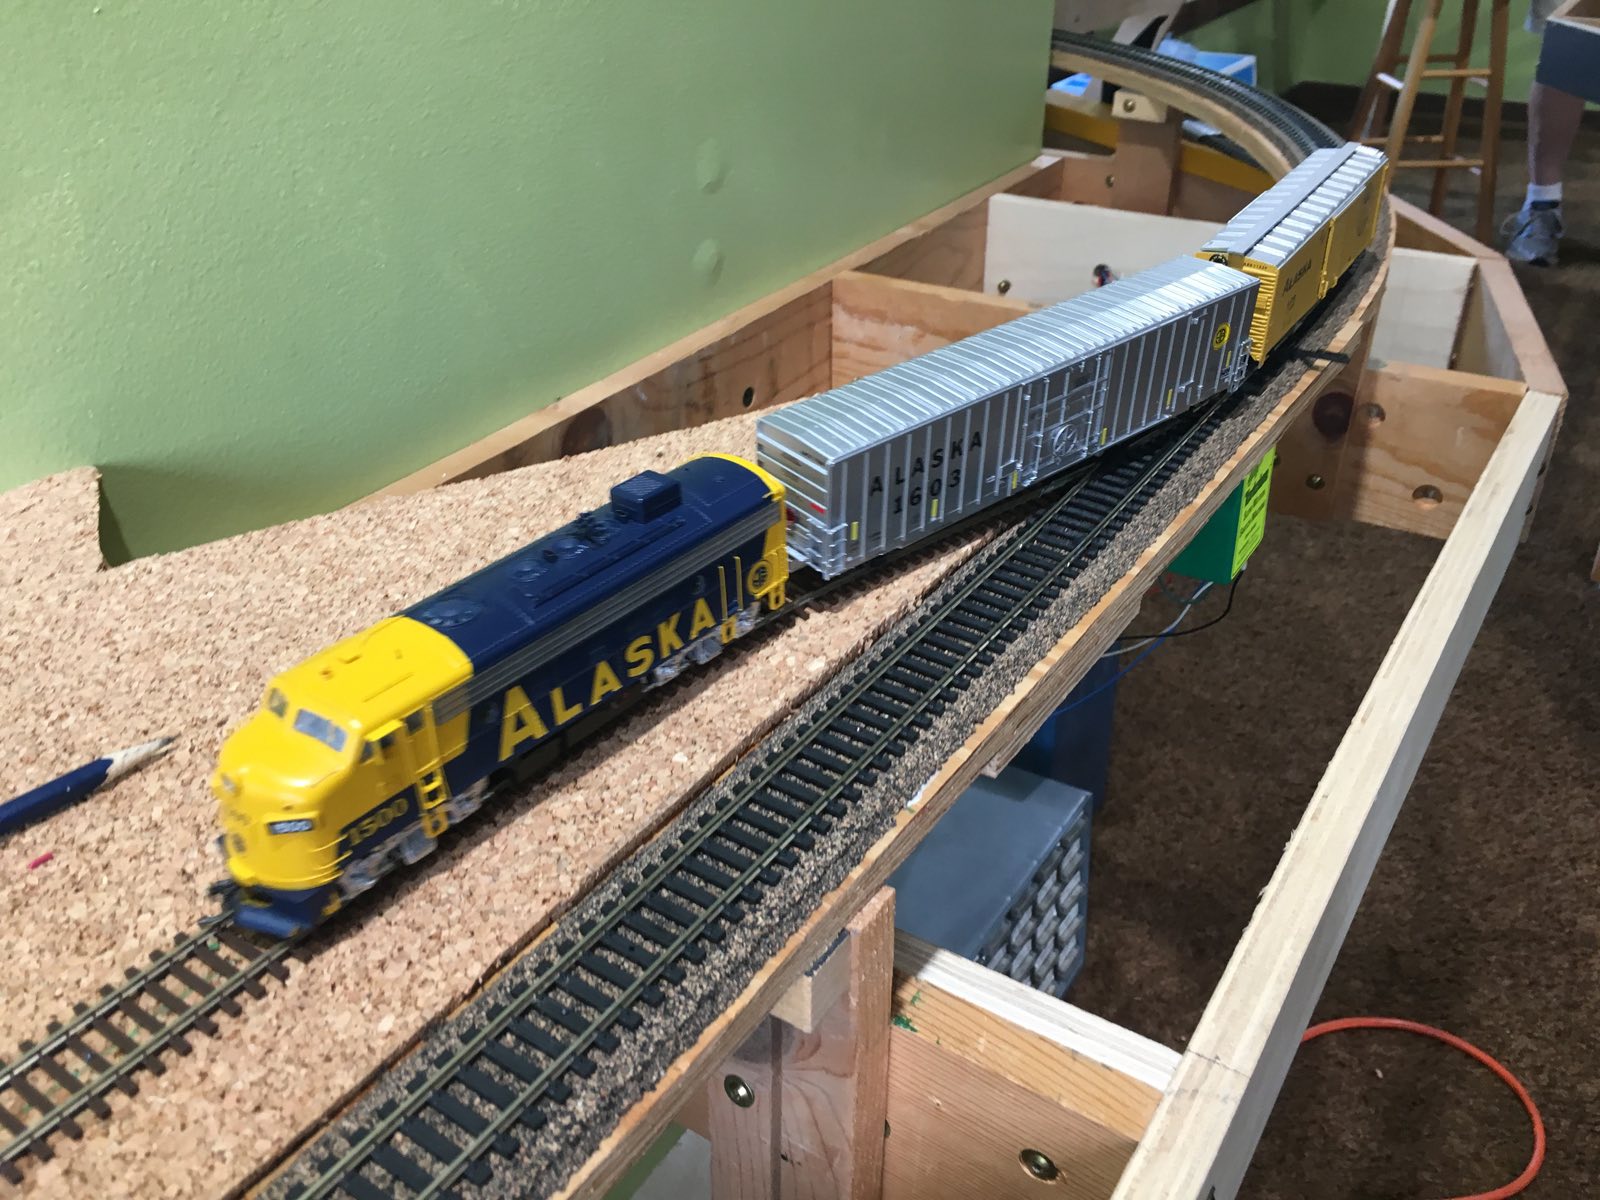
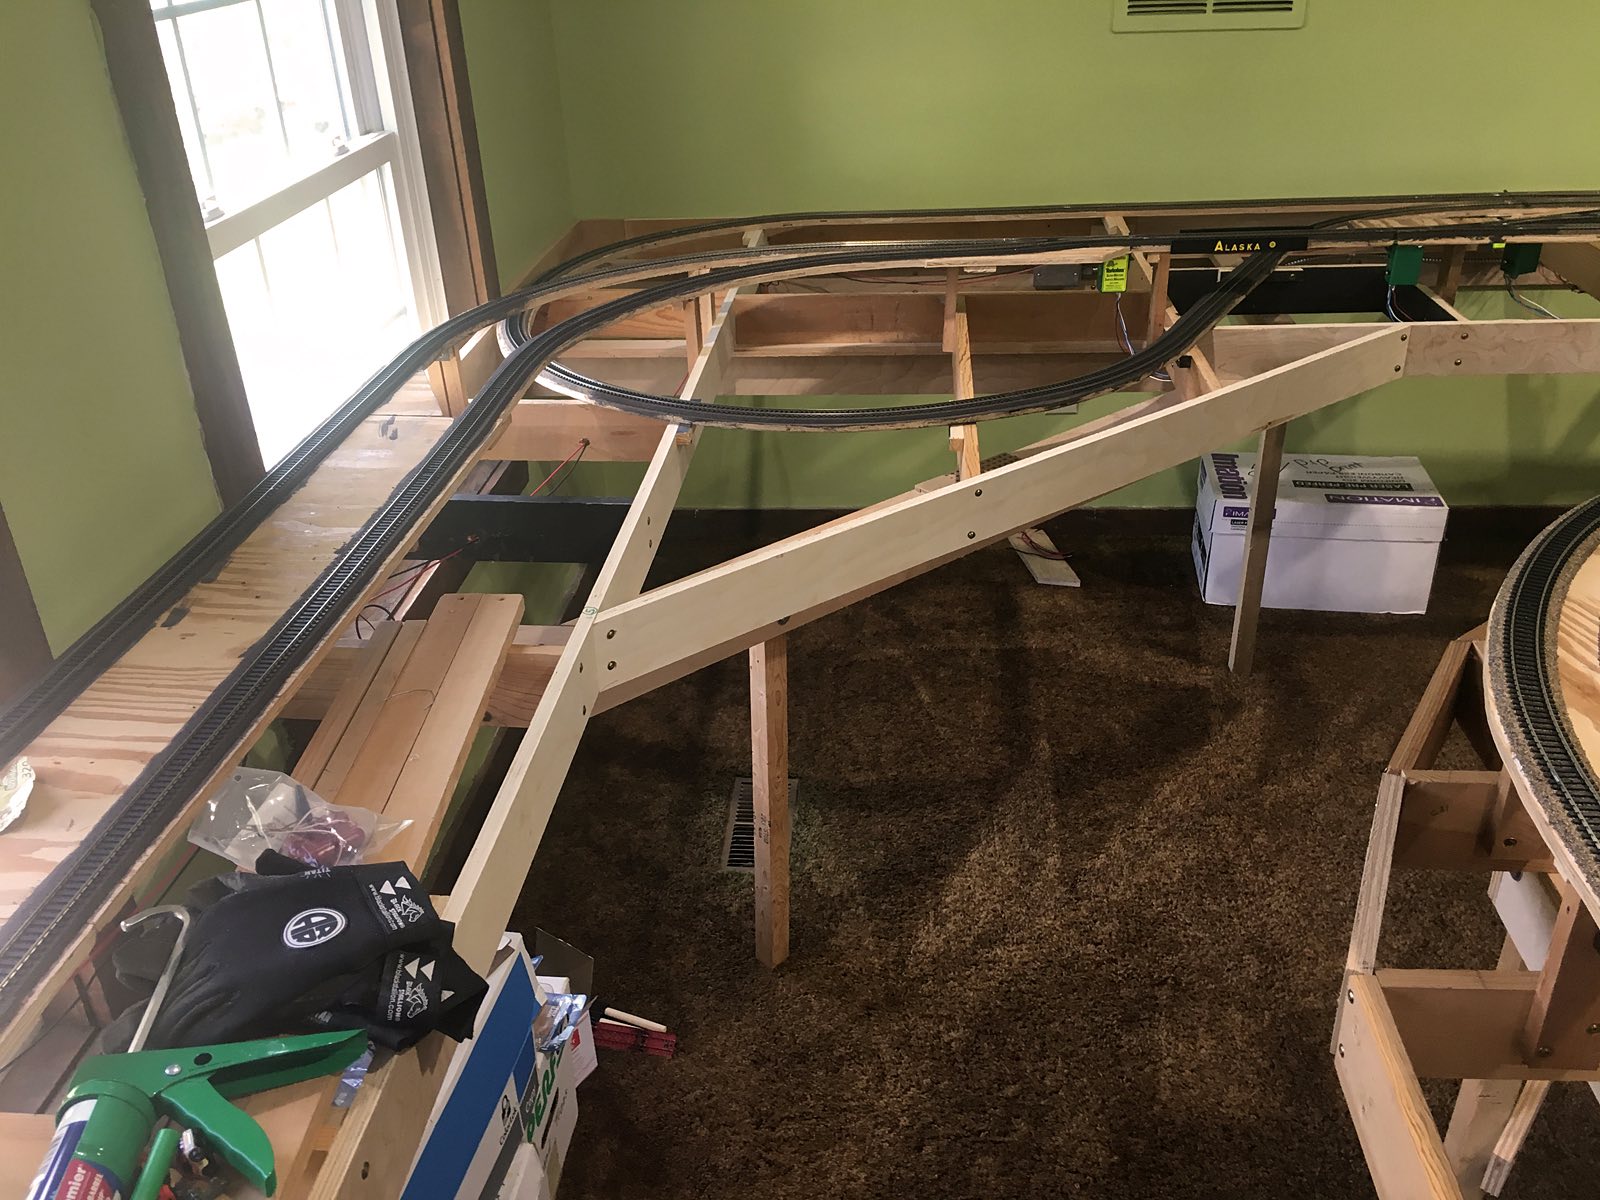
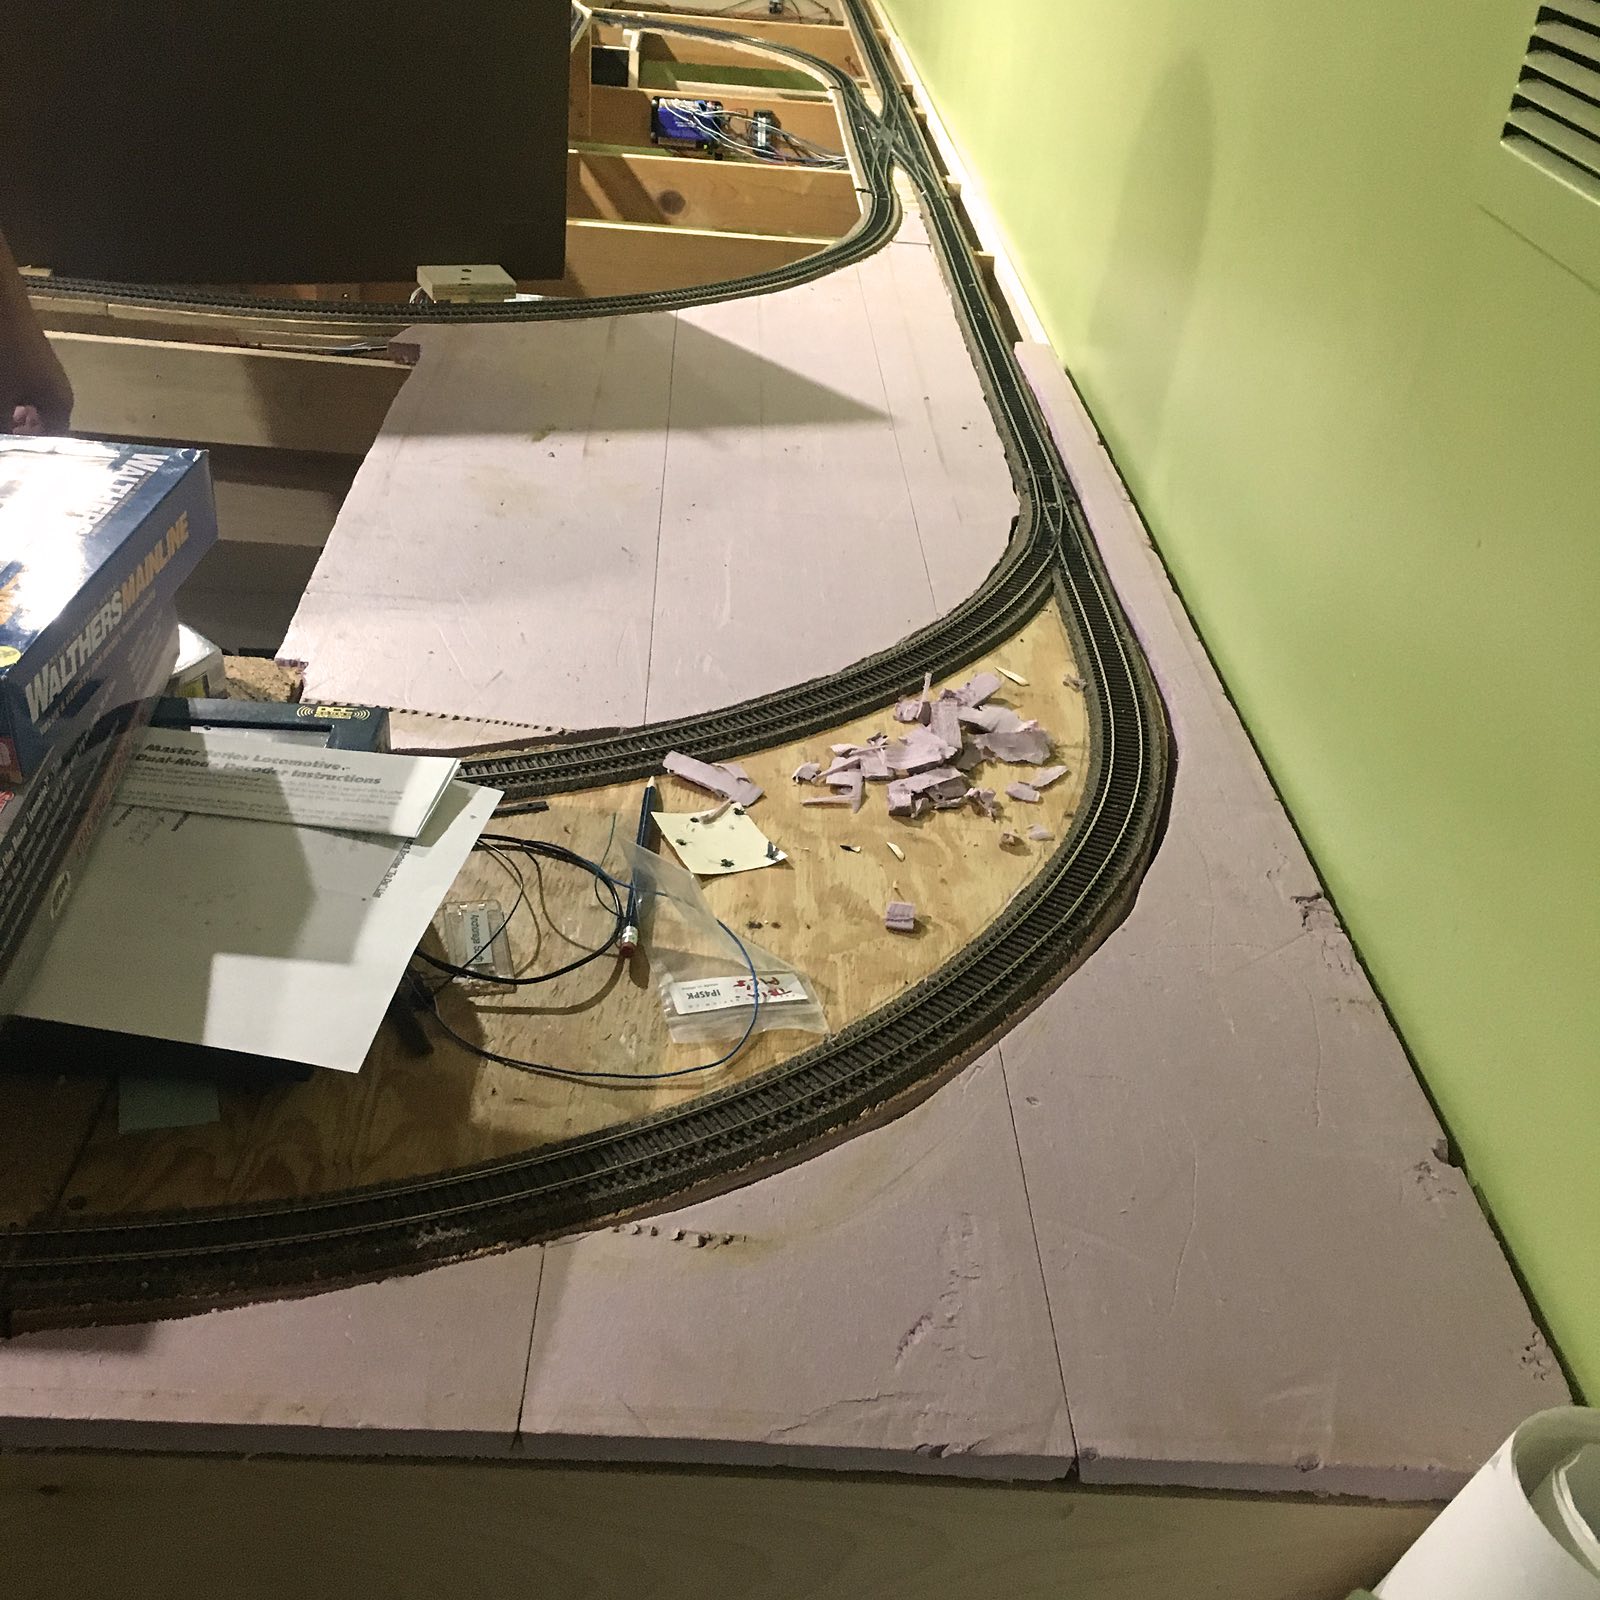
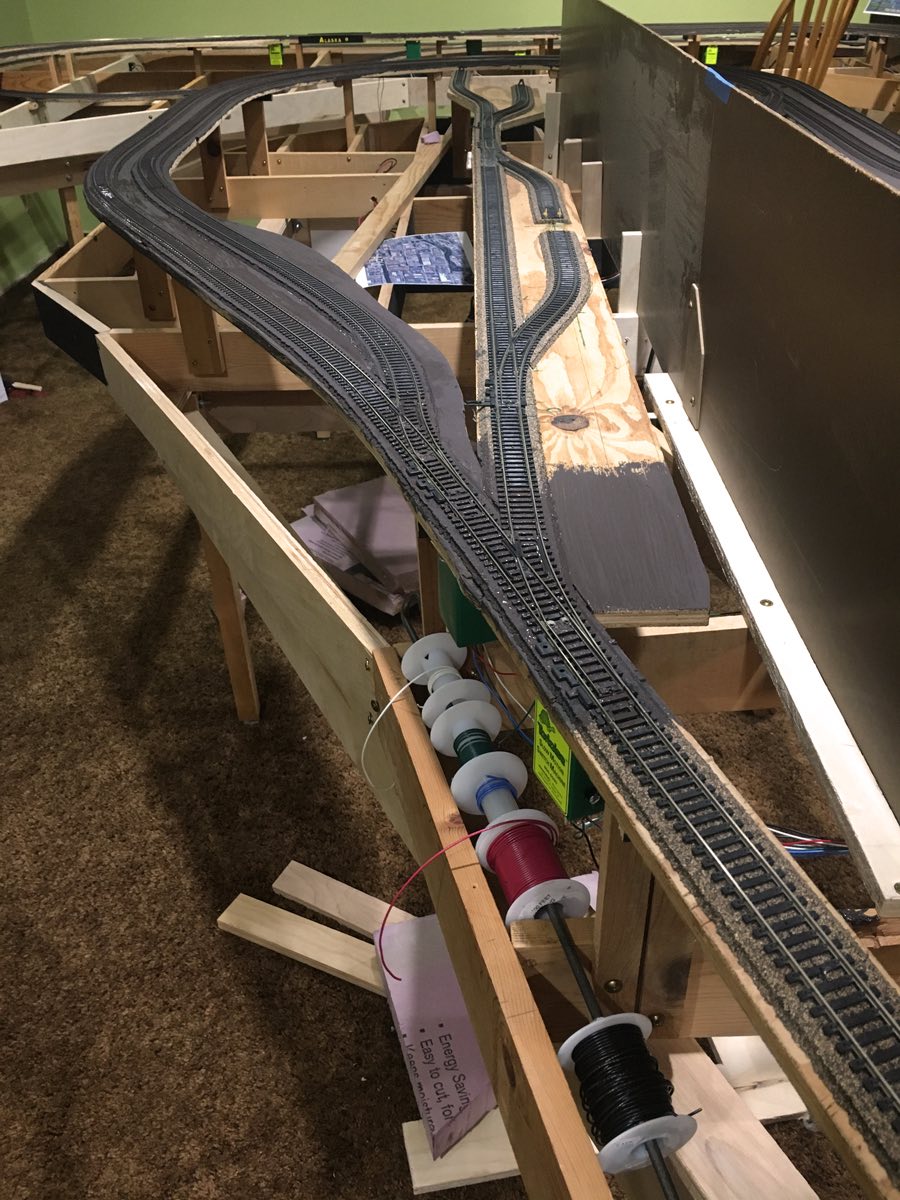
LJ puts the foam boards for Anchorage Sand and Gravel and Flint Hills Refinery in place. The initial process was slow, but LJ refined his technique and picked up speed quickly.

Foam placement
Painting

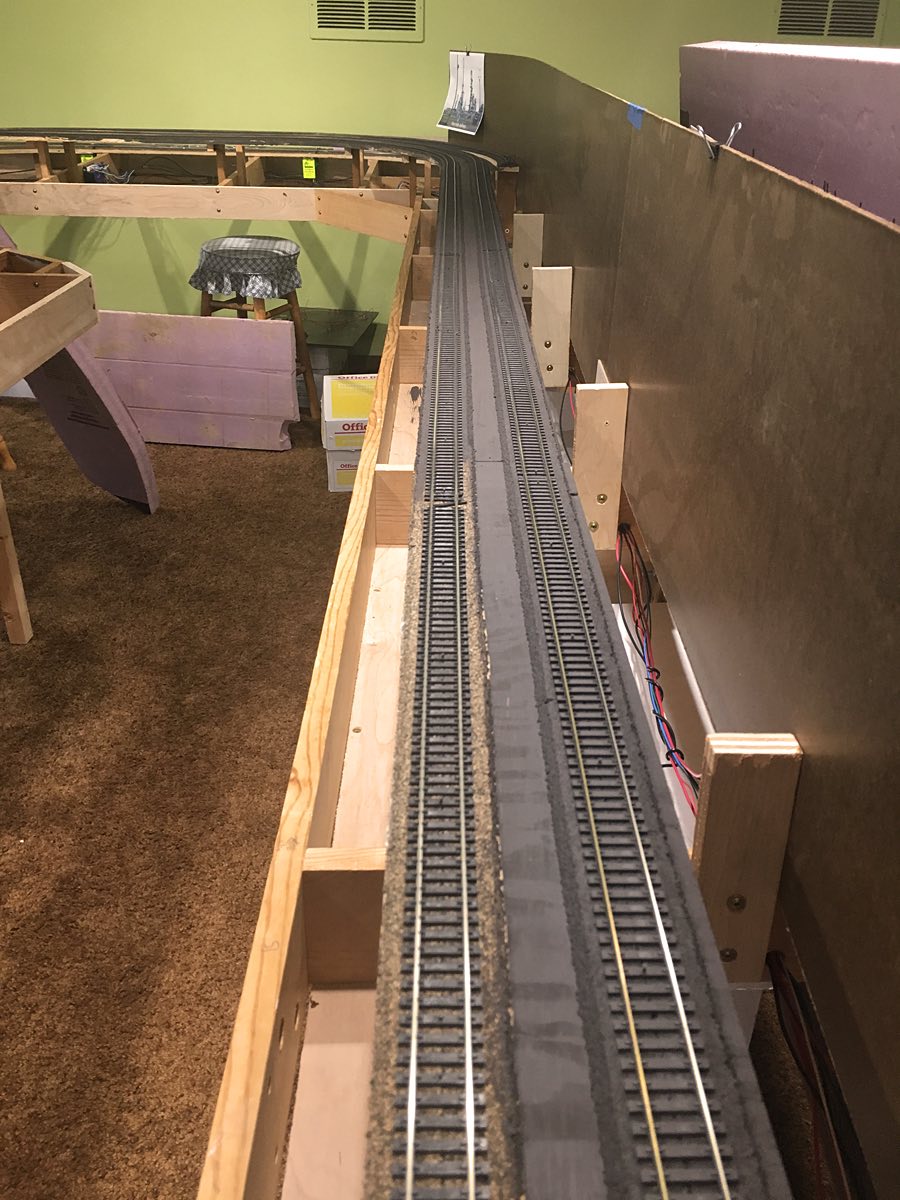
A thin strip gentles slides into place behind the double crossover. Each piece can be easily removed for adding paint and scenery.

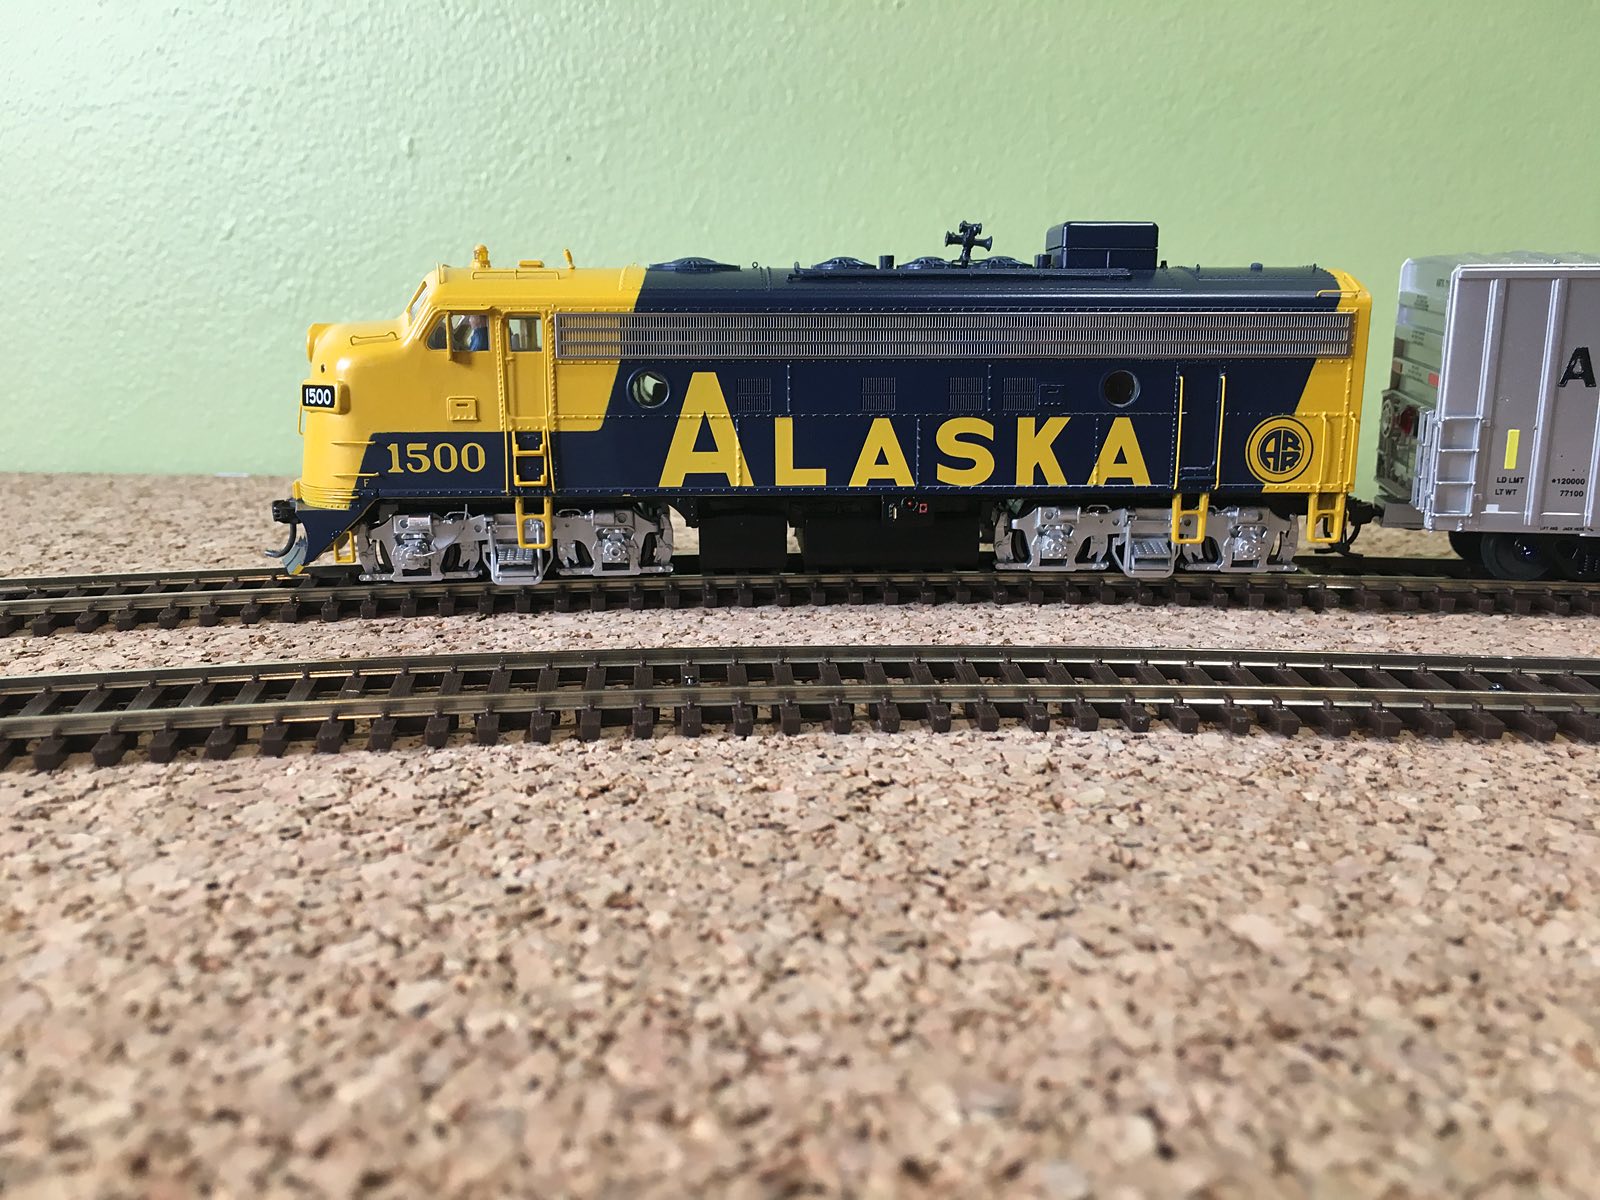
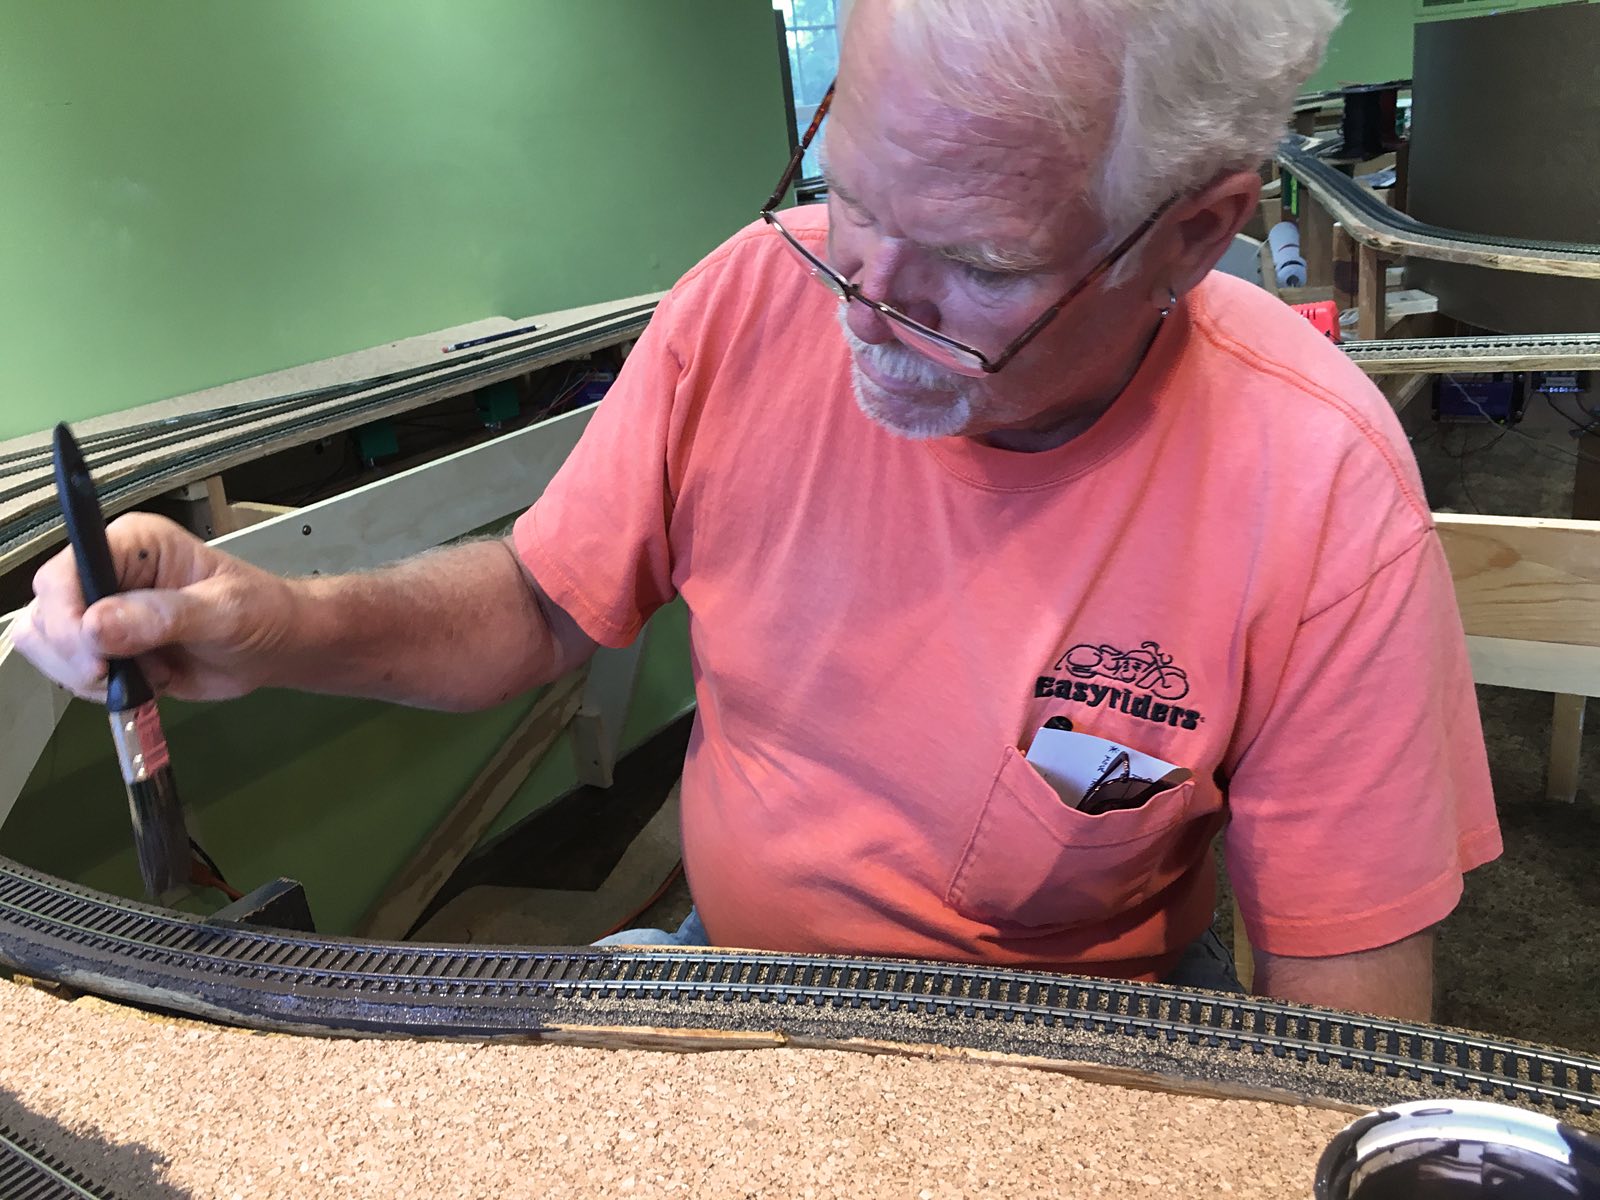
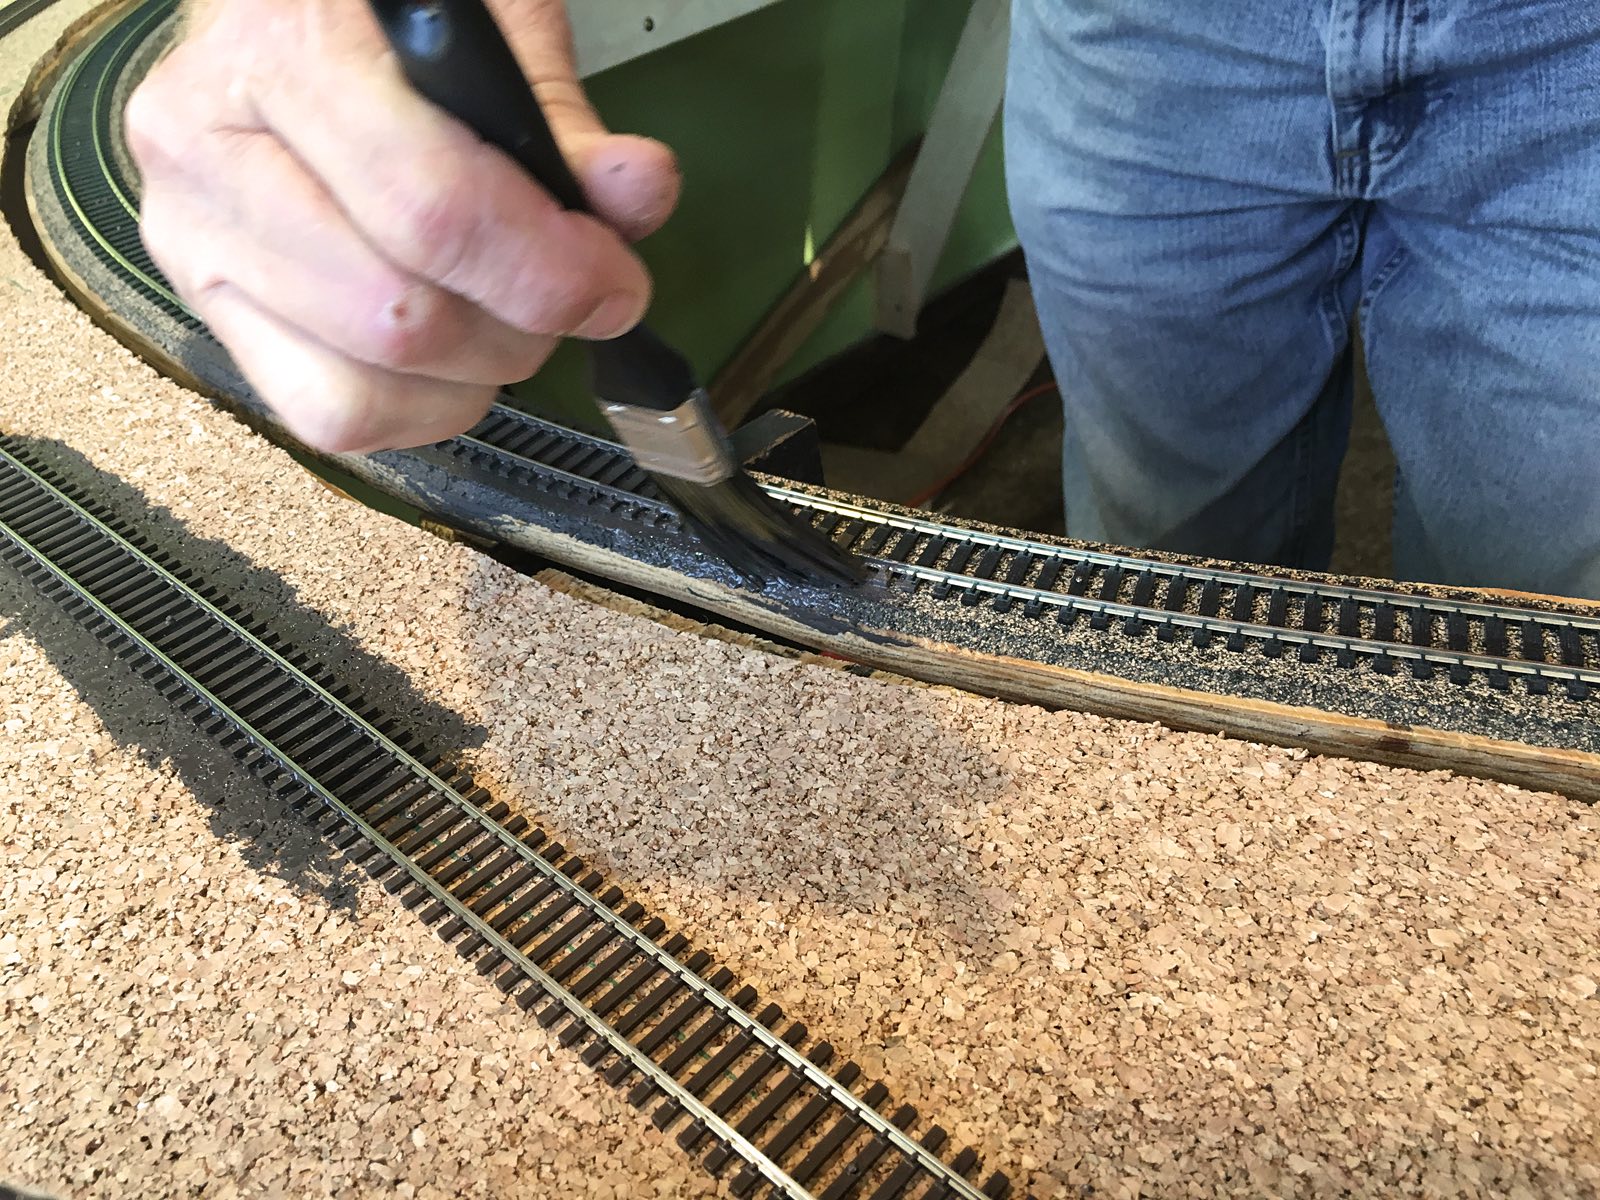
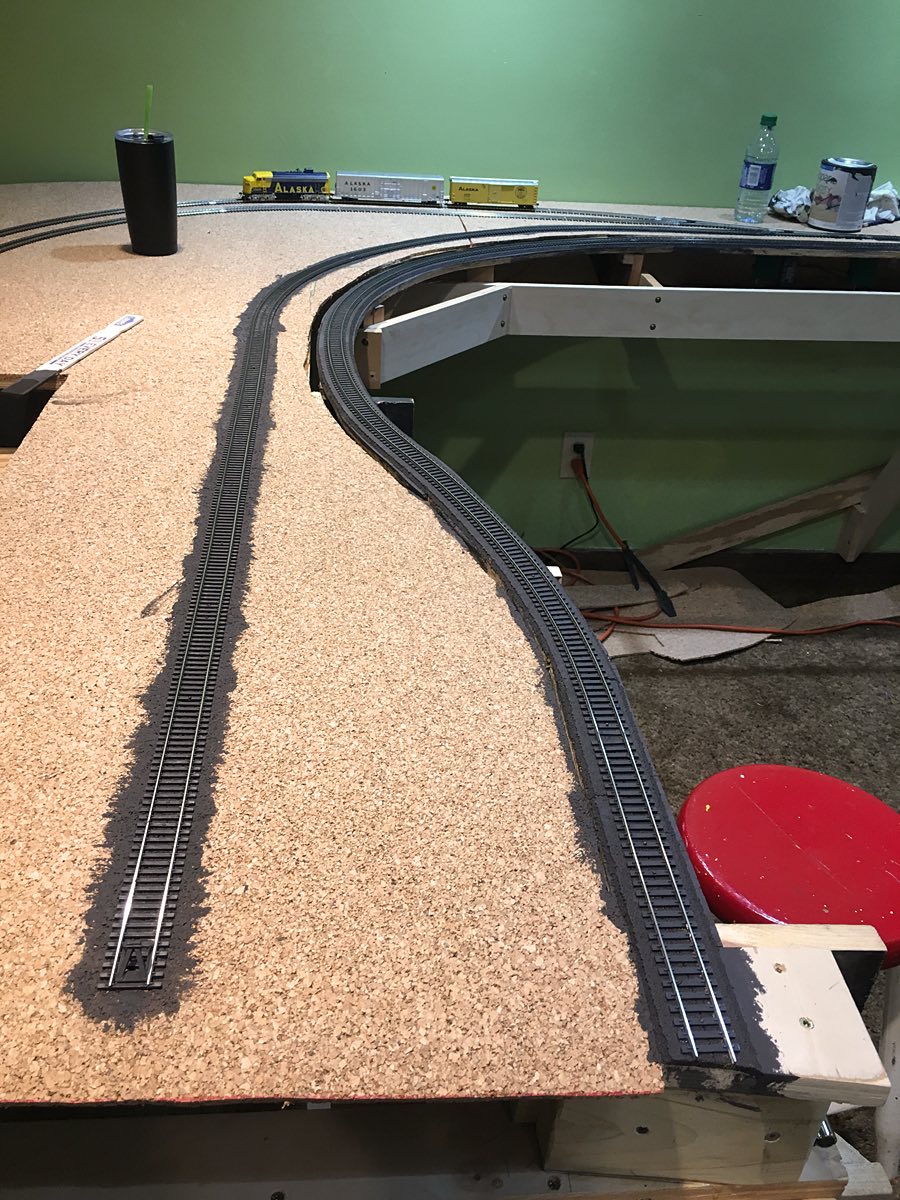
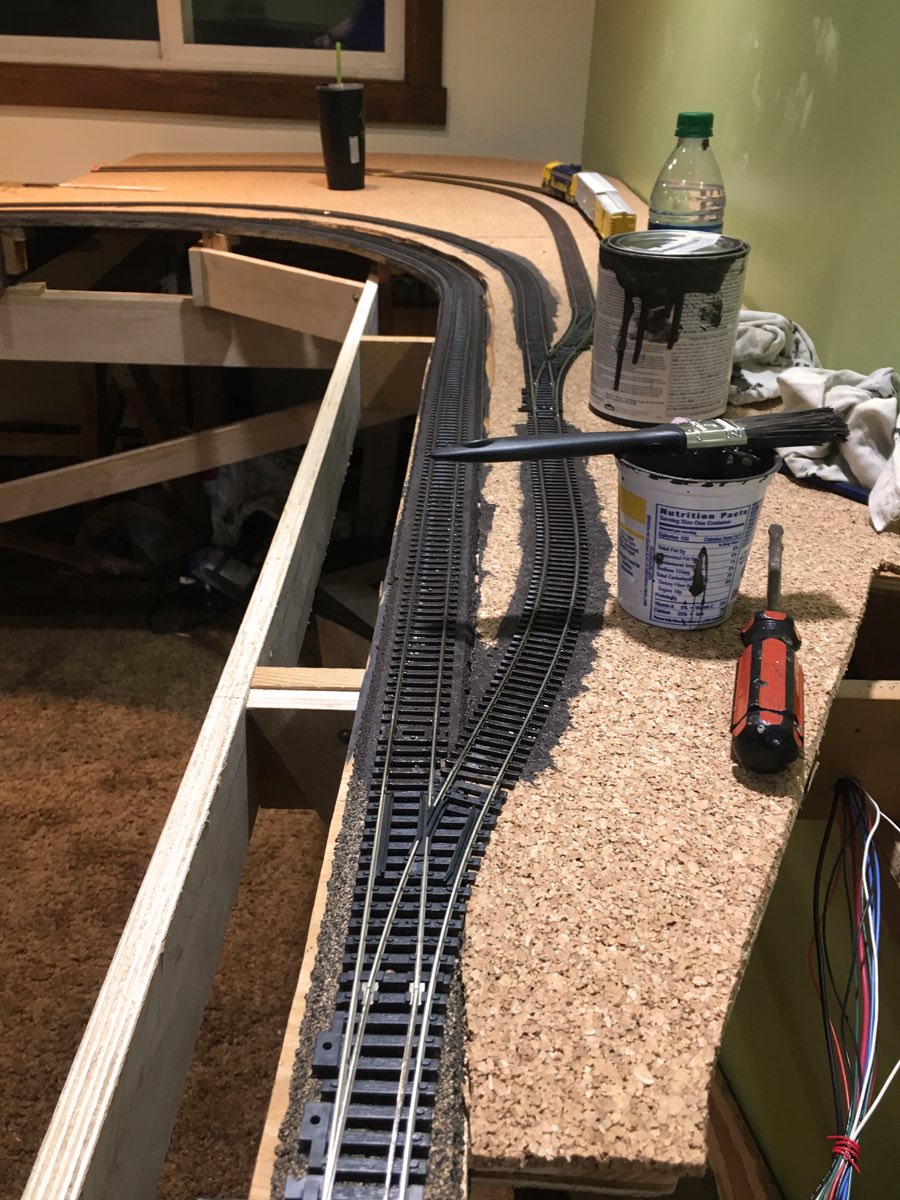
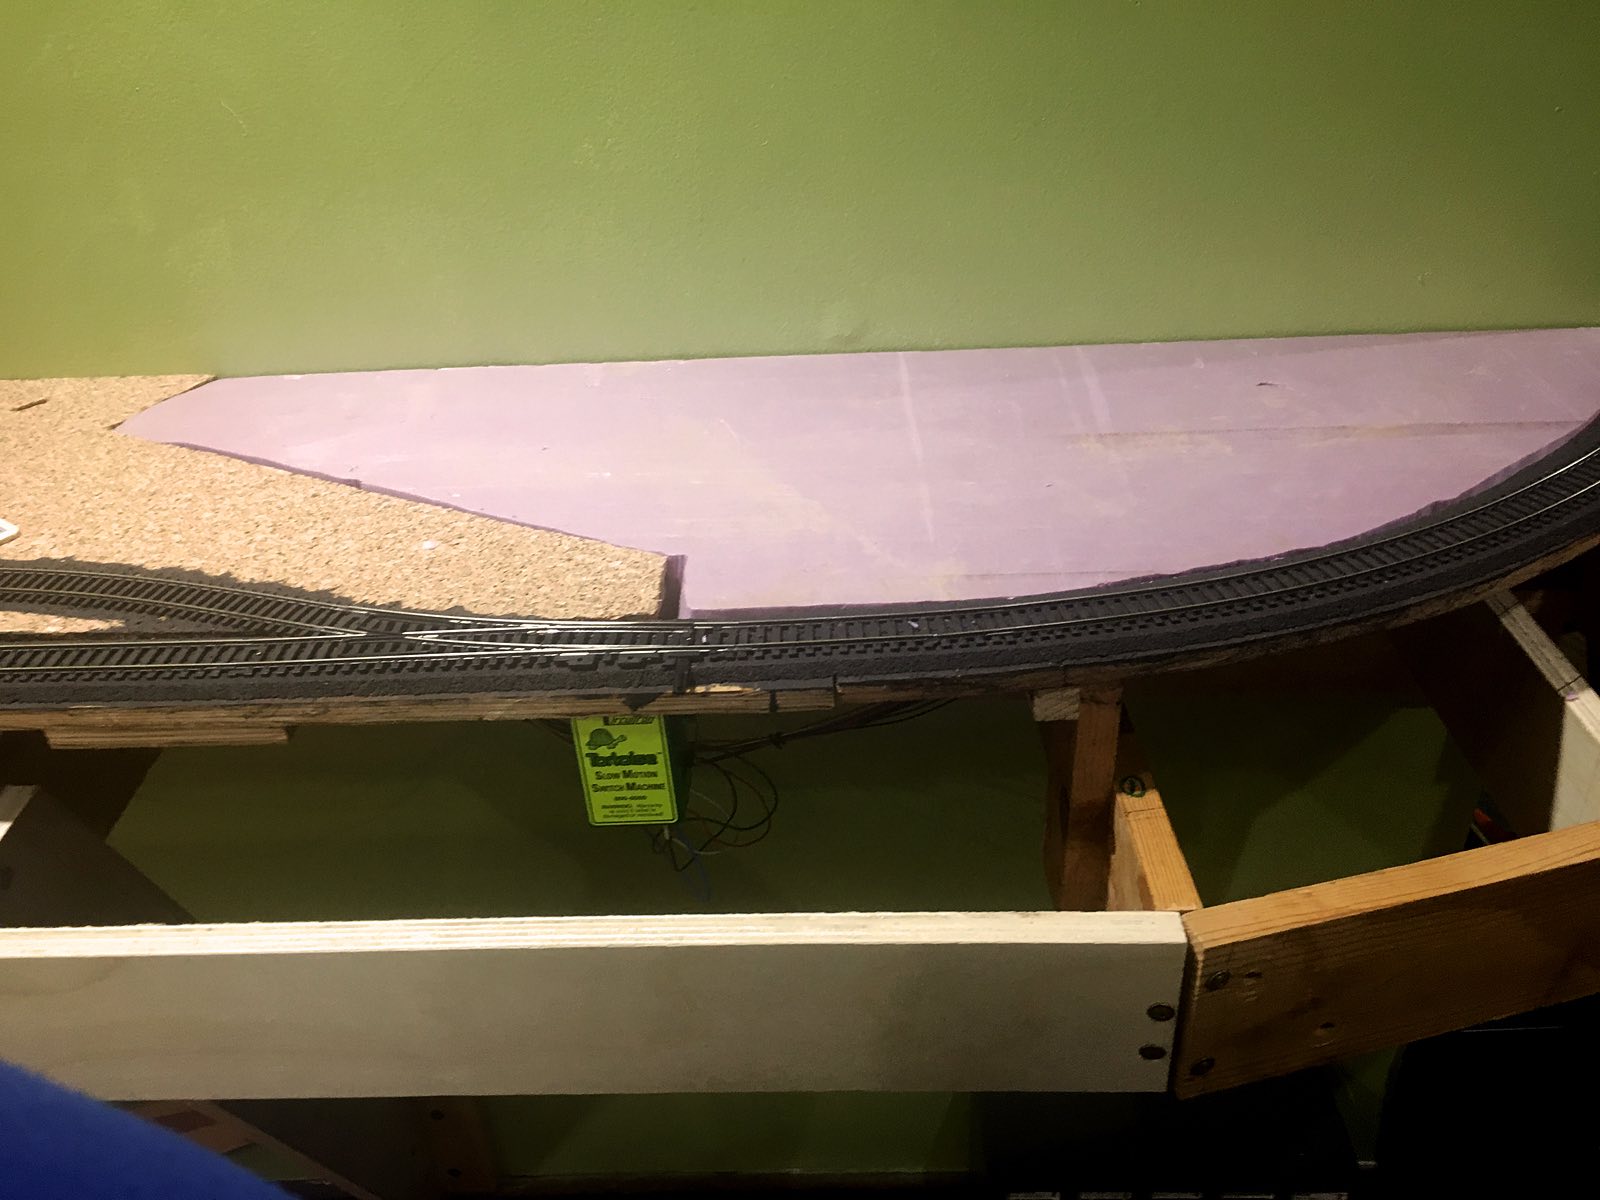
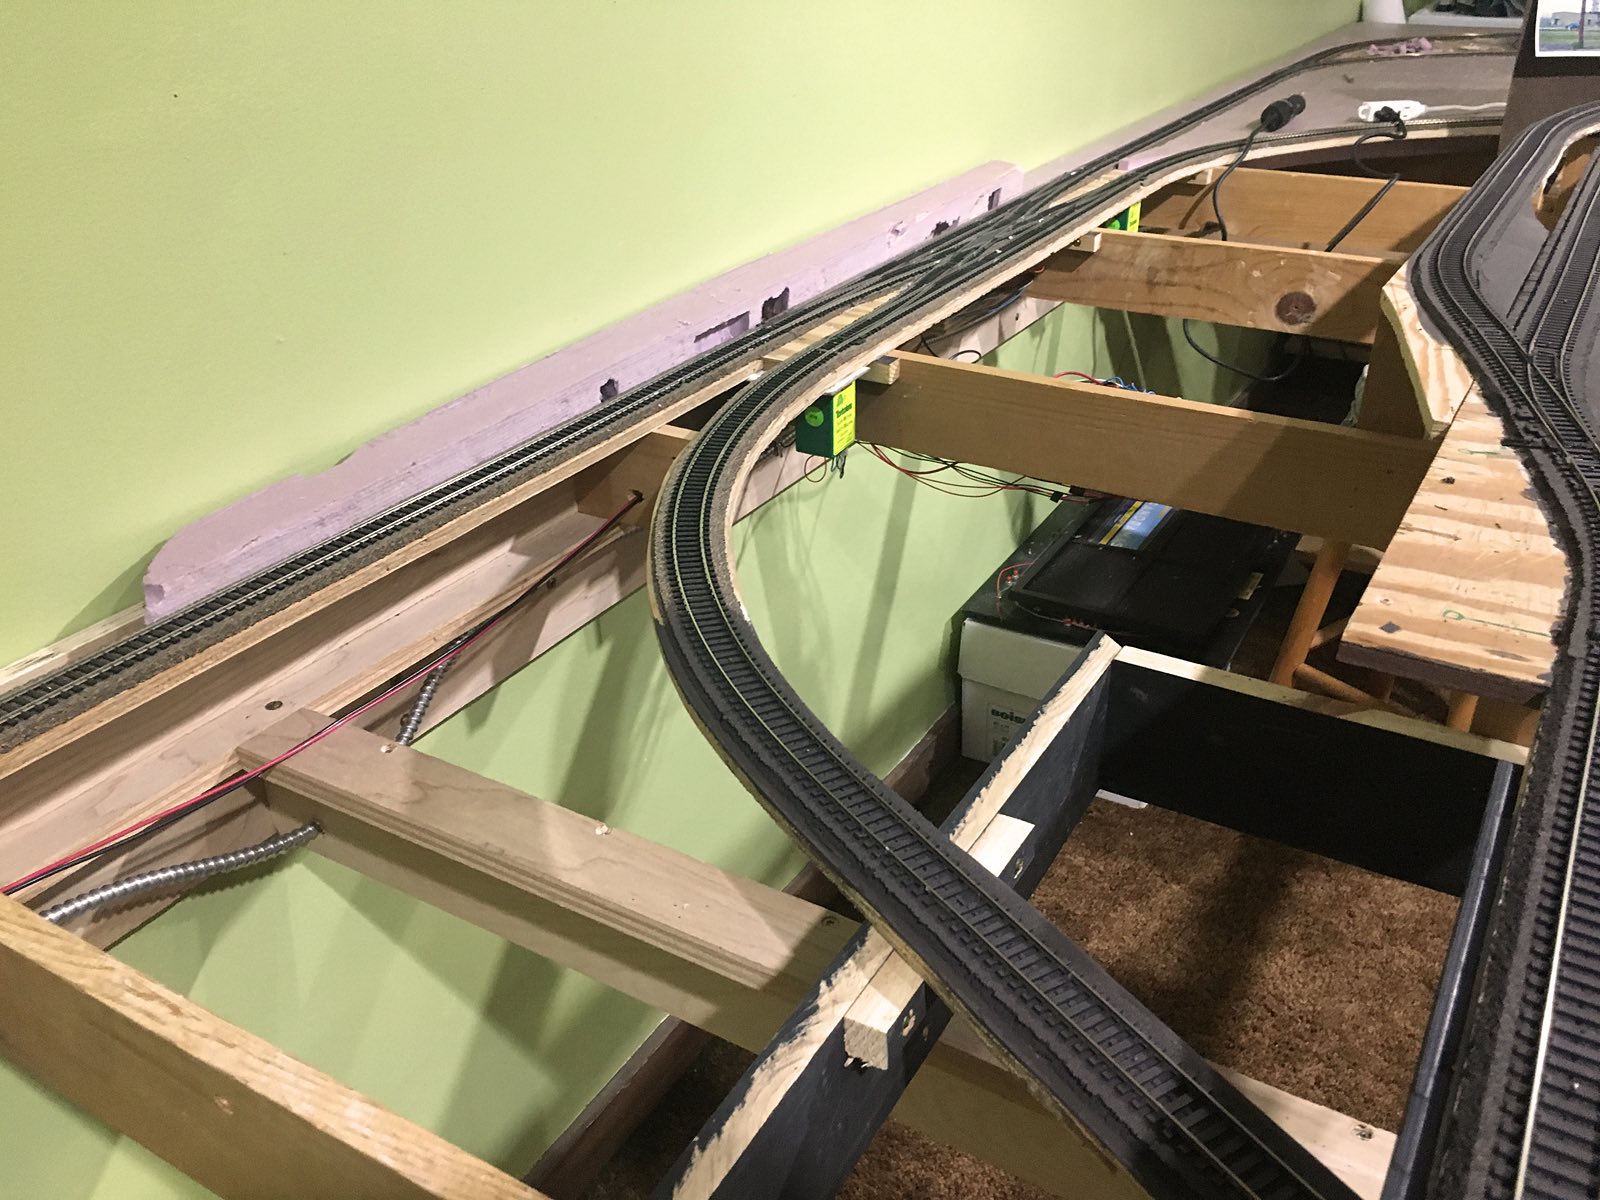
John continues to apply camouflage paint to the rails and cork. Alaska Marine Lines and west Anchorage depot sidings are now finished.

John continues painting and completes more mainline plus the east Anchorage depot siding.

3015
3015
3015

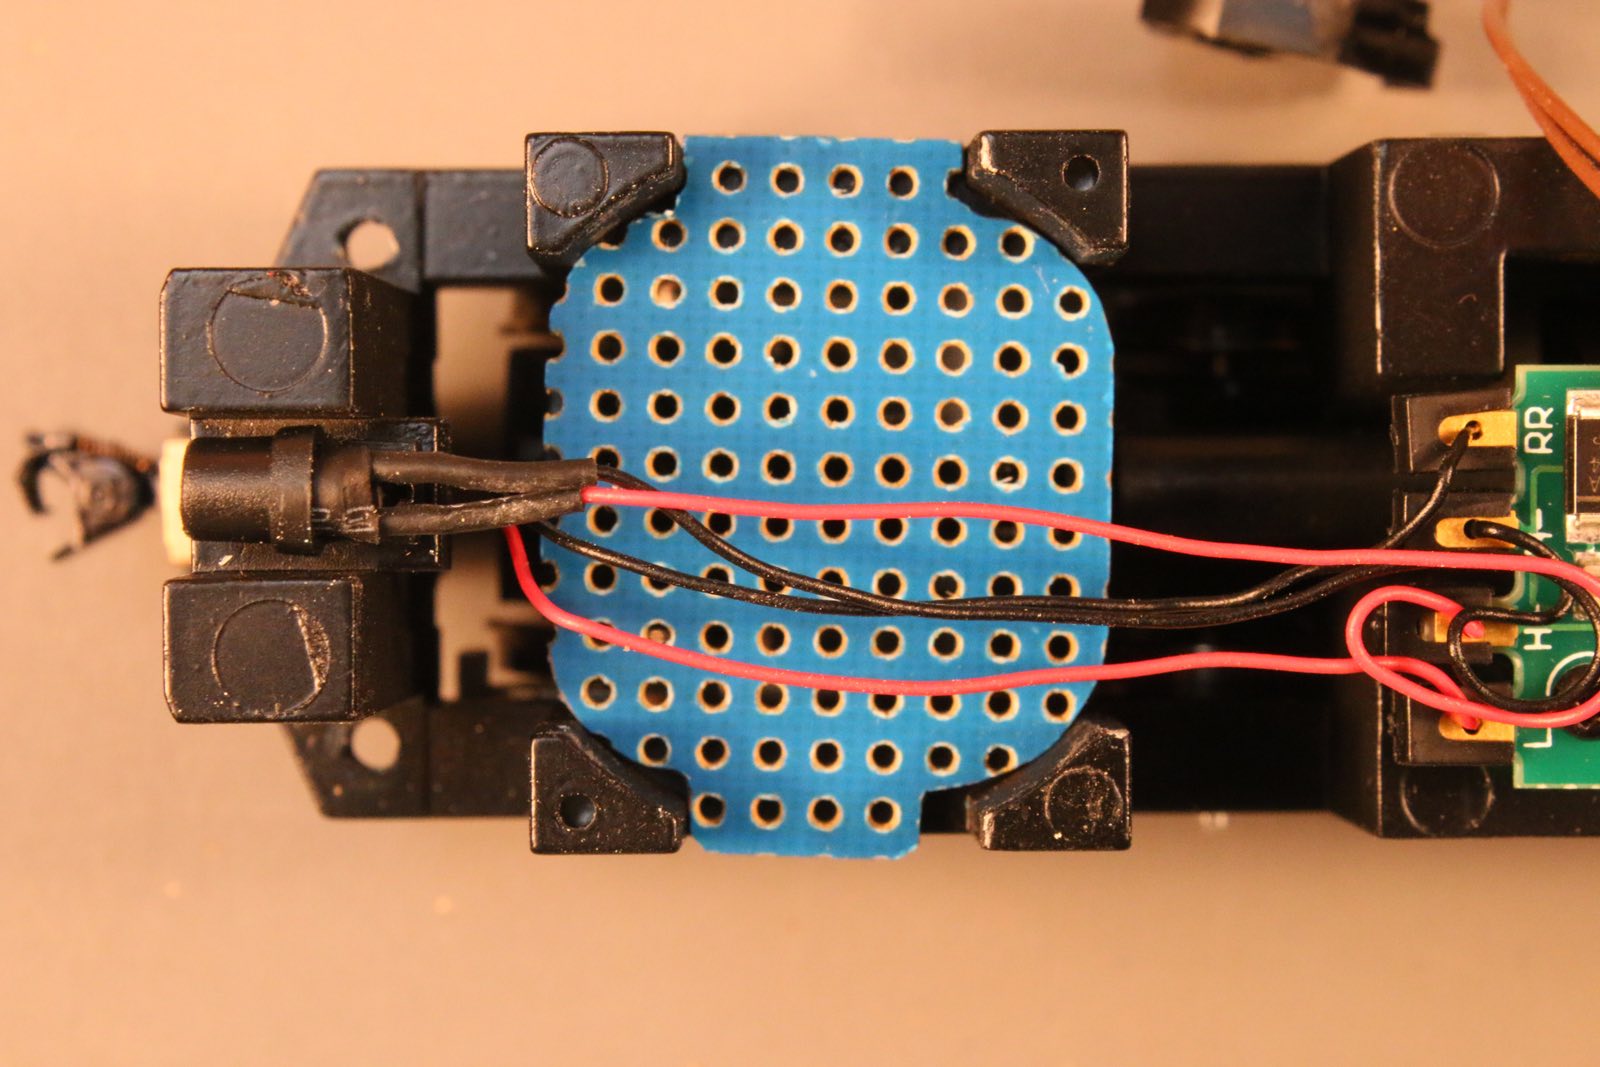
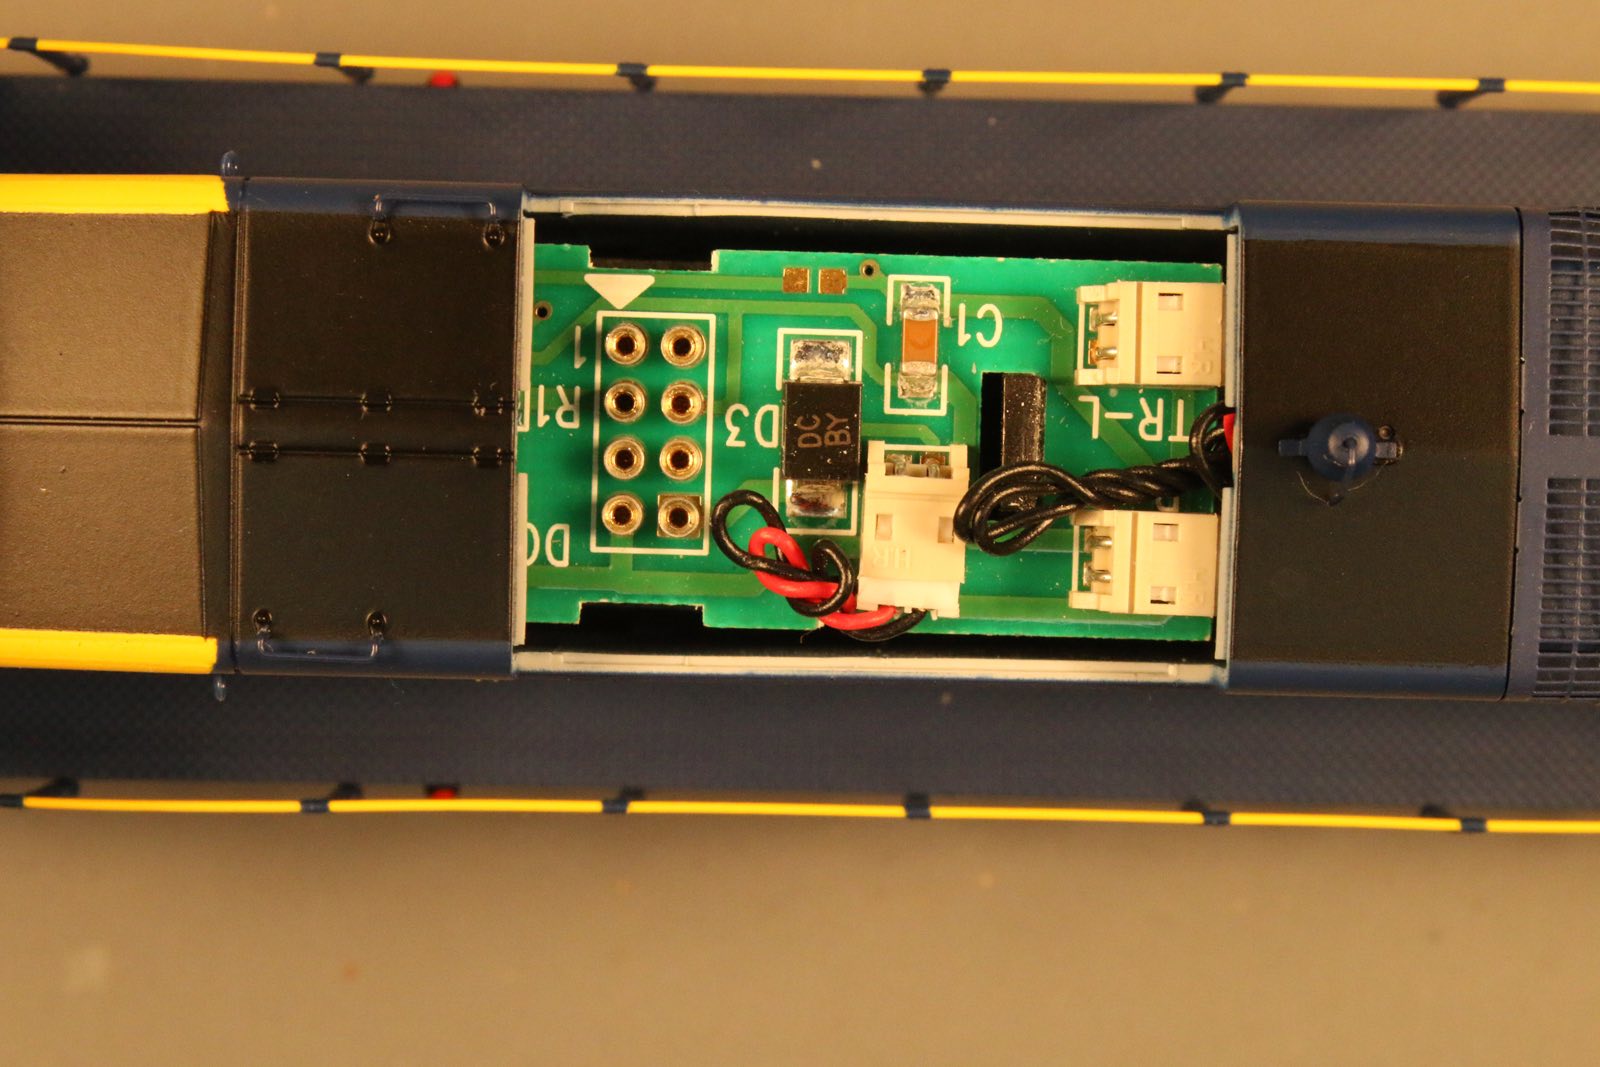
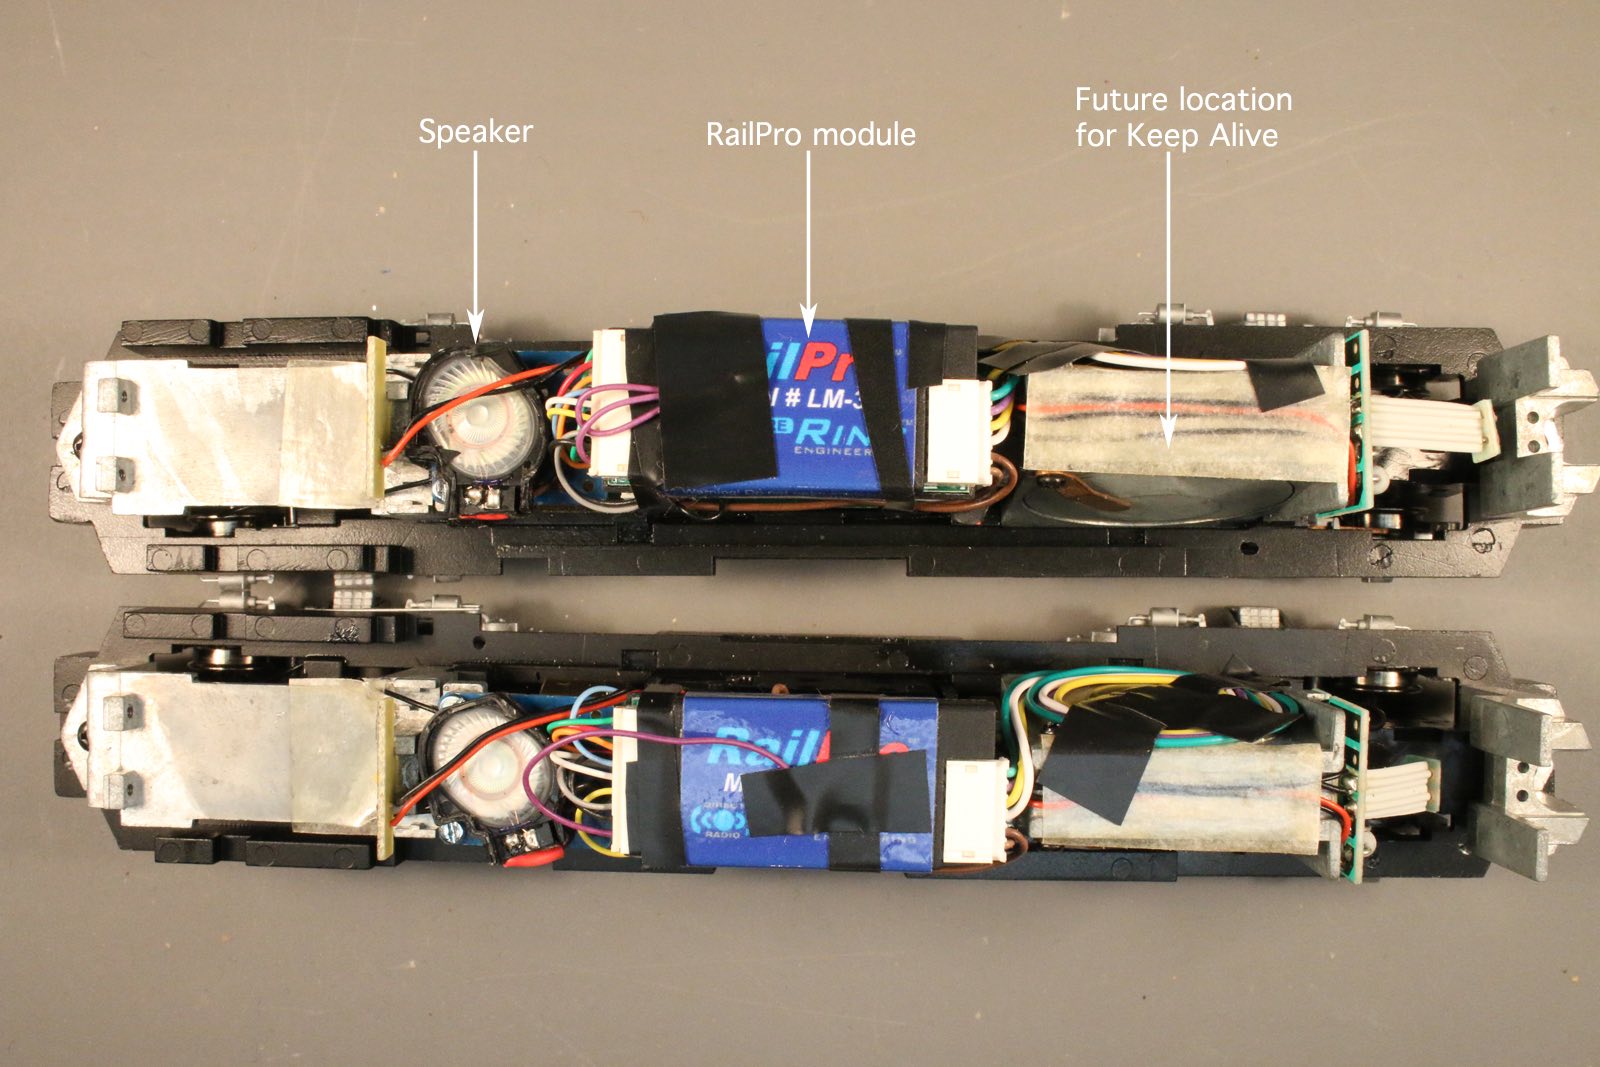
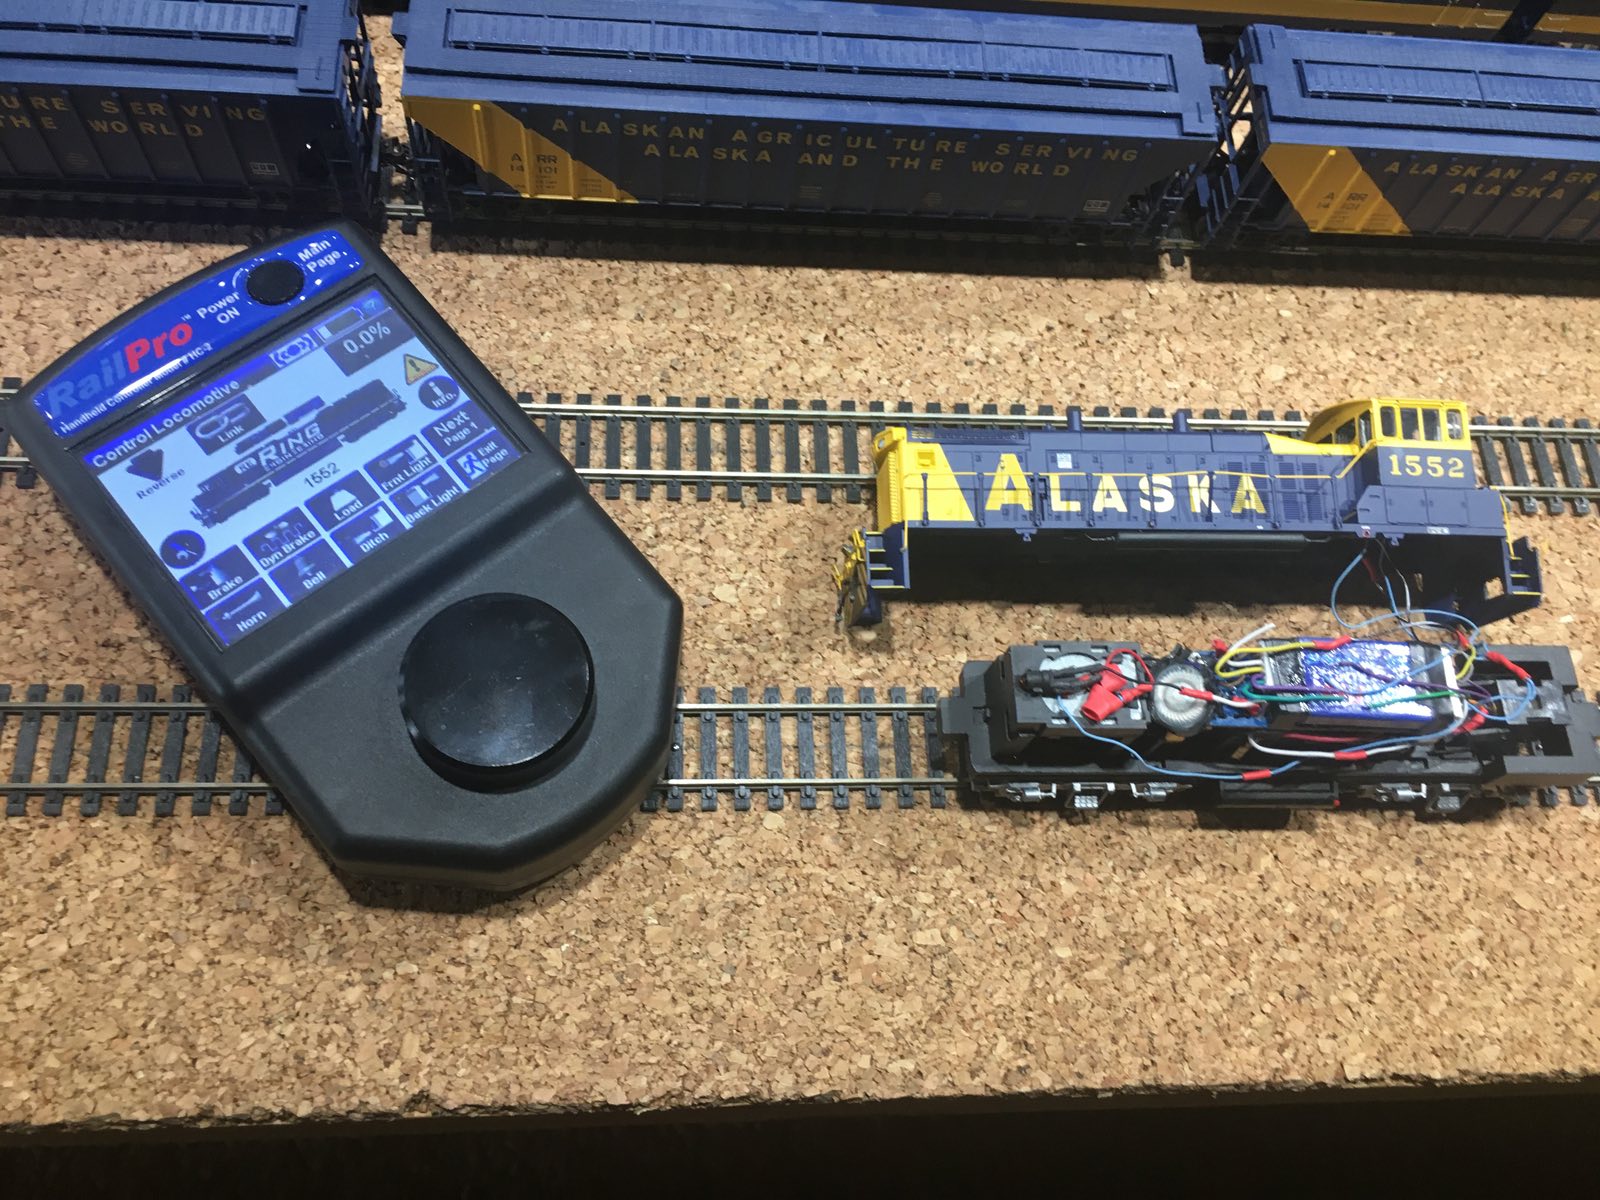
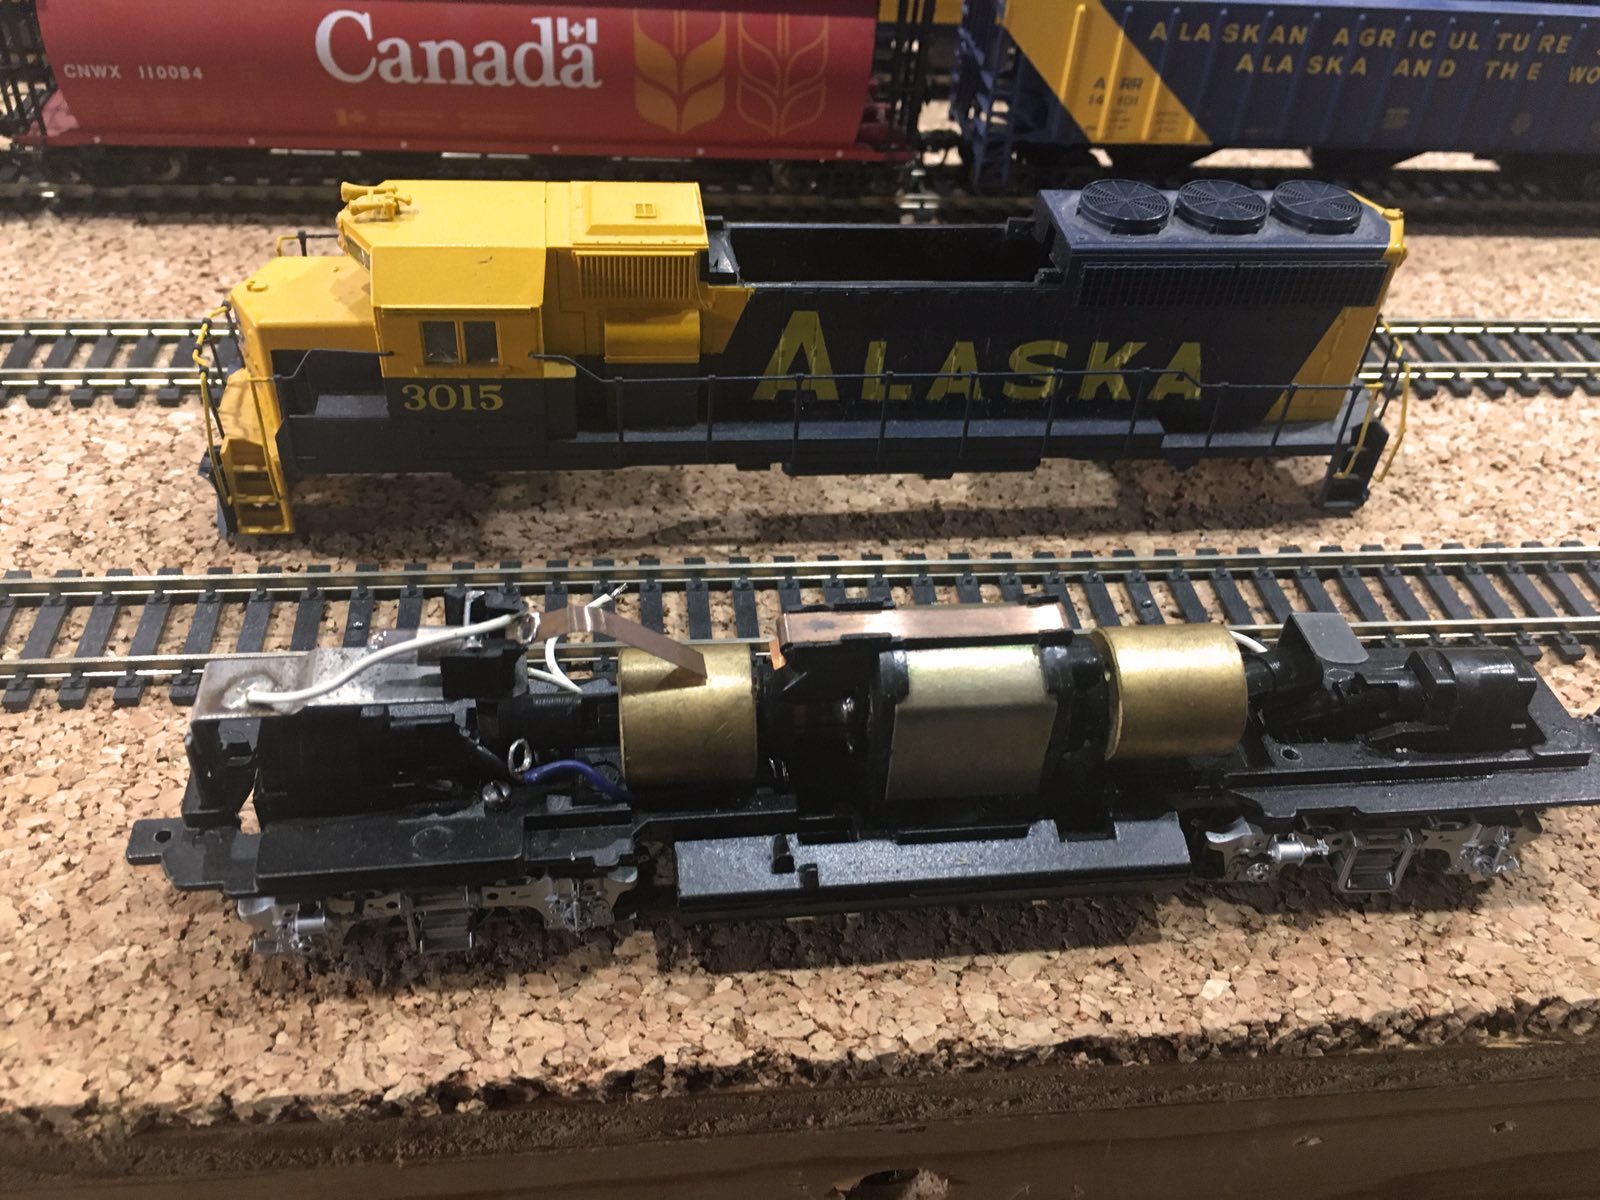
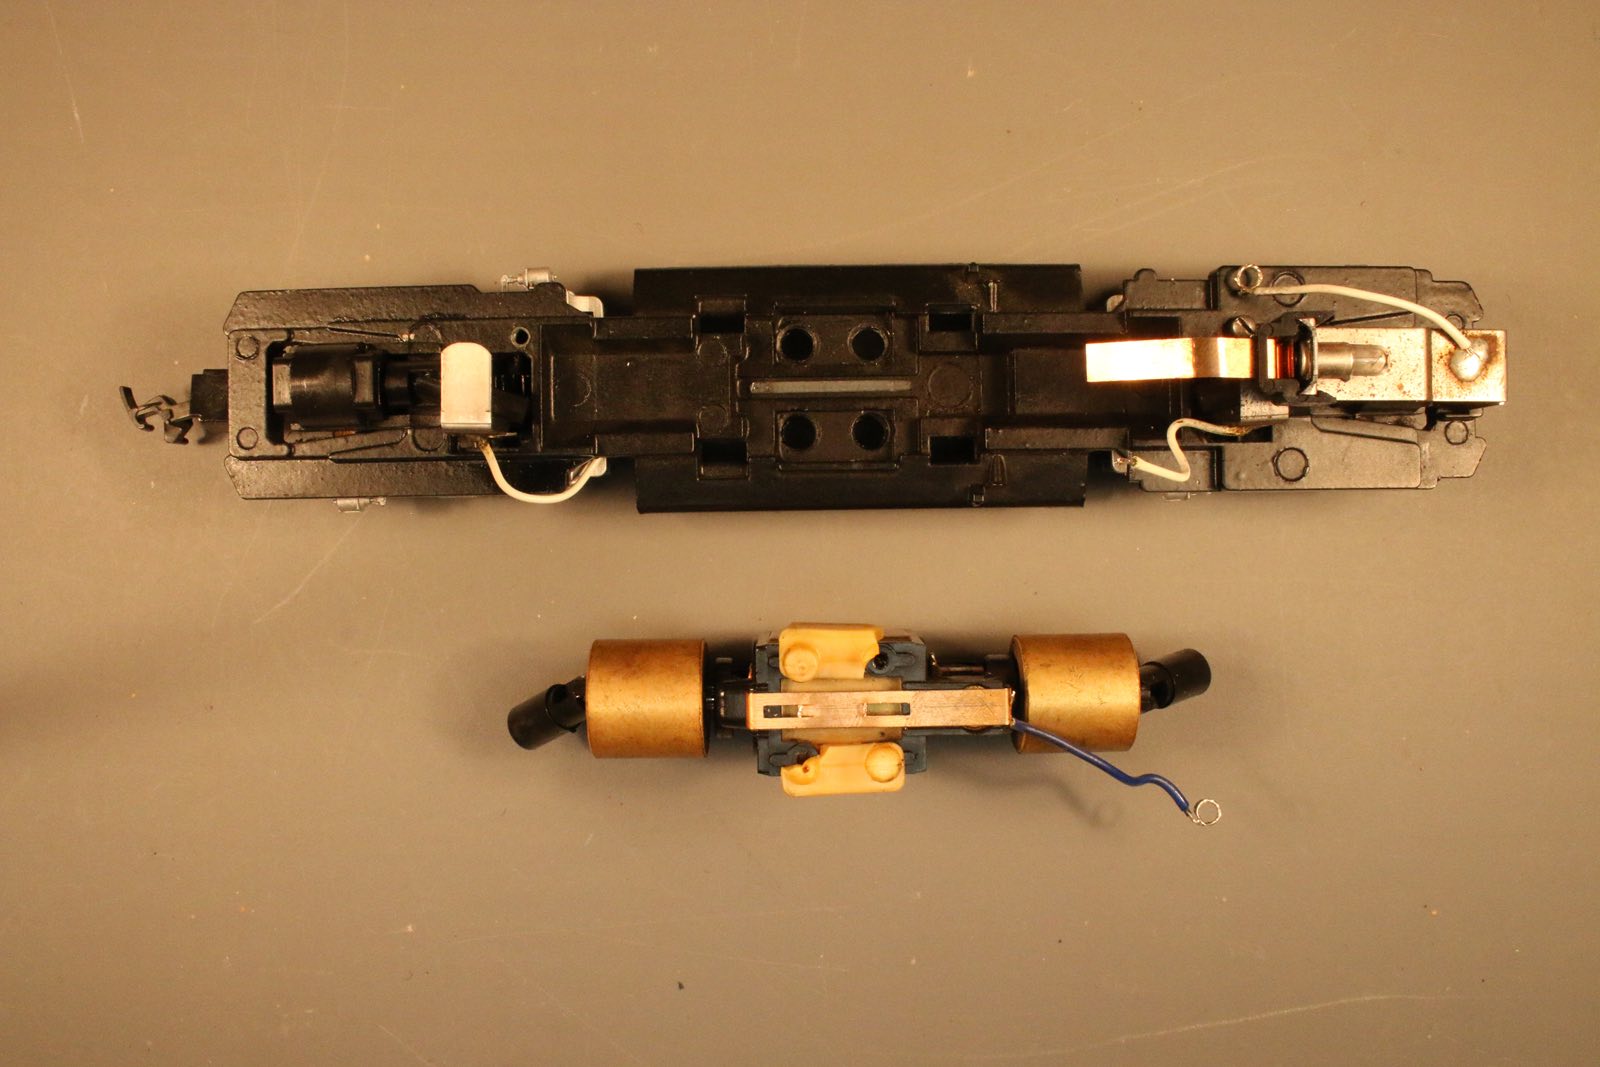
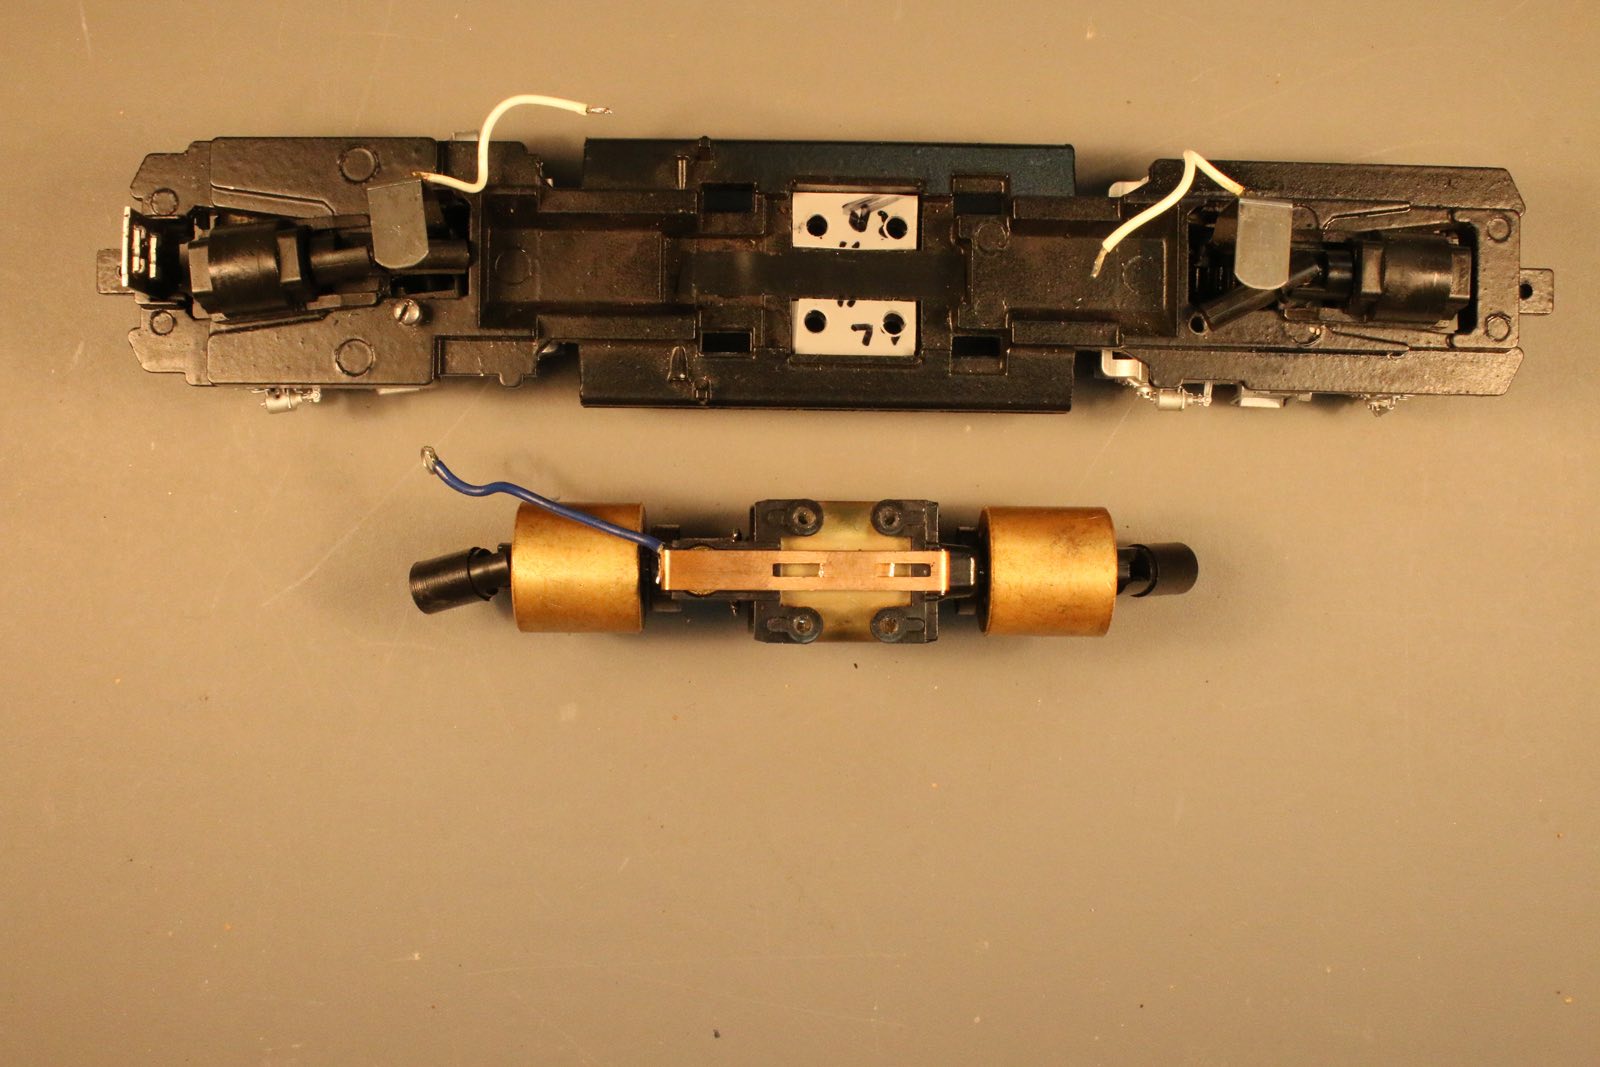
John gave GP40 #3015, his first Alaska Railroad locomotive, to Rick and asked if he would be able to convert the DC locomotive to RailPro. Rick accepted the challenge. The above photo shows the frame of 3015 and the bottom of the motor. What remains of the two motor mounting blocks are shown. The copper strip with the blue wire attached (negative side of the motor) had two tabs that projected down to contact the frame in the center. The two tabs have been removed to isolate the motor electrically from the frame (left wheels of the trucks). Power from the right wheels of the trucks (positive side of the motor) are the two white wires on the right. The white wire on the left is for the headlight and is an incandescent bulb. It will be replaced with an LED. There is a screw in the frame close to the end of the white wire on the left. A wire will be attached to the screw for the negative power lead.

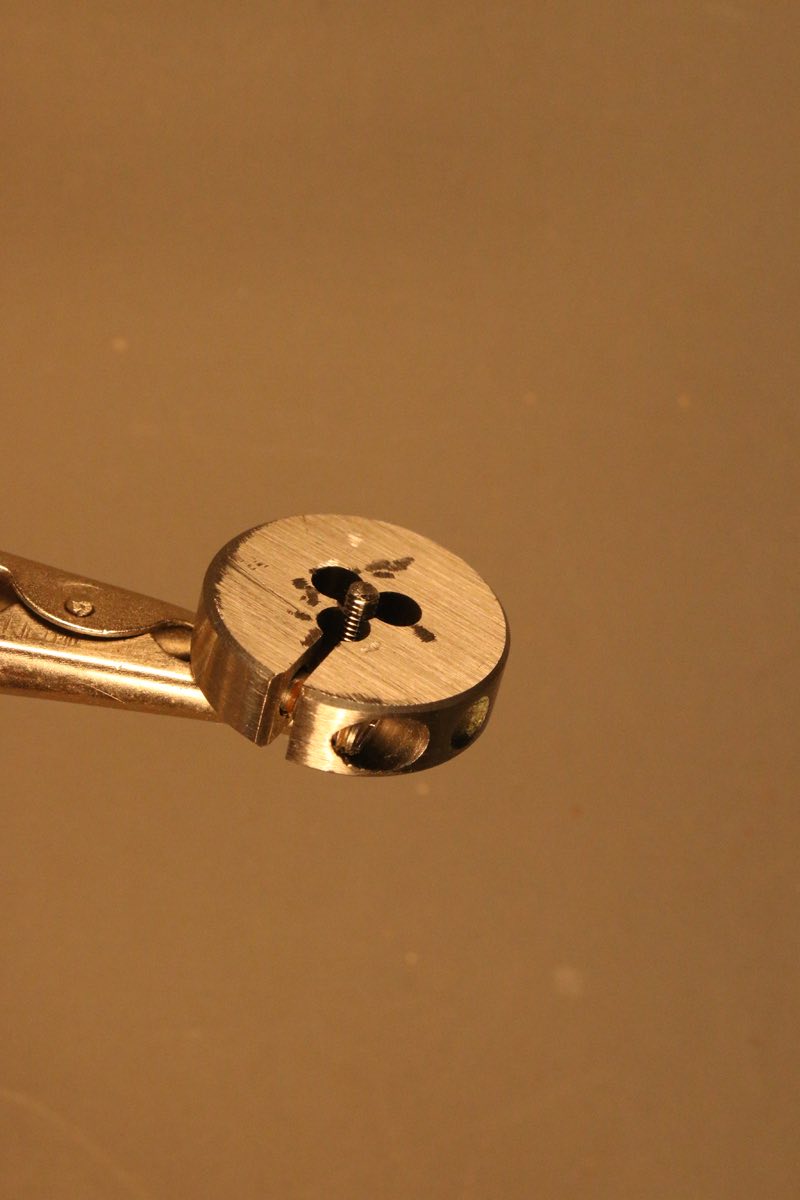
This photo shows one of the screws used to secure the motor in the frame. The screws were too long. The screws were threaded into the die with the excess length protruding from the die. The excess was ground off with a Dremel tool. The die cleaned up the threads when the screw is removed.

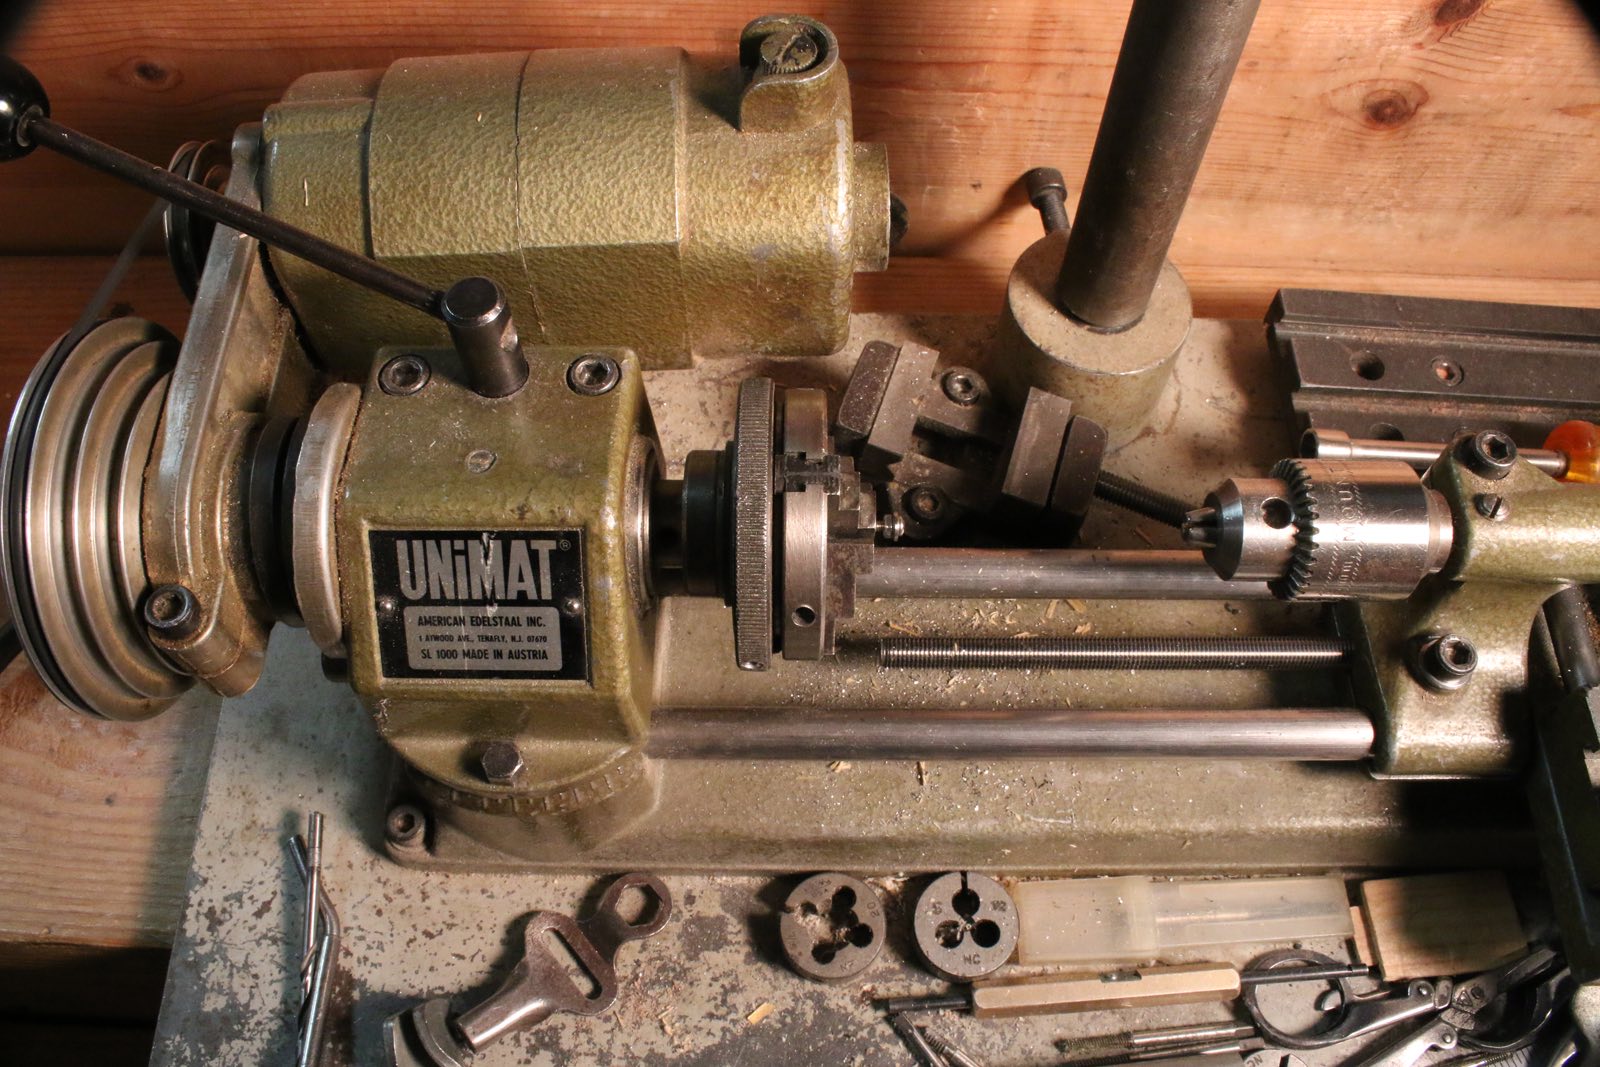
This photo shows a motor mount screw with a flat washer, lock washer, and nut in the chuck of the lathe. A file was used with the lathe running to reduce the outer diameter of the flat washer so it would fit in the bottom of the frame.

3015 3015 3015

This photo shows the 2-56 tap in a tap wrench, the 2-56 die, 2-56 nut, 2-56 lock washer, 2-56 flat washer, 2-56 screw, and the bottom of the frame with three screws and flat washers in place. The nut and lock washer are not used for mounting the motor to the frame. The tap was used to tap (cut threads) in the four holes on the bottom of the motor.

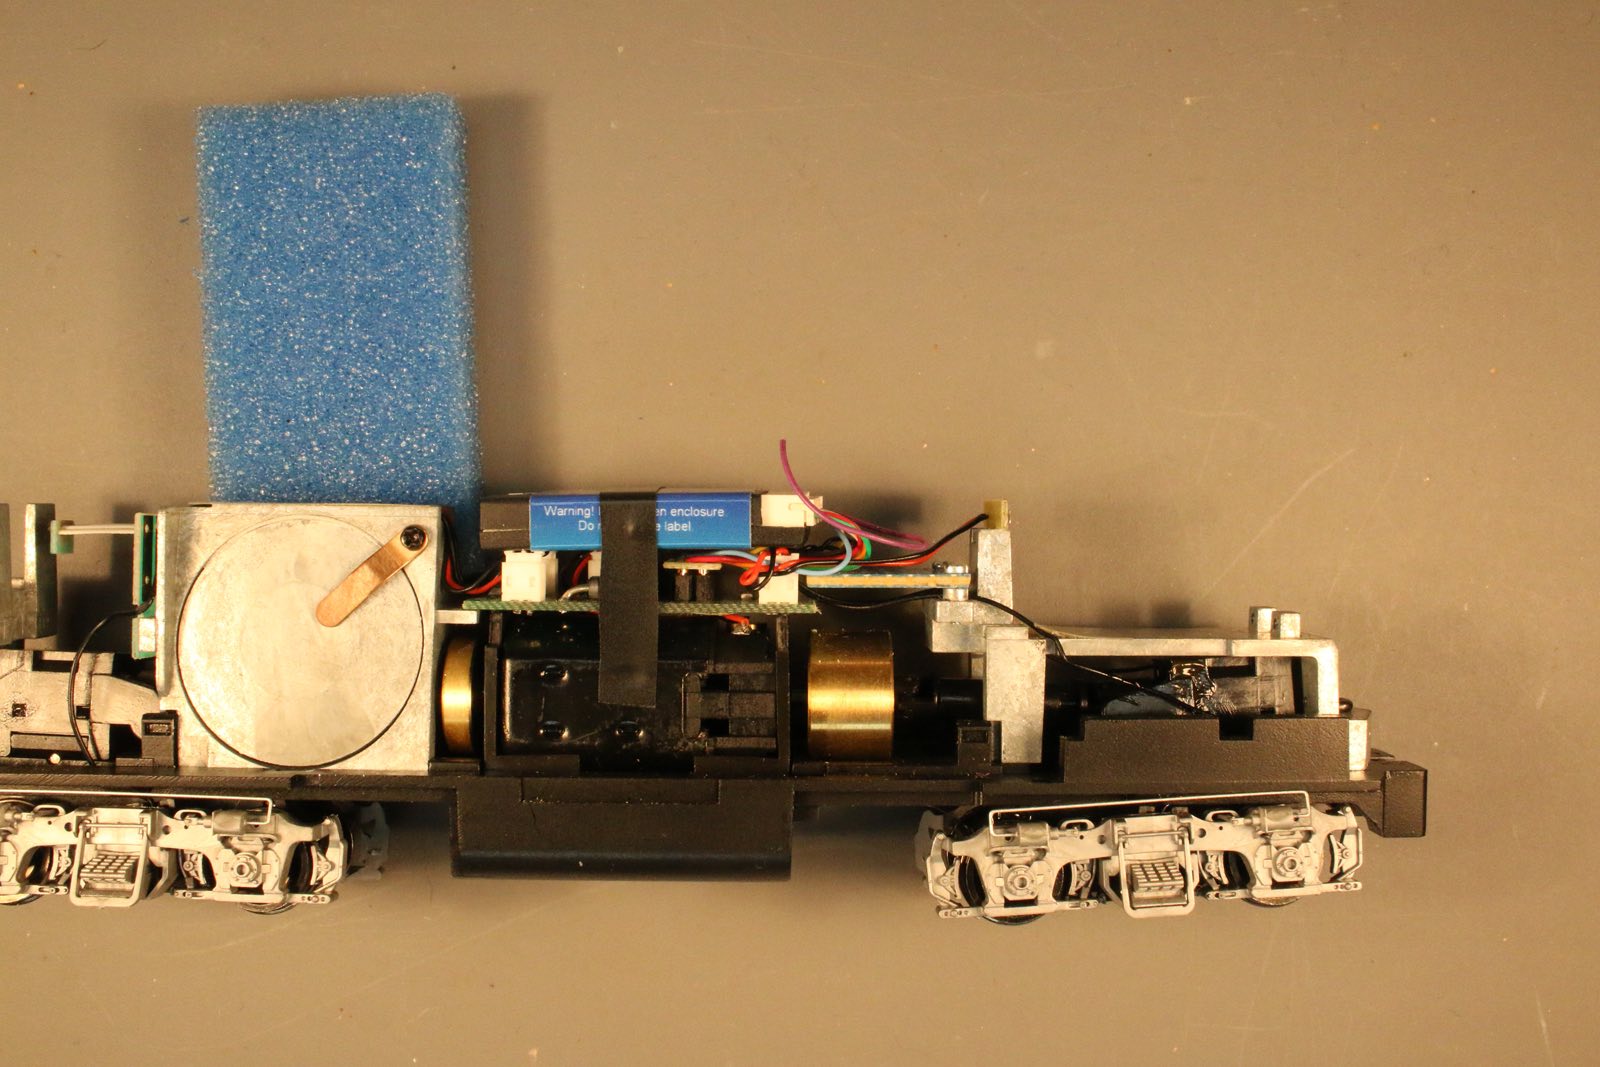
This photo shows the frame with plastic pieces inserted (with holes for the screws to go through) to fill in the space of the original motor mounts. The four holes on the bottom of the motor have threads the screws will thread into. The motor is very secure with this replacement of the original motor mounts. Rick ran the motor/frame on the test track and it works well.

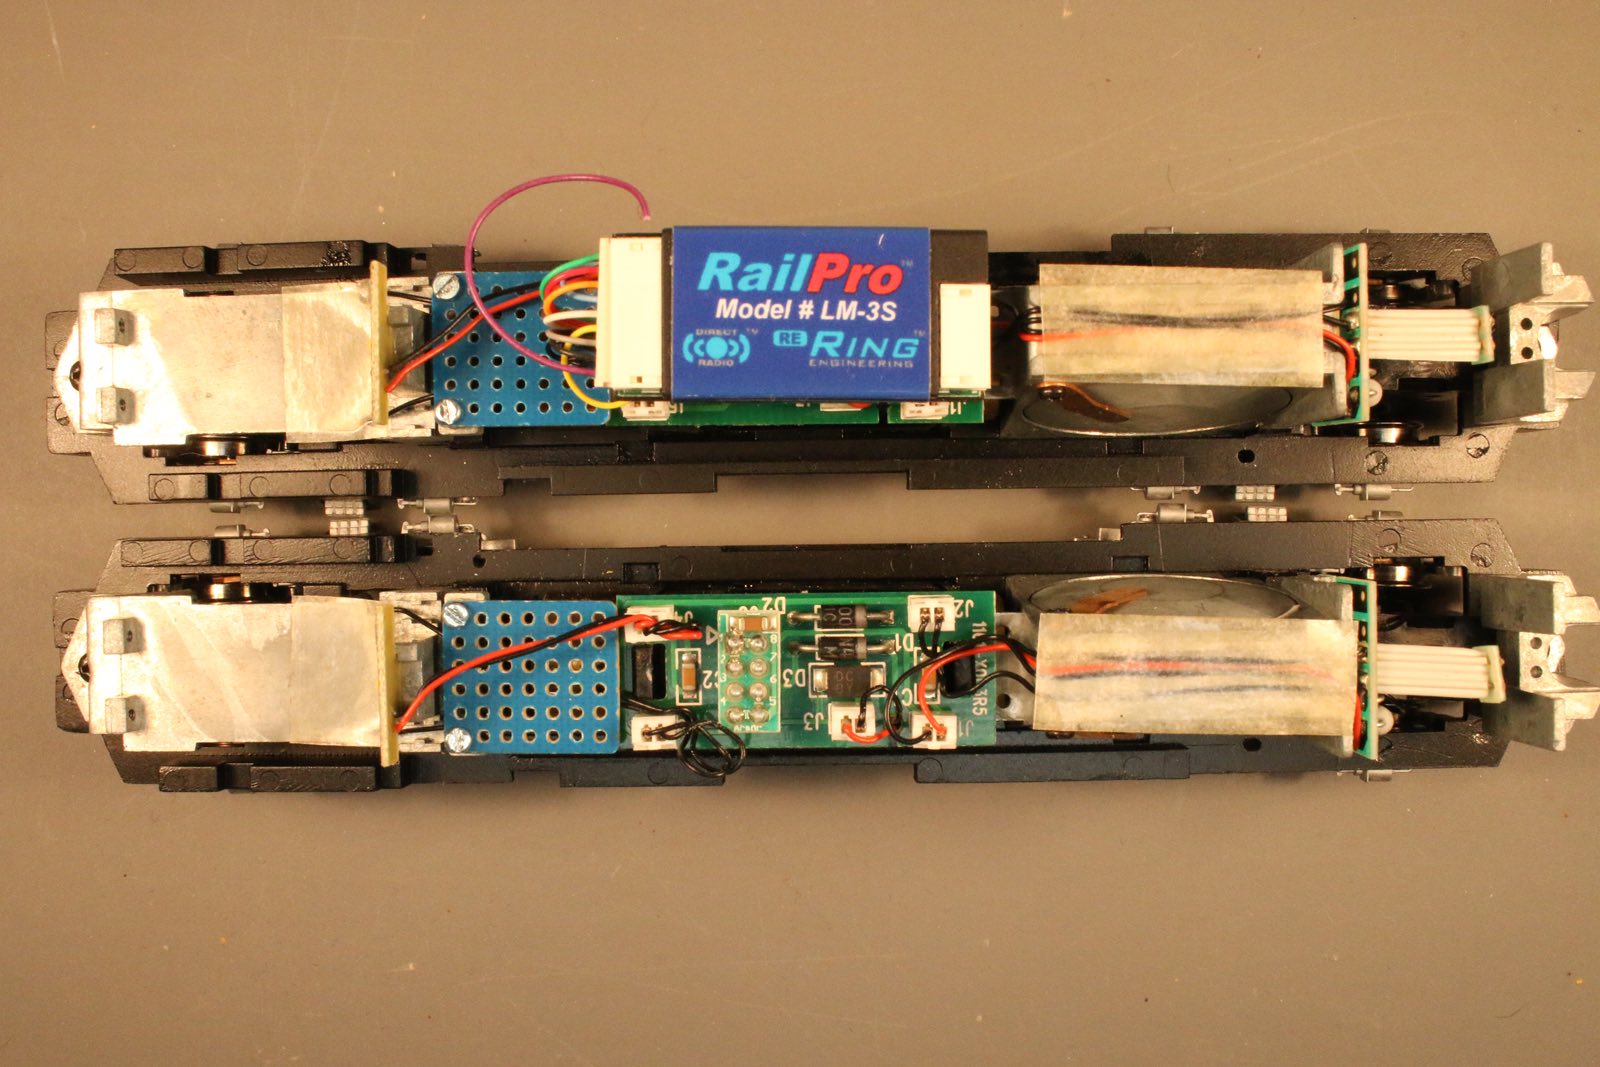
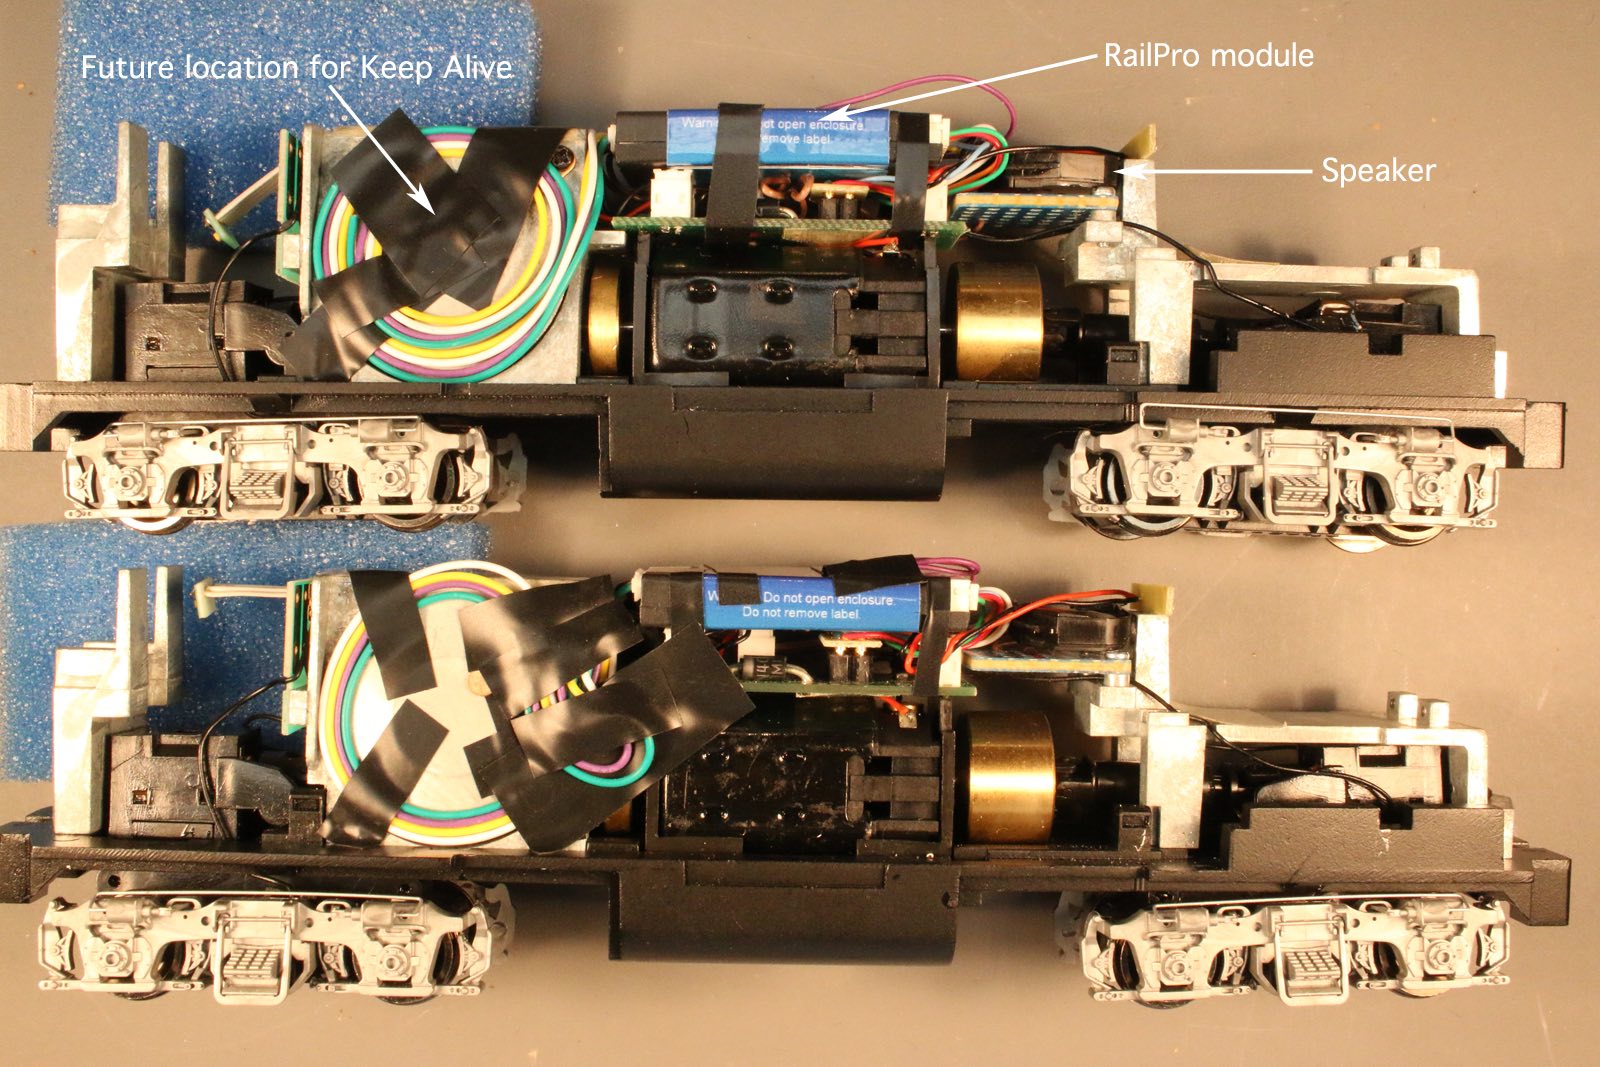
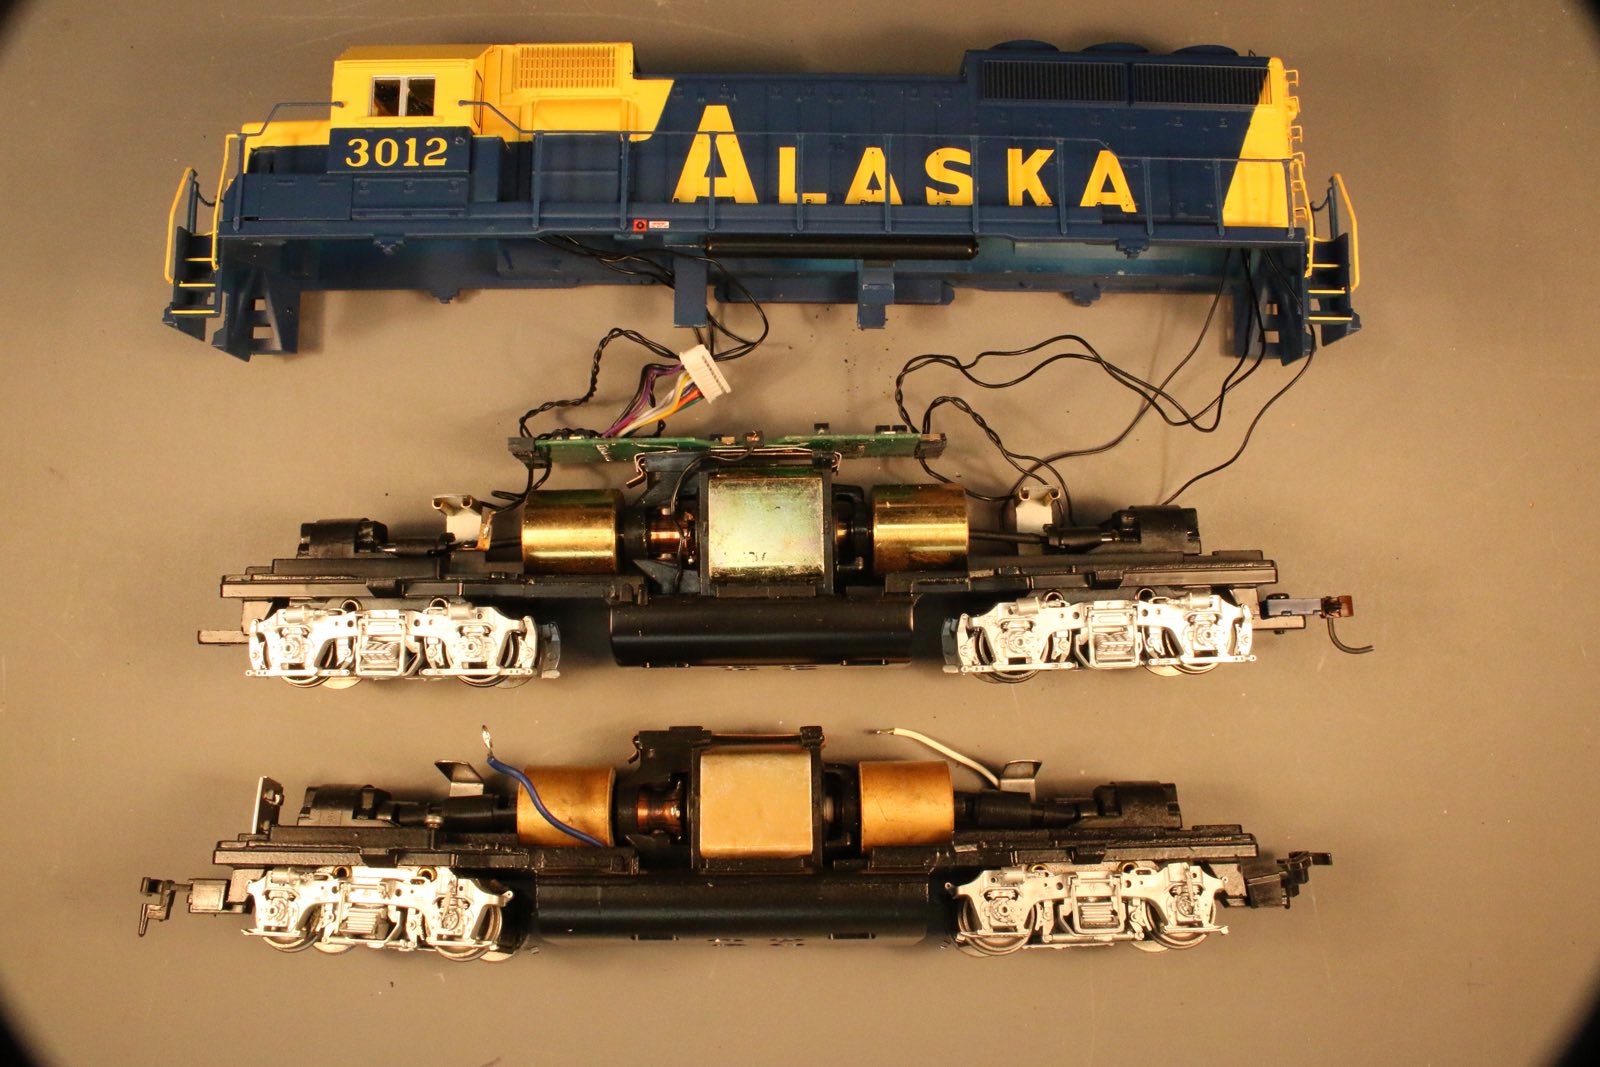
This photo shows the 3015 frame (bottom) and the 3012. The 3012 is DCC ready and has a 9-pin connector. The 3012 has the same frame as the 3015. Rick was able to put the 3015 shell on the 3012 frame and there is room for the RailPro decoder.


Feel free to contact me at john@alaskarails.org
Page created 7/3/19 and last updated 8/9
/19