November 1, 2018
image
image
image

Tom triumphantly finishes laying track at the reverse loop and the Usibelli Coal Mine siding (pictured above). A modification to the original plans will be made later to extended the siding back to the bridge.

Leigh falls in love with our hot wire cutter. She uses scrap two-inch foam board pieces to experiment with various techniques. Hopefully she'll come on board to help us cut the foam board residing around the track bed.

With artistic flare Leigh carves a design in the foam and then slightly pops it out for a 3-D effect.
image
image
image

John and Tom play with a recently purchased Tortoise switch machine and determine it will meet the layout's requirements. An additional 39 Tortoise's will be purchased soon to connect with each of the switches on the layout.

Due to lack of foresight, holes were not initially drilled at each switch to accommodate a switch machine. Tom suggests a plan to easily remove switches and drill the required holes. This effort will takes several weeks to accomplish.

Tom also suggests creation of wiring diagrams to facilitate connection of all products. This will enable the group to order the correct amount, size and color of wire.

We now have a swing gate! Mike built the pieces of the swing gate at home and brought them in tonight. LJ assists in the assembly, mounting and fine tuning of the hinged spring gate. Mike and LJ put the swing gate in place. Angled track will later be installed and the train will then run full circle!
image
image
image

This is an elevated view of the swing gate.

Northern view of the swing gate. The swing gate can open to a full 180 degrees.
image image  
Panoramic view #1 of the layout to date. Panoramic view #2 of the layout to date.  


November 8, 2018
image
image
image

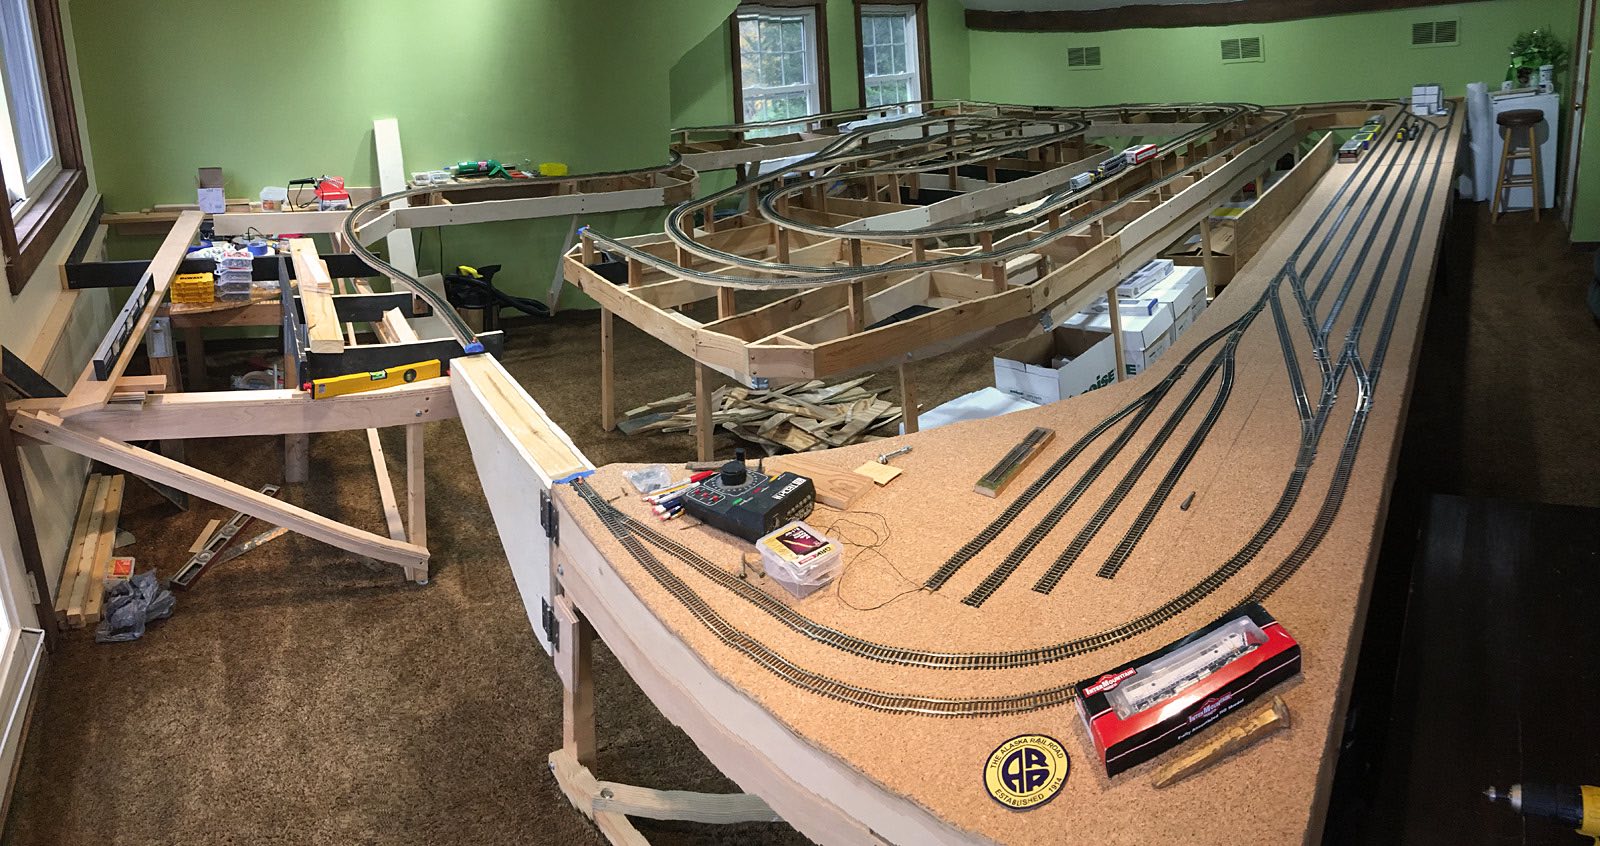
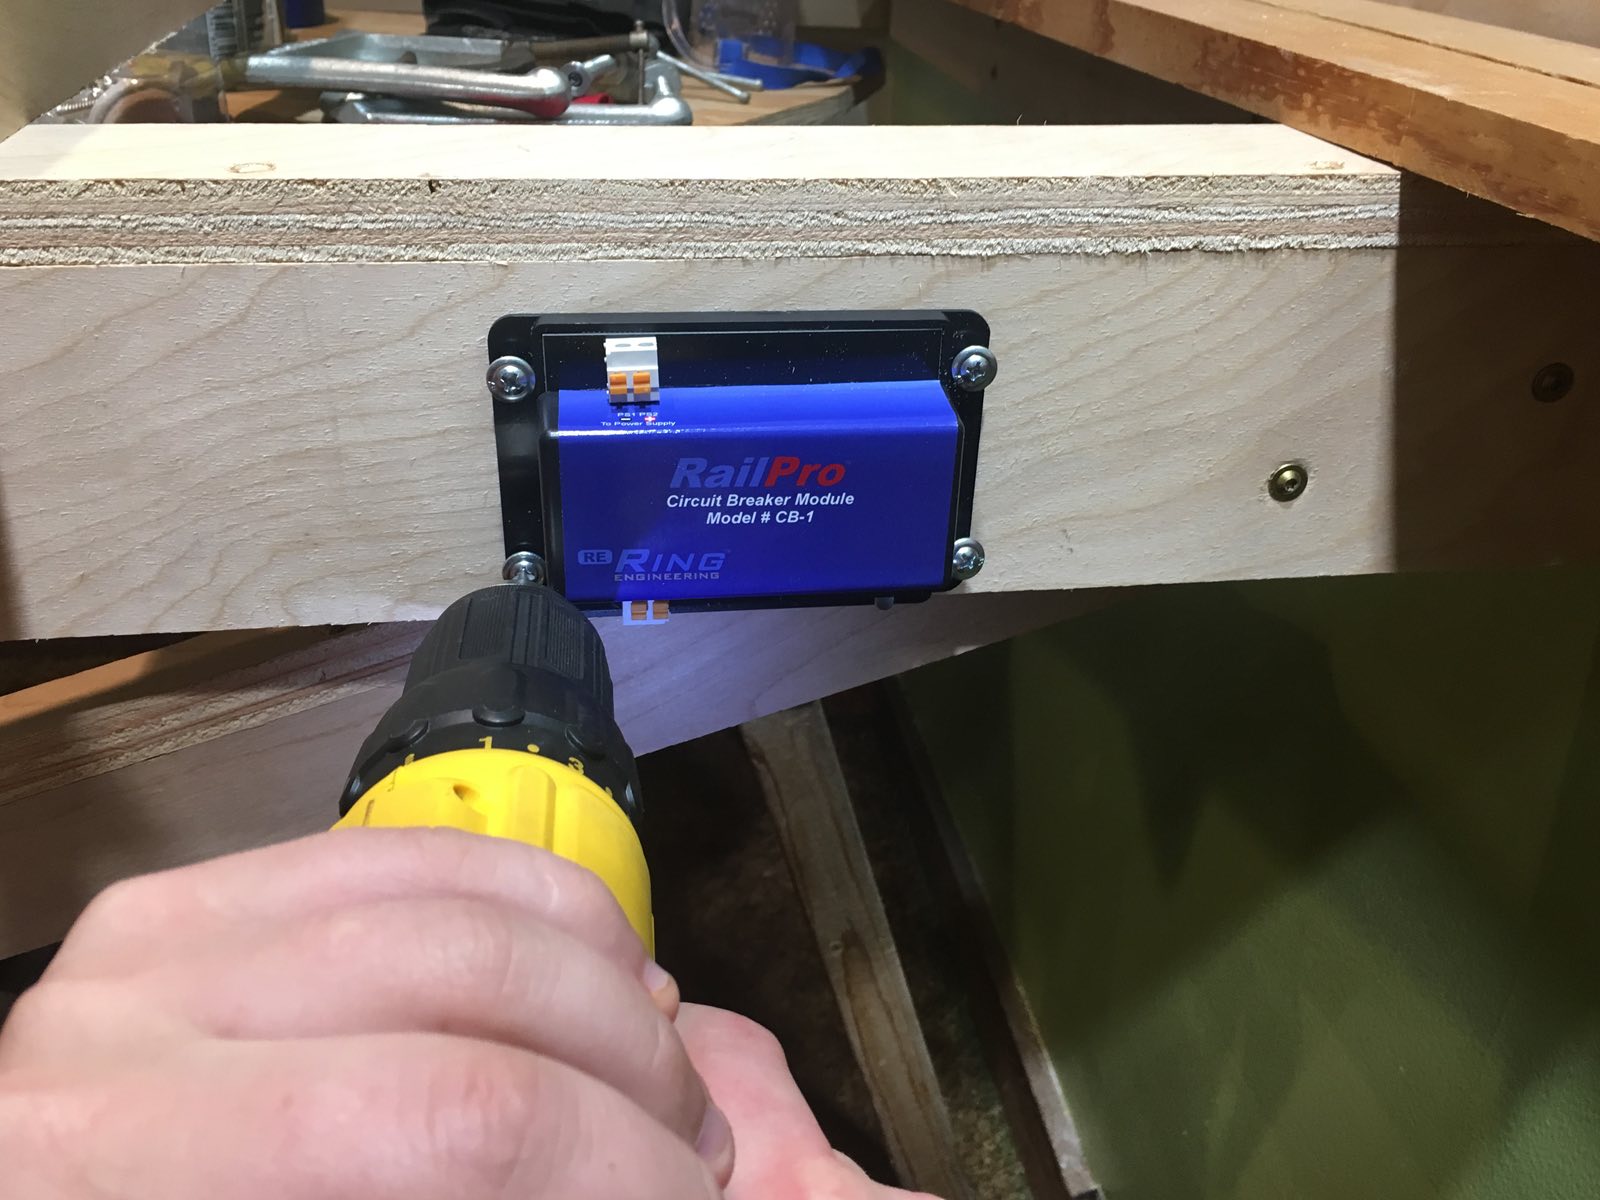
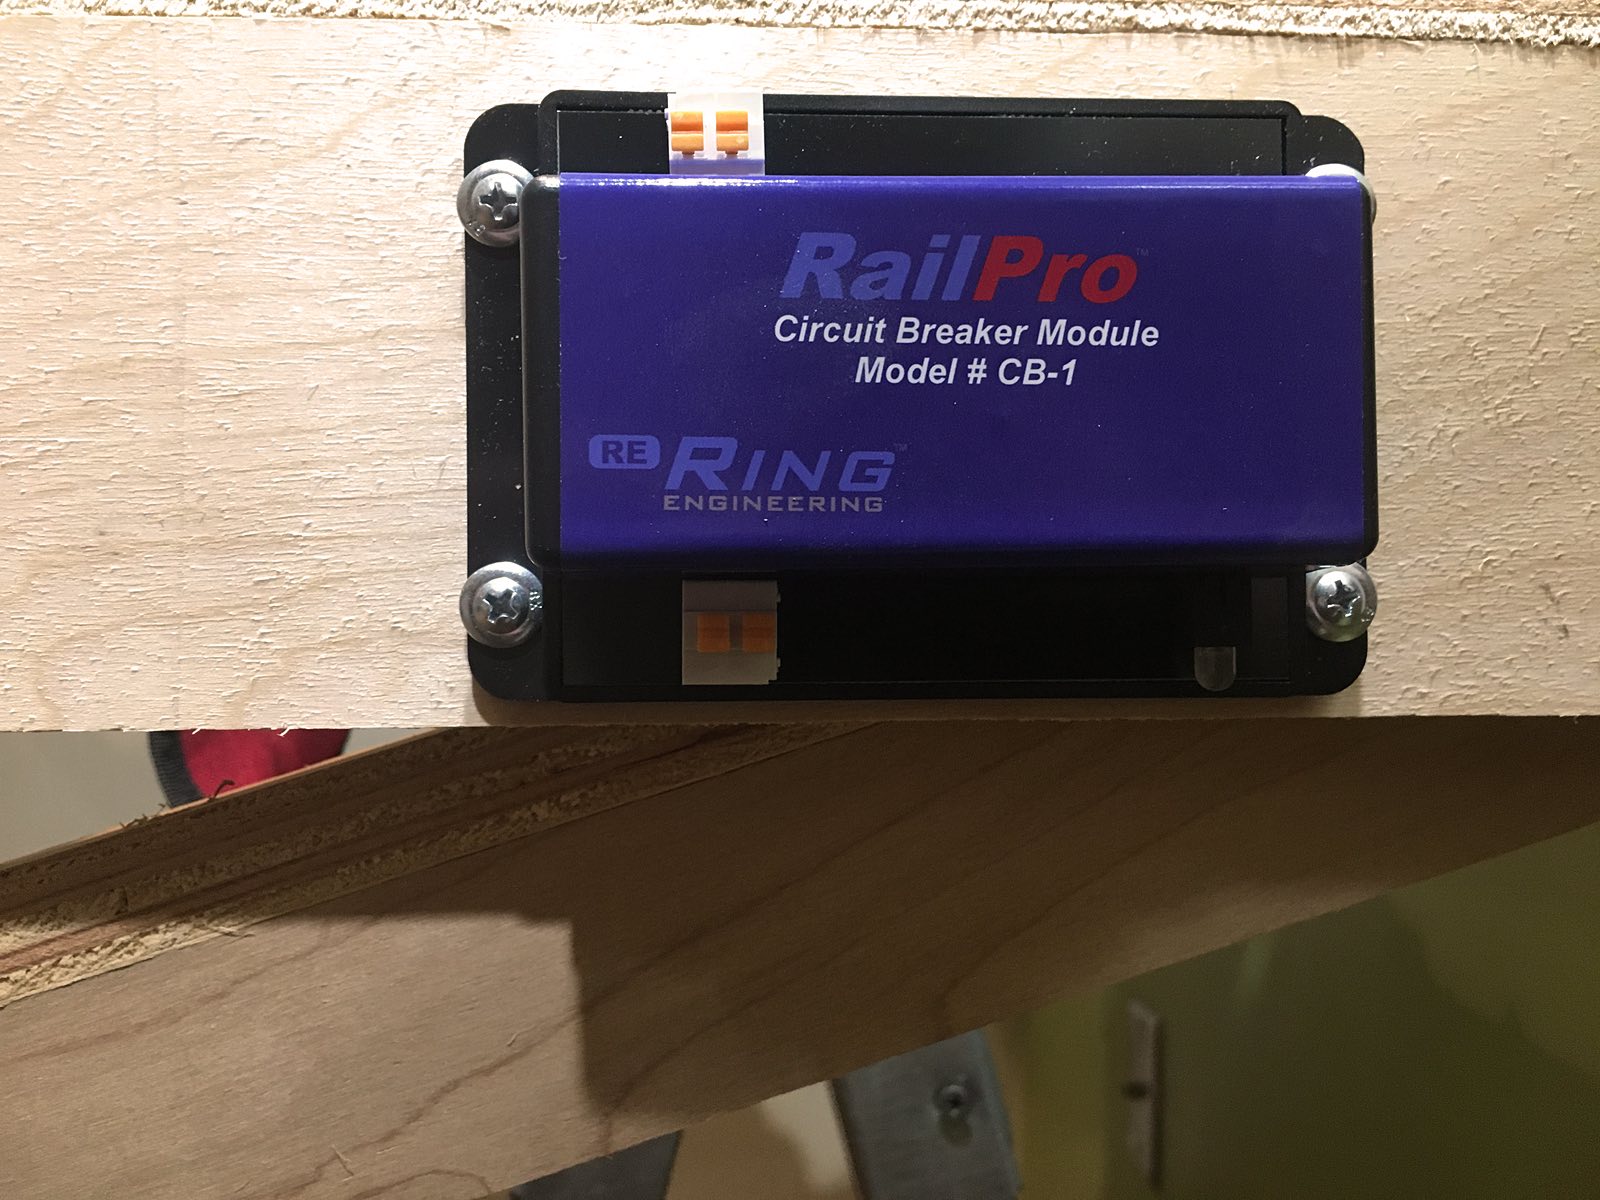
John has immersed himself over the past few weeks reading RailPro manuals and corresponding with the creators at Ring Engineering. The company has great customer service and even provided us with a custom mark-up of their products on the layout. Short blue marks denote the end of segments/blocks and the long black line is connected neutral lines between power supplies.

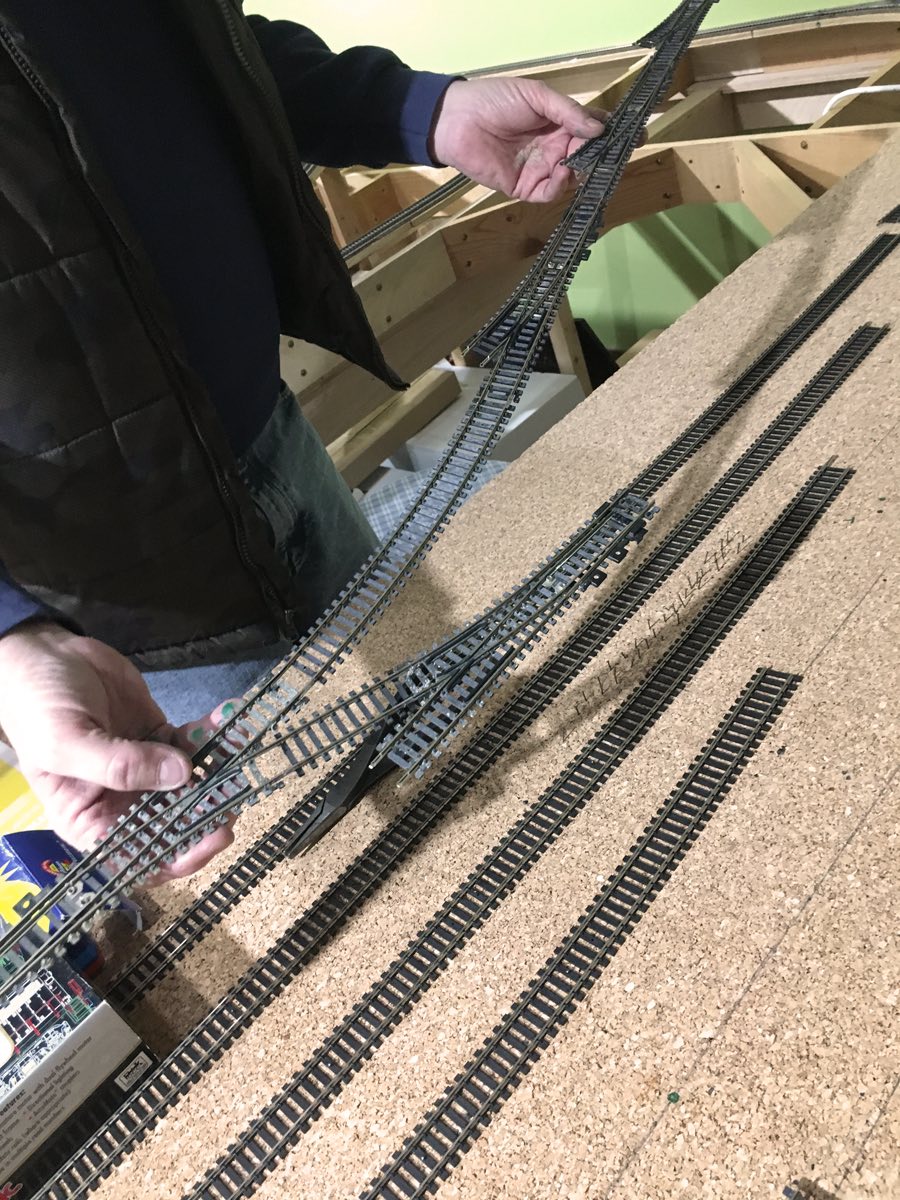
Almost all RailPro products have been received. Initially, two wireless throttles and five locomotive modules were ordered. Also procured were two power supplies, six circuit breakers, ten accessory modules and an auto-reverse loop circuit. The group spent about 45 minutes discussing their installation and various wiring nuances.

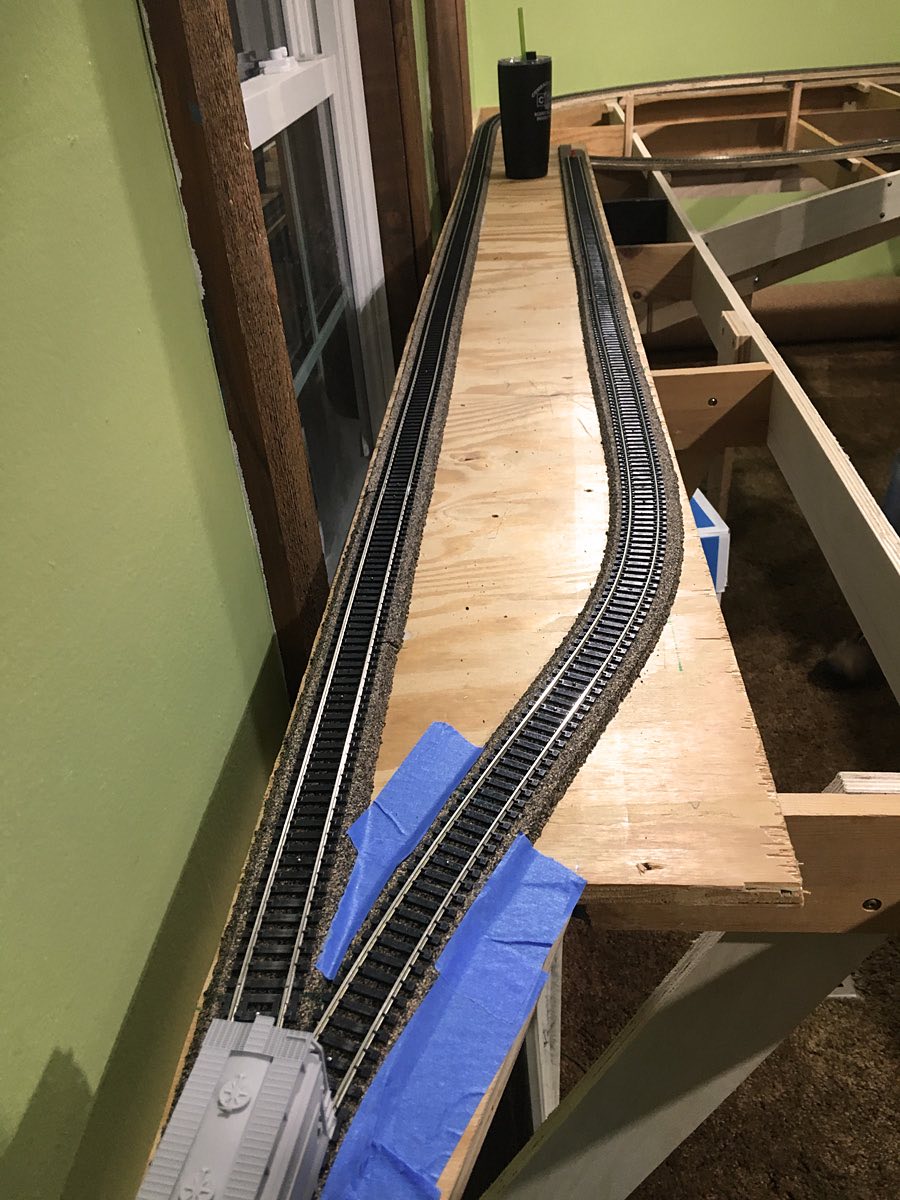
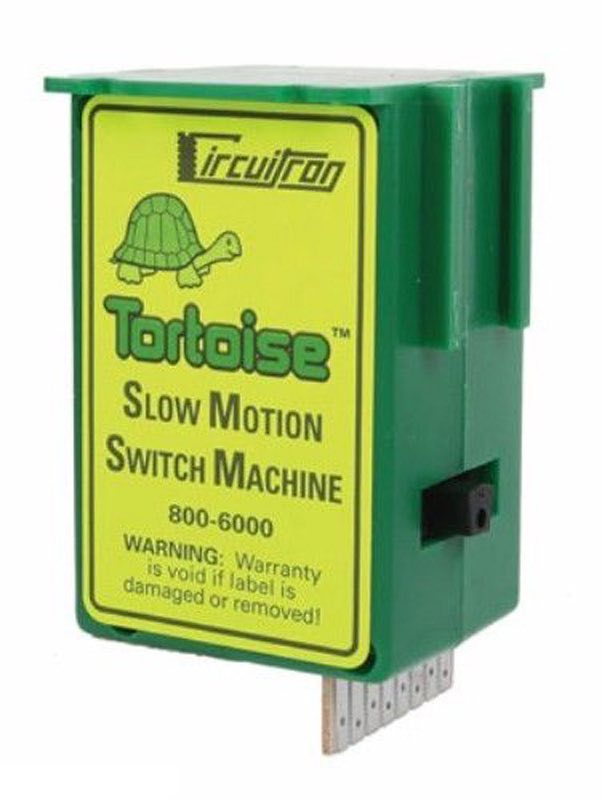
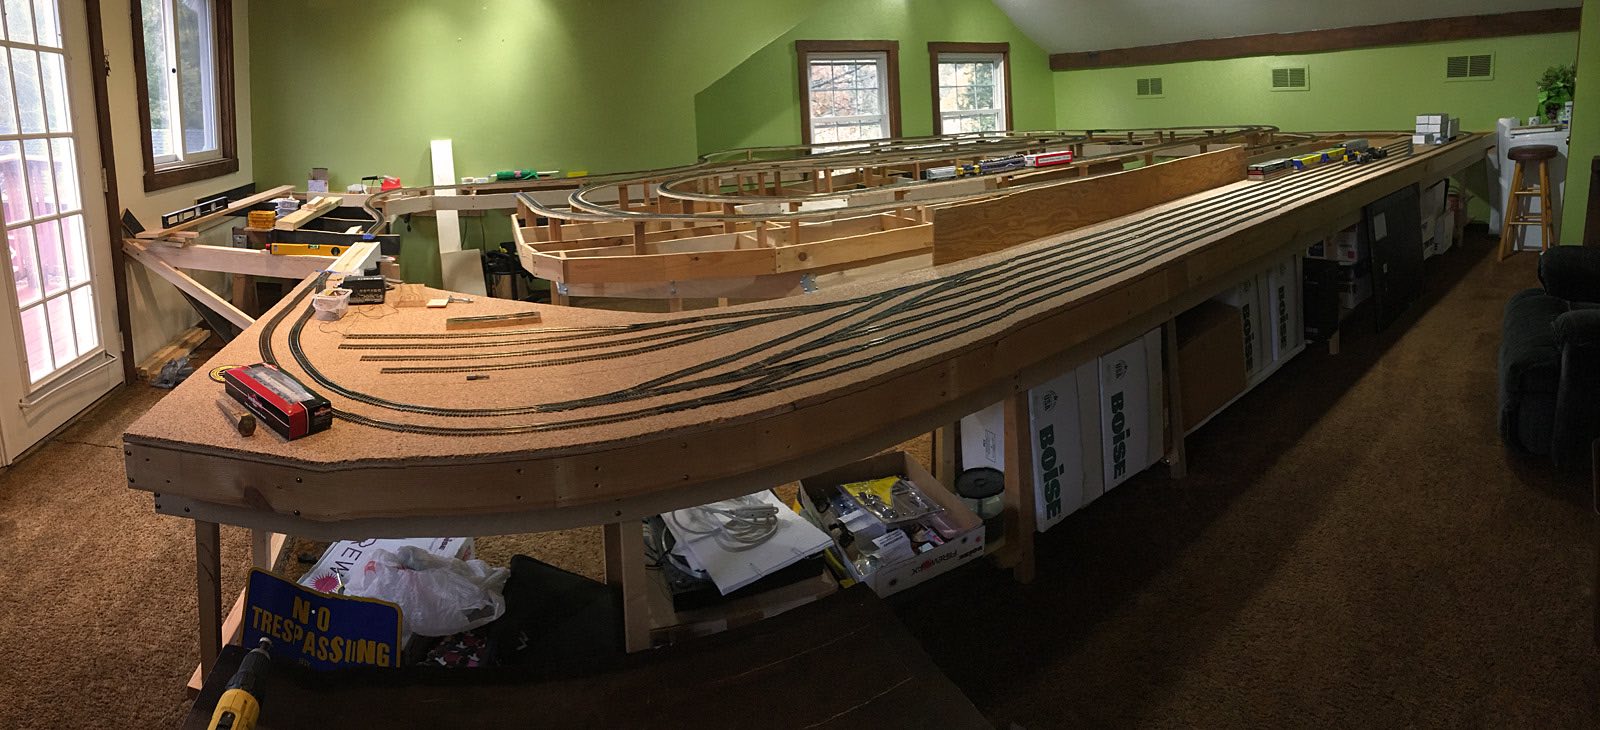
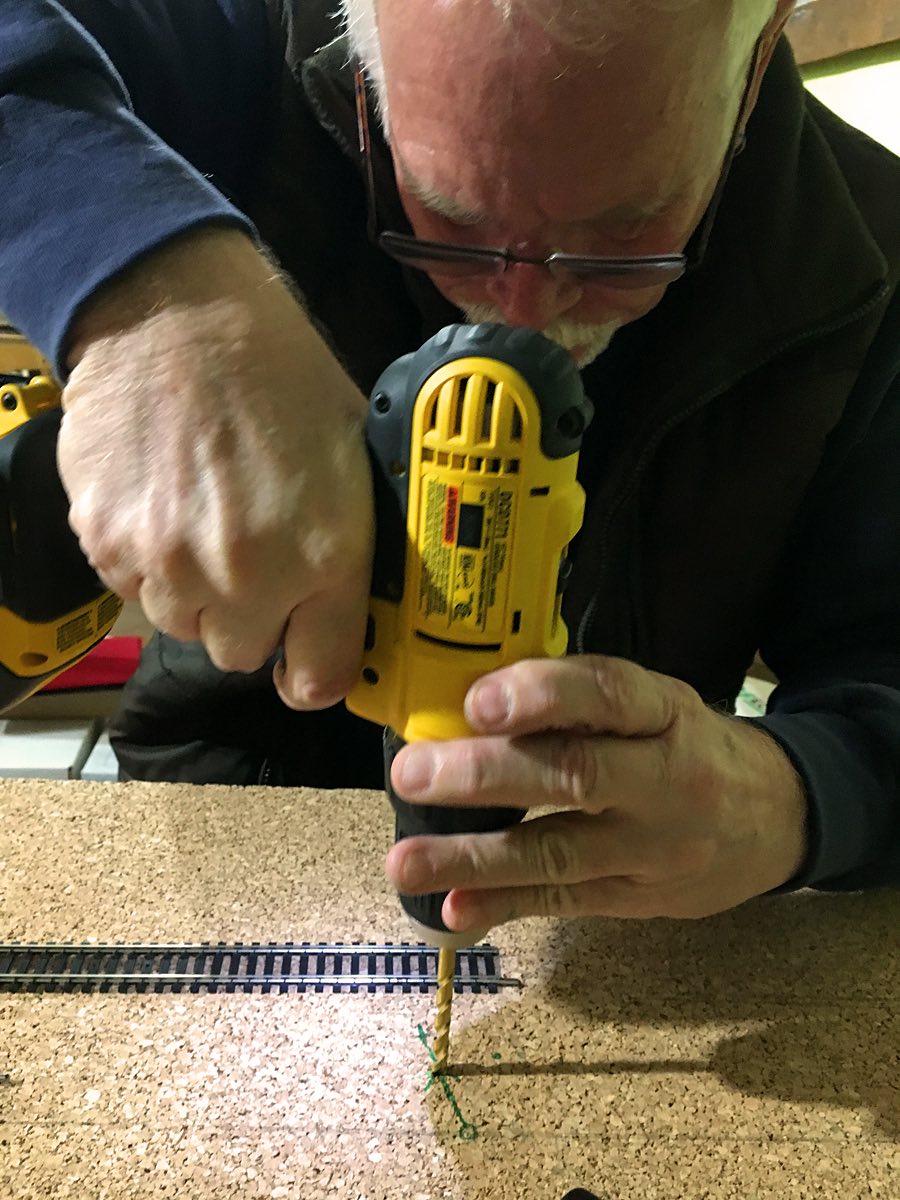
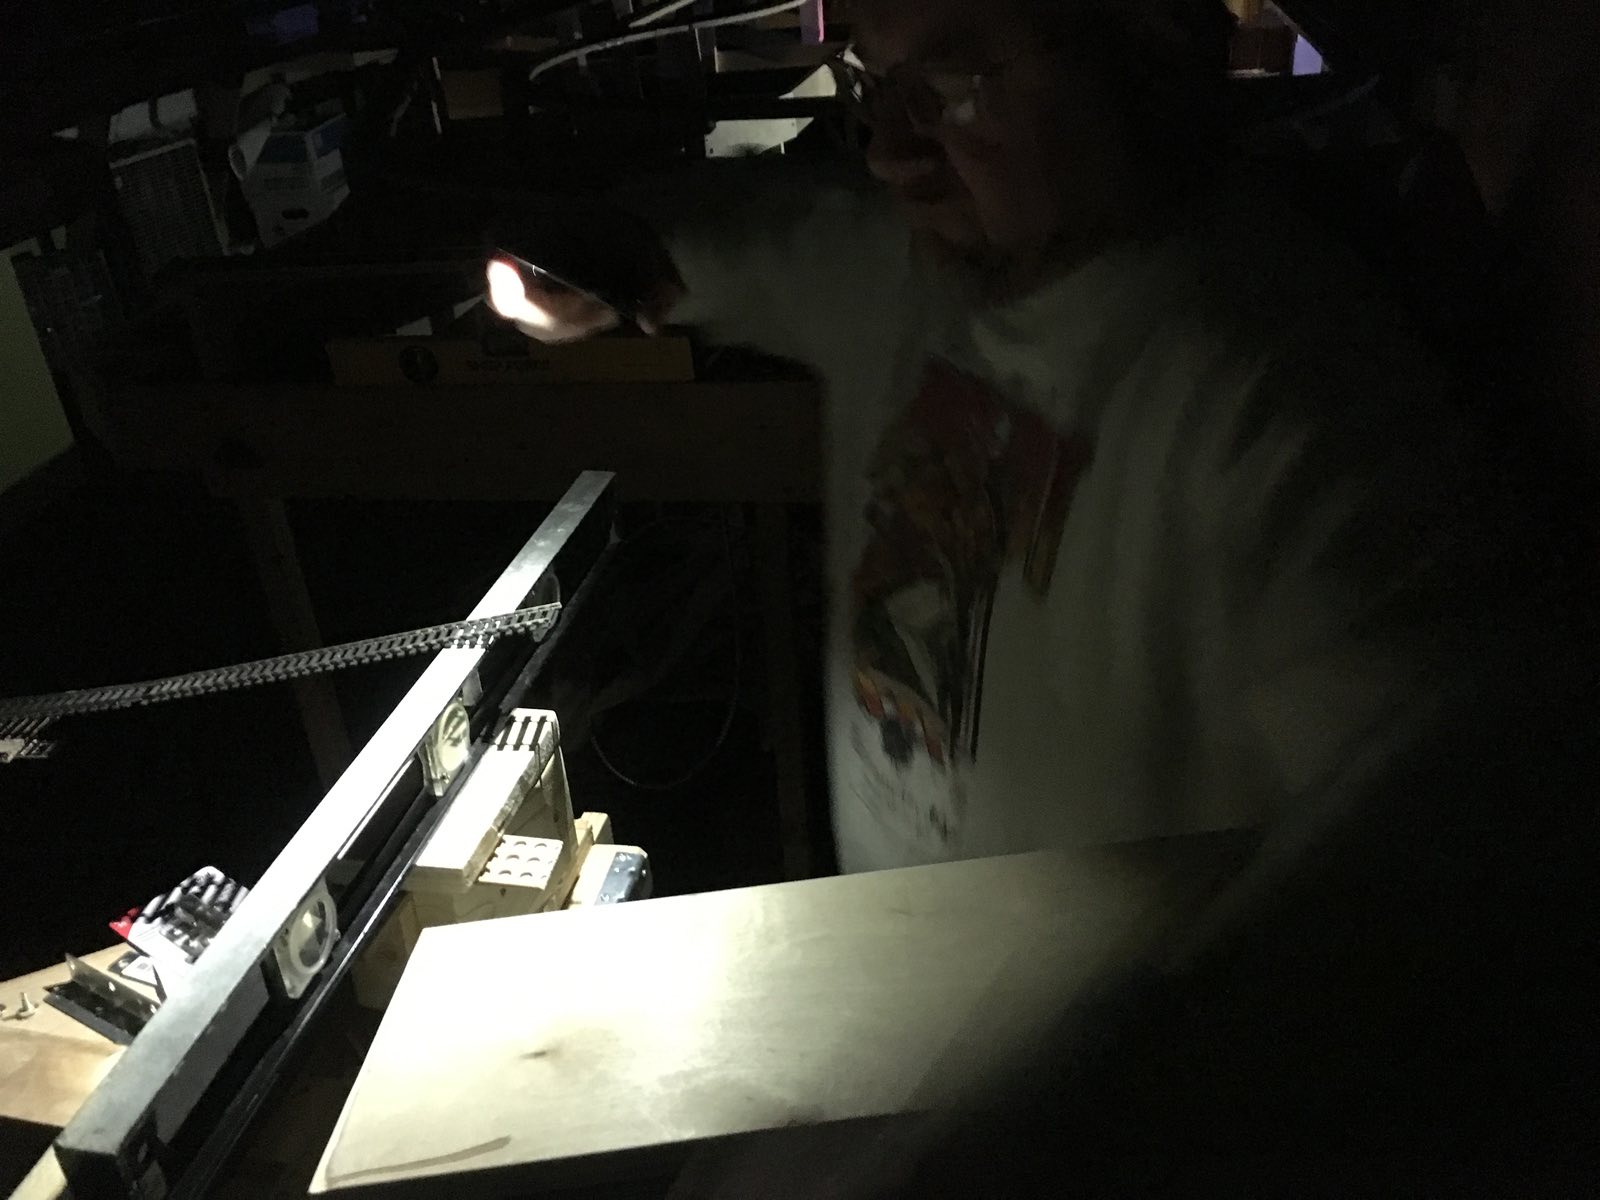
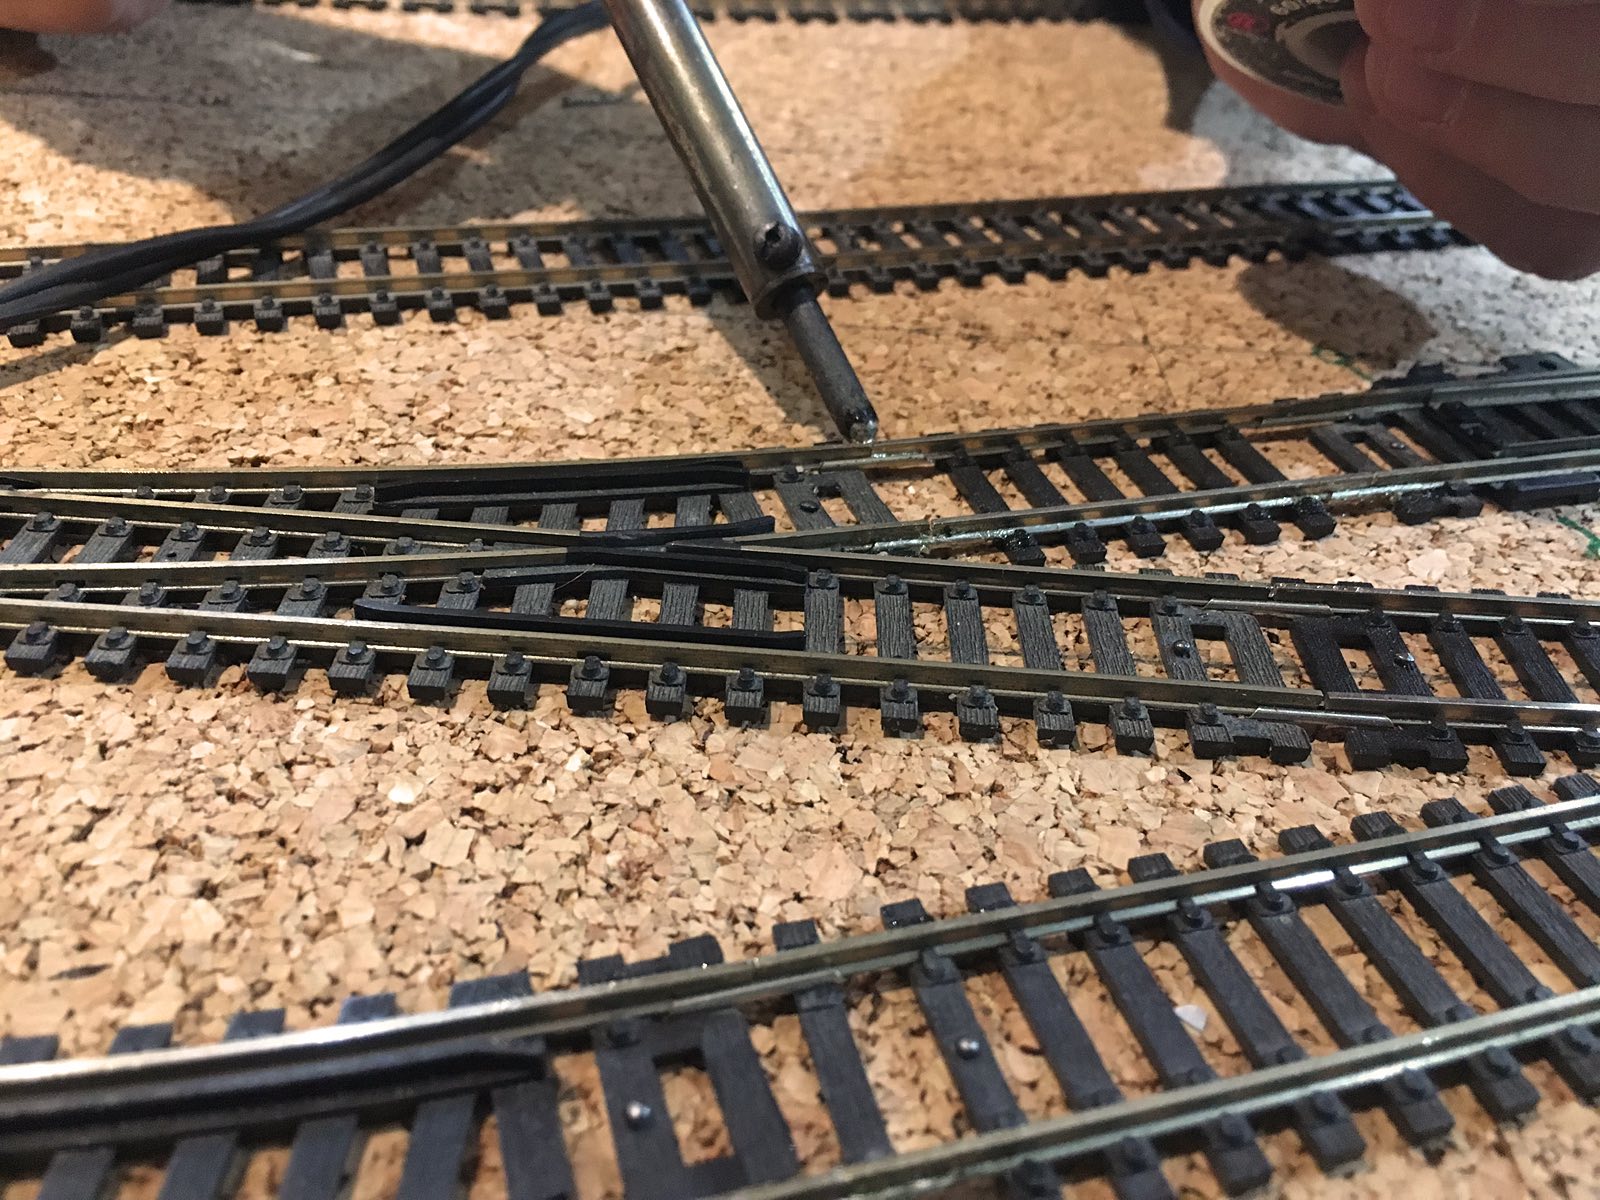
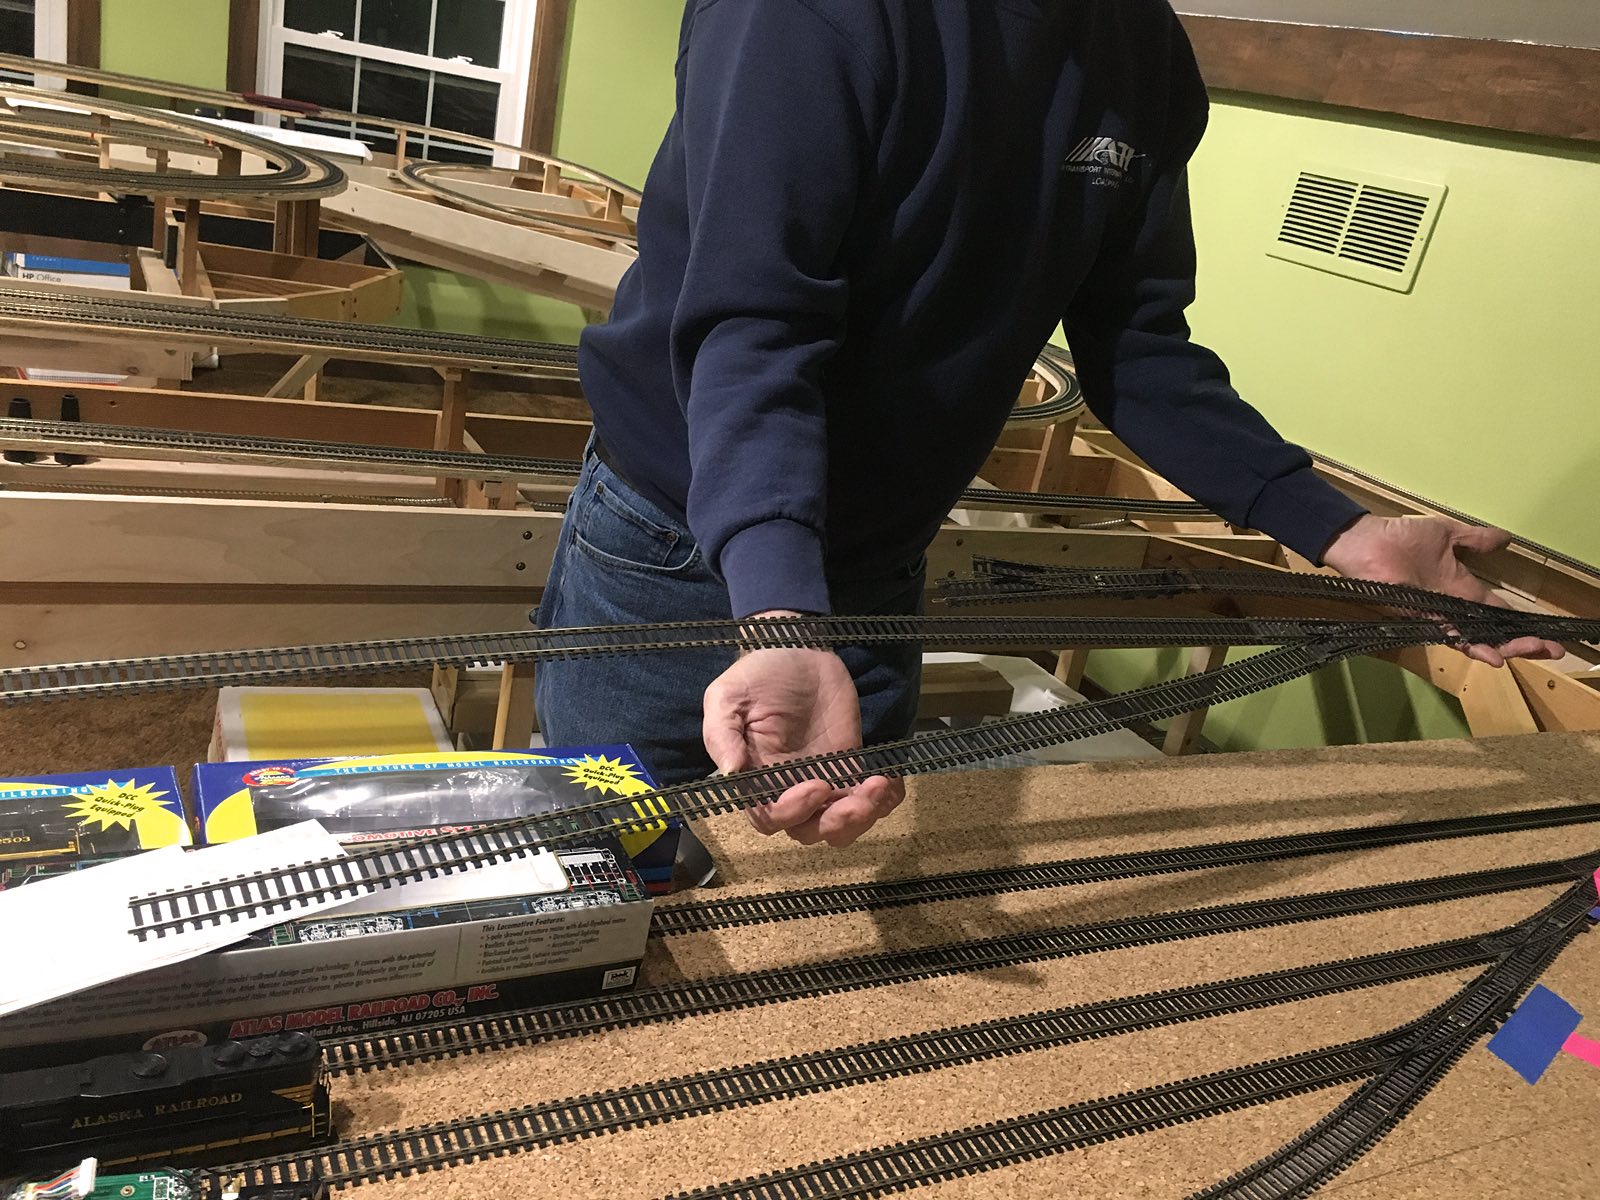
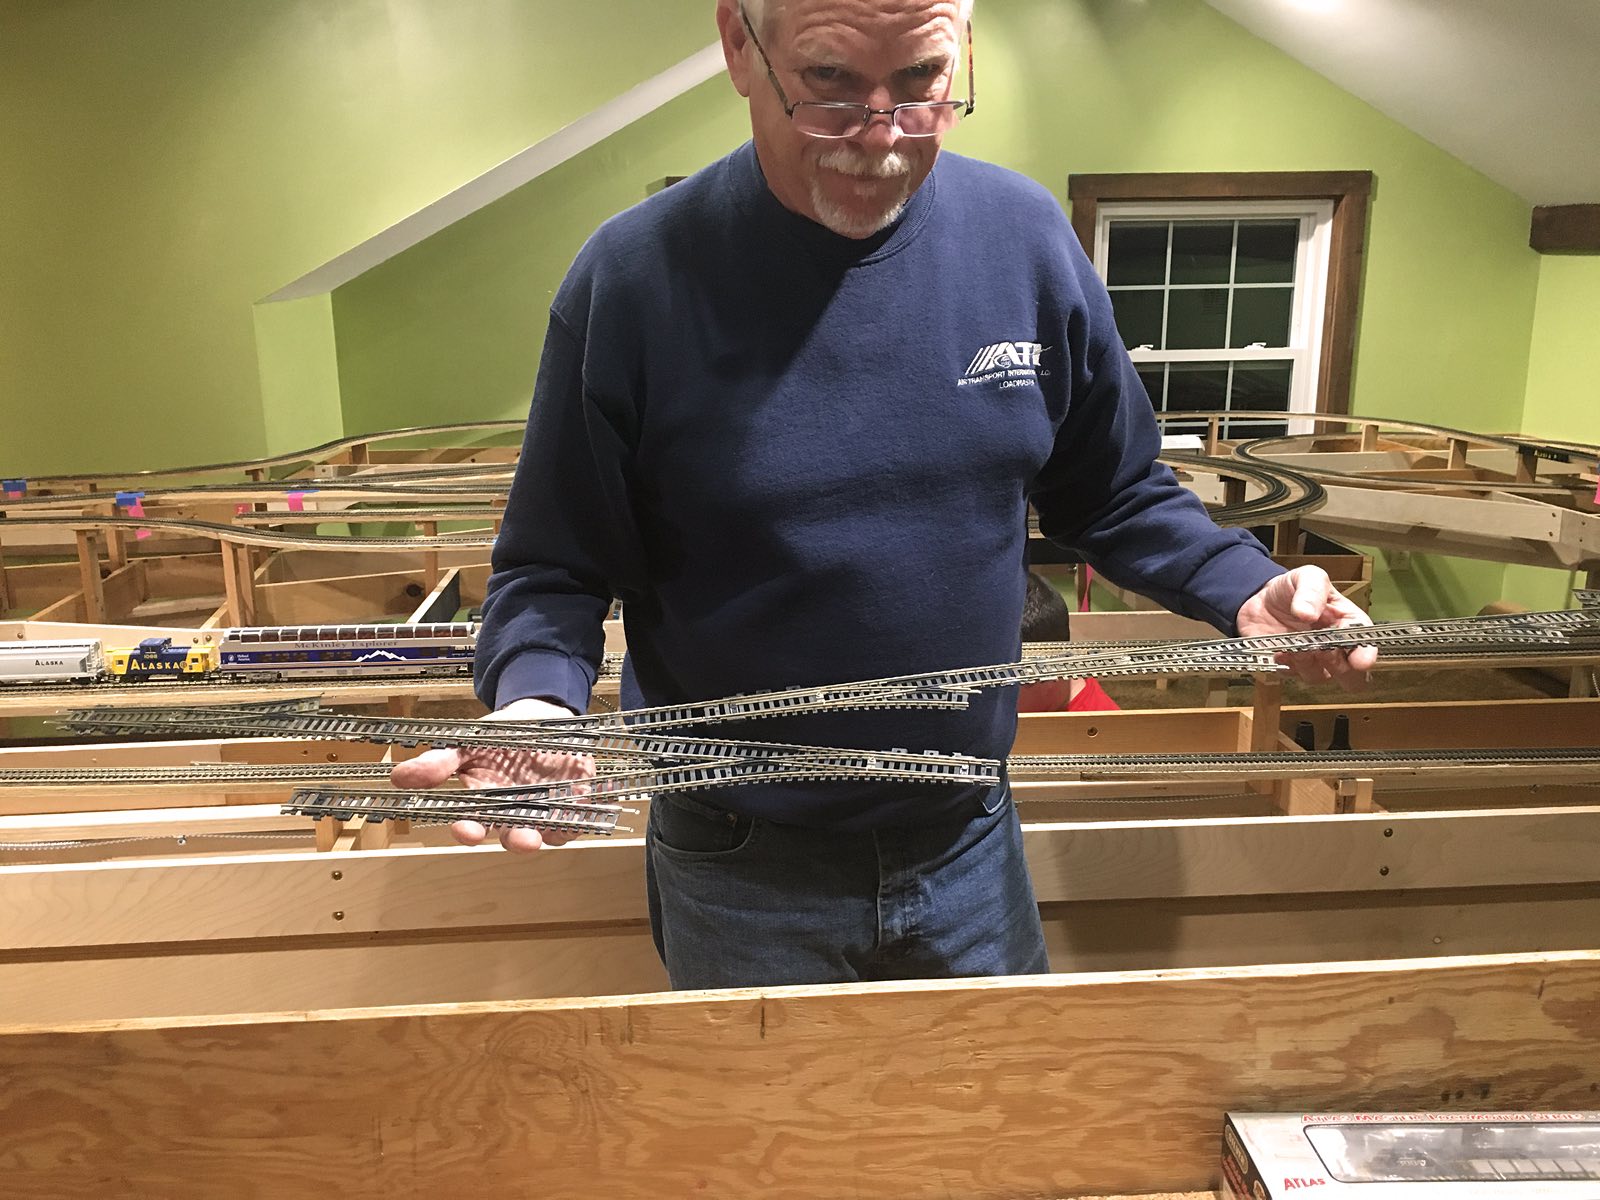
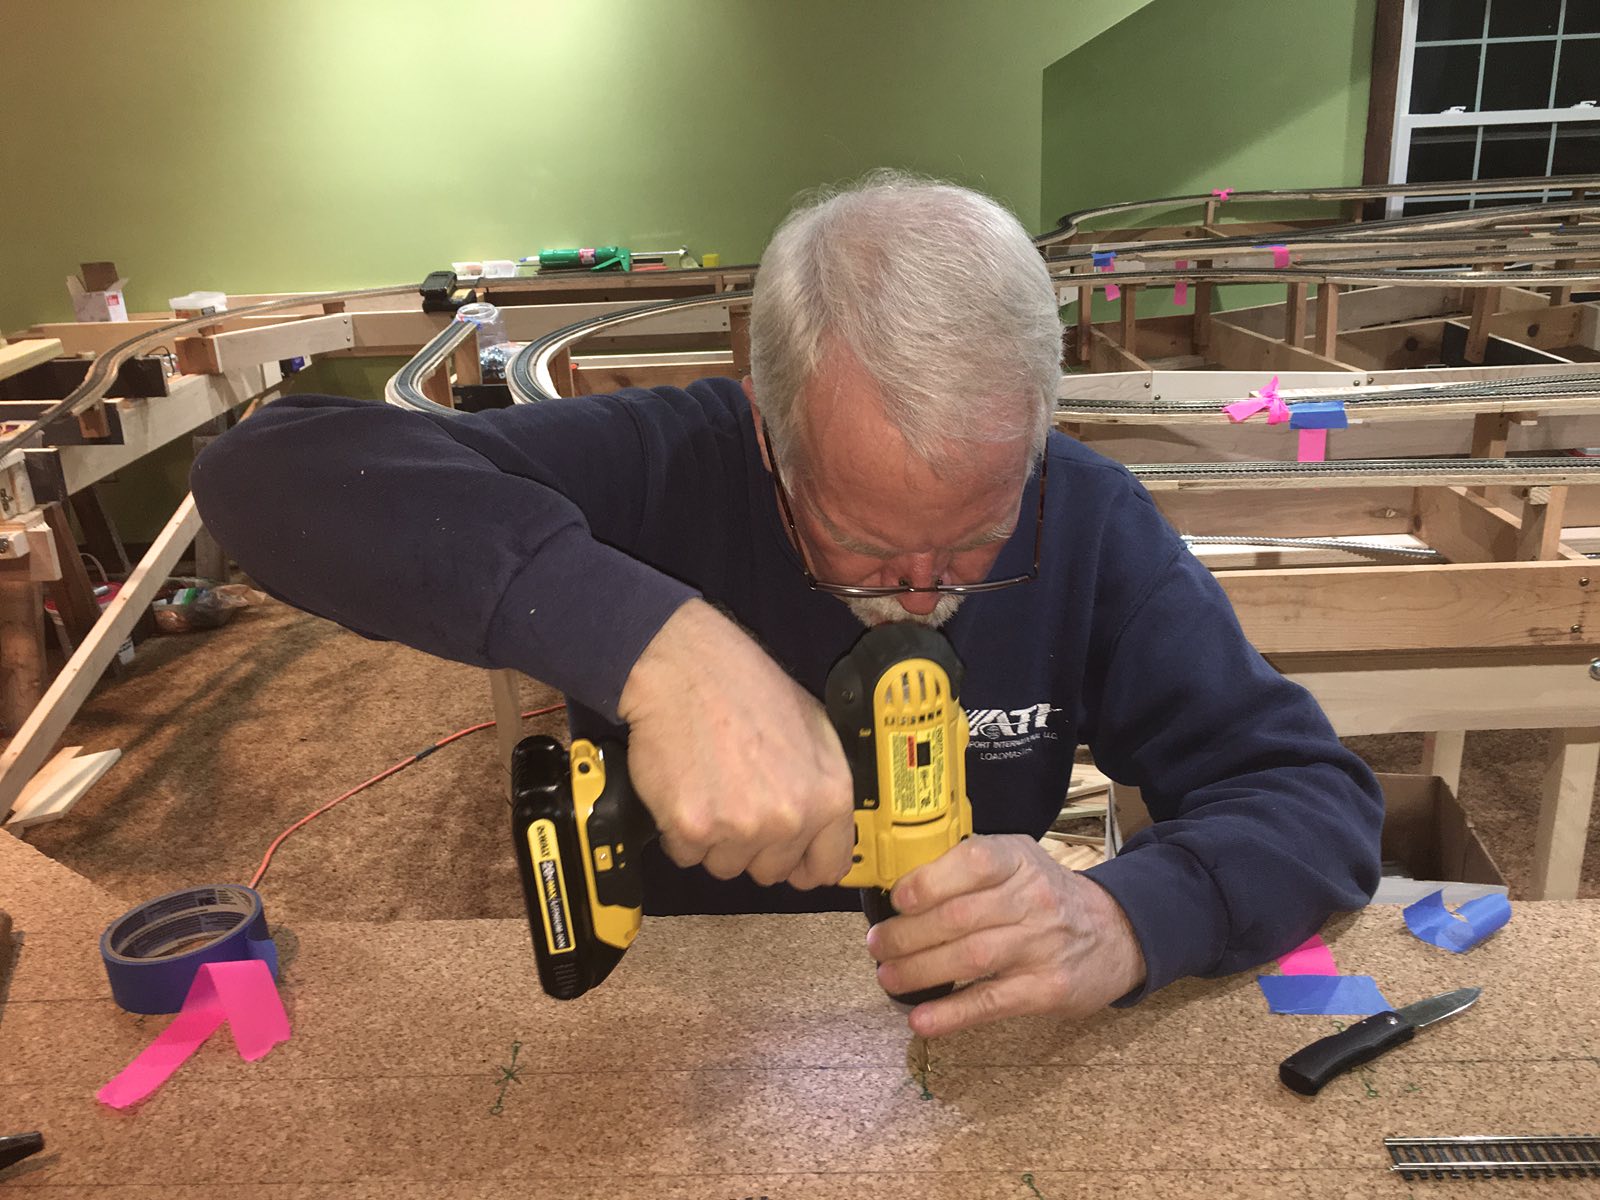
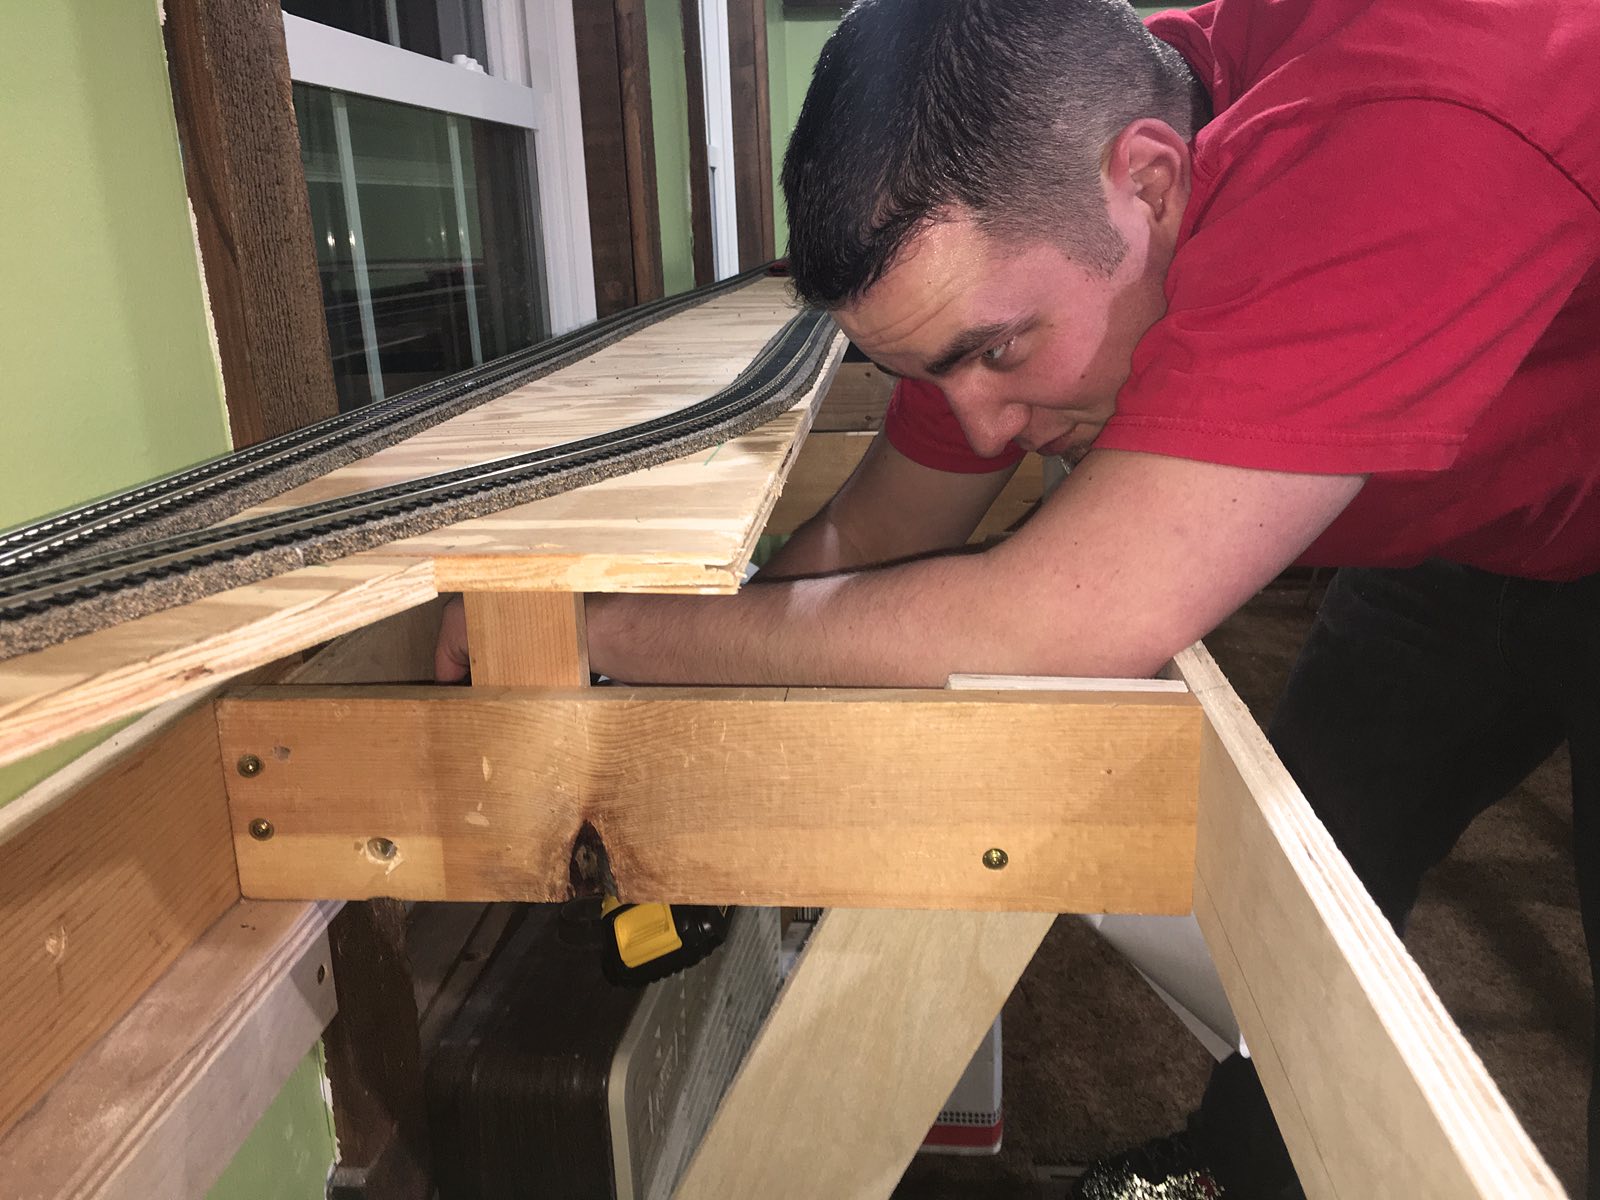
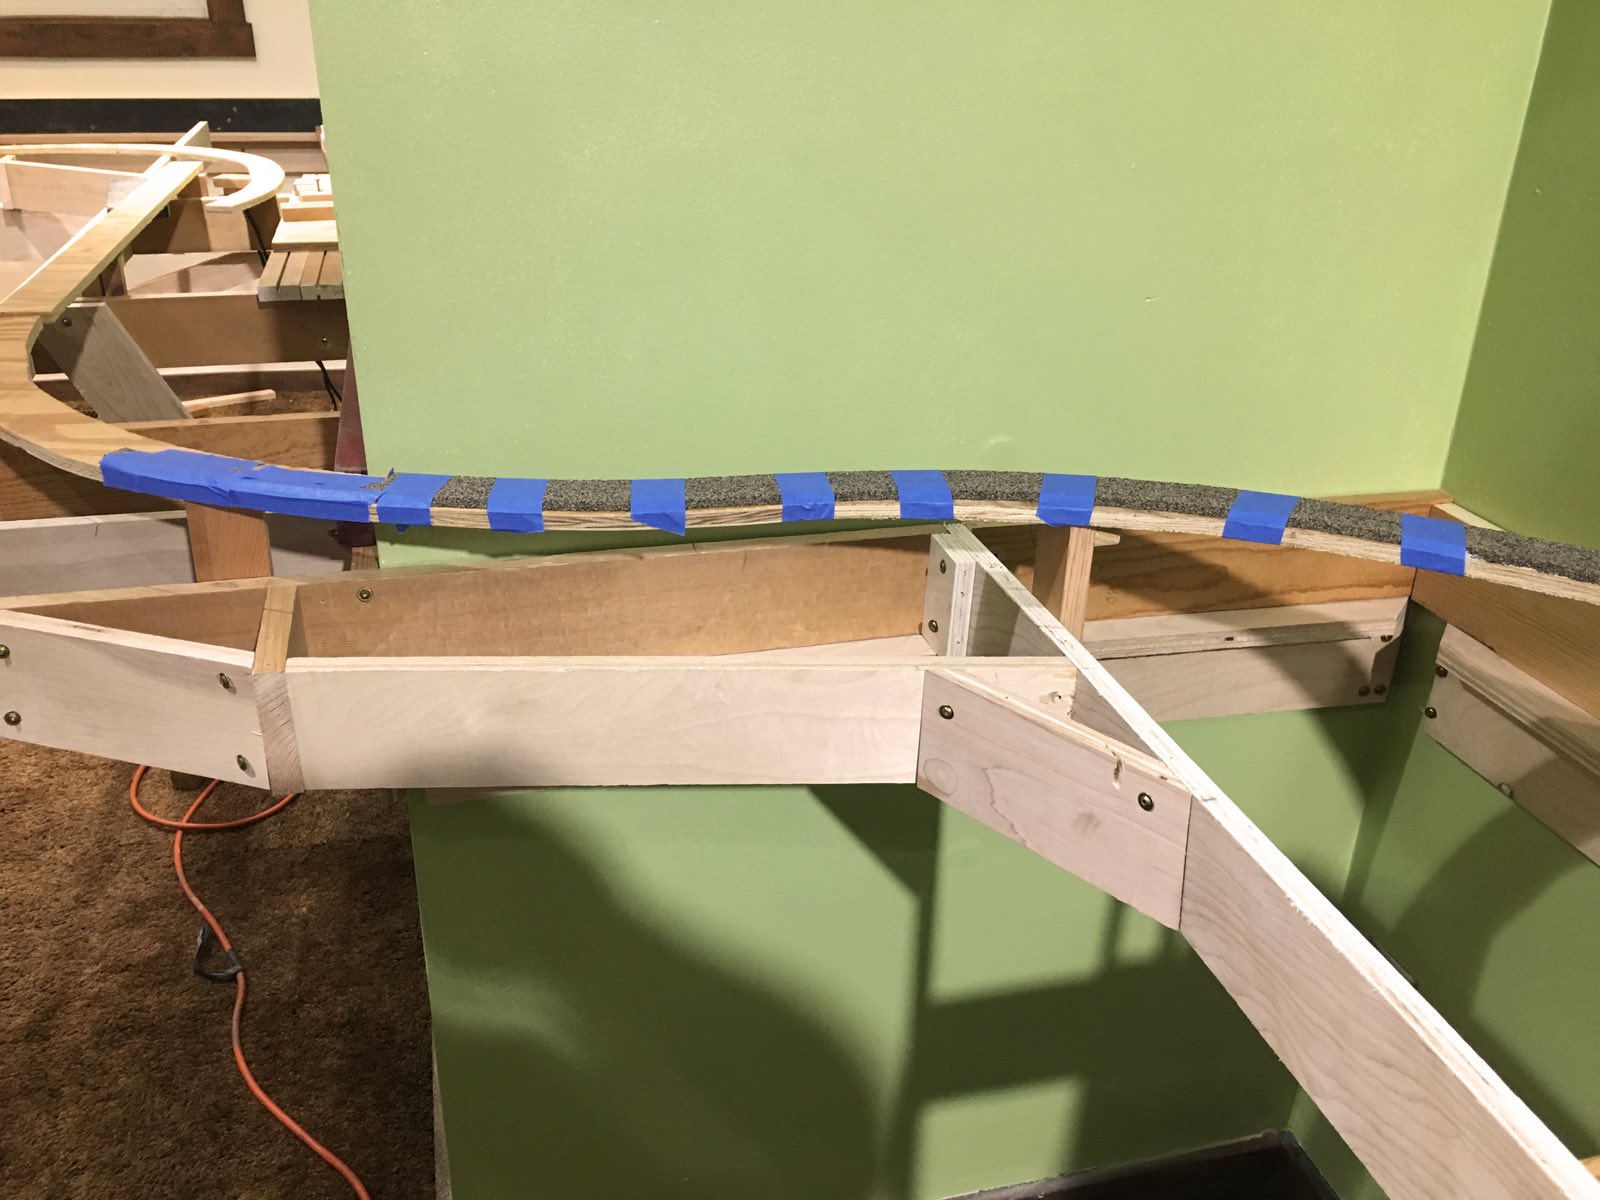
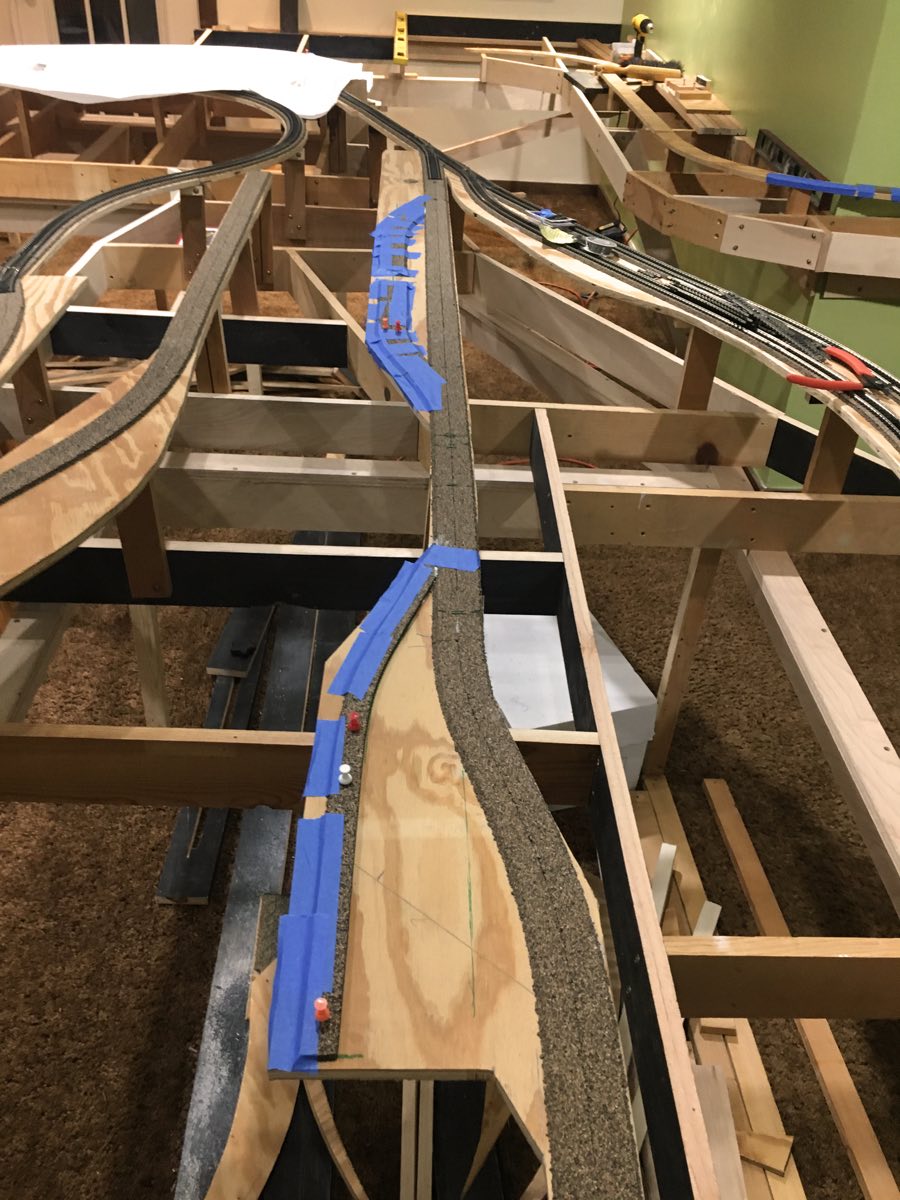
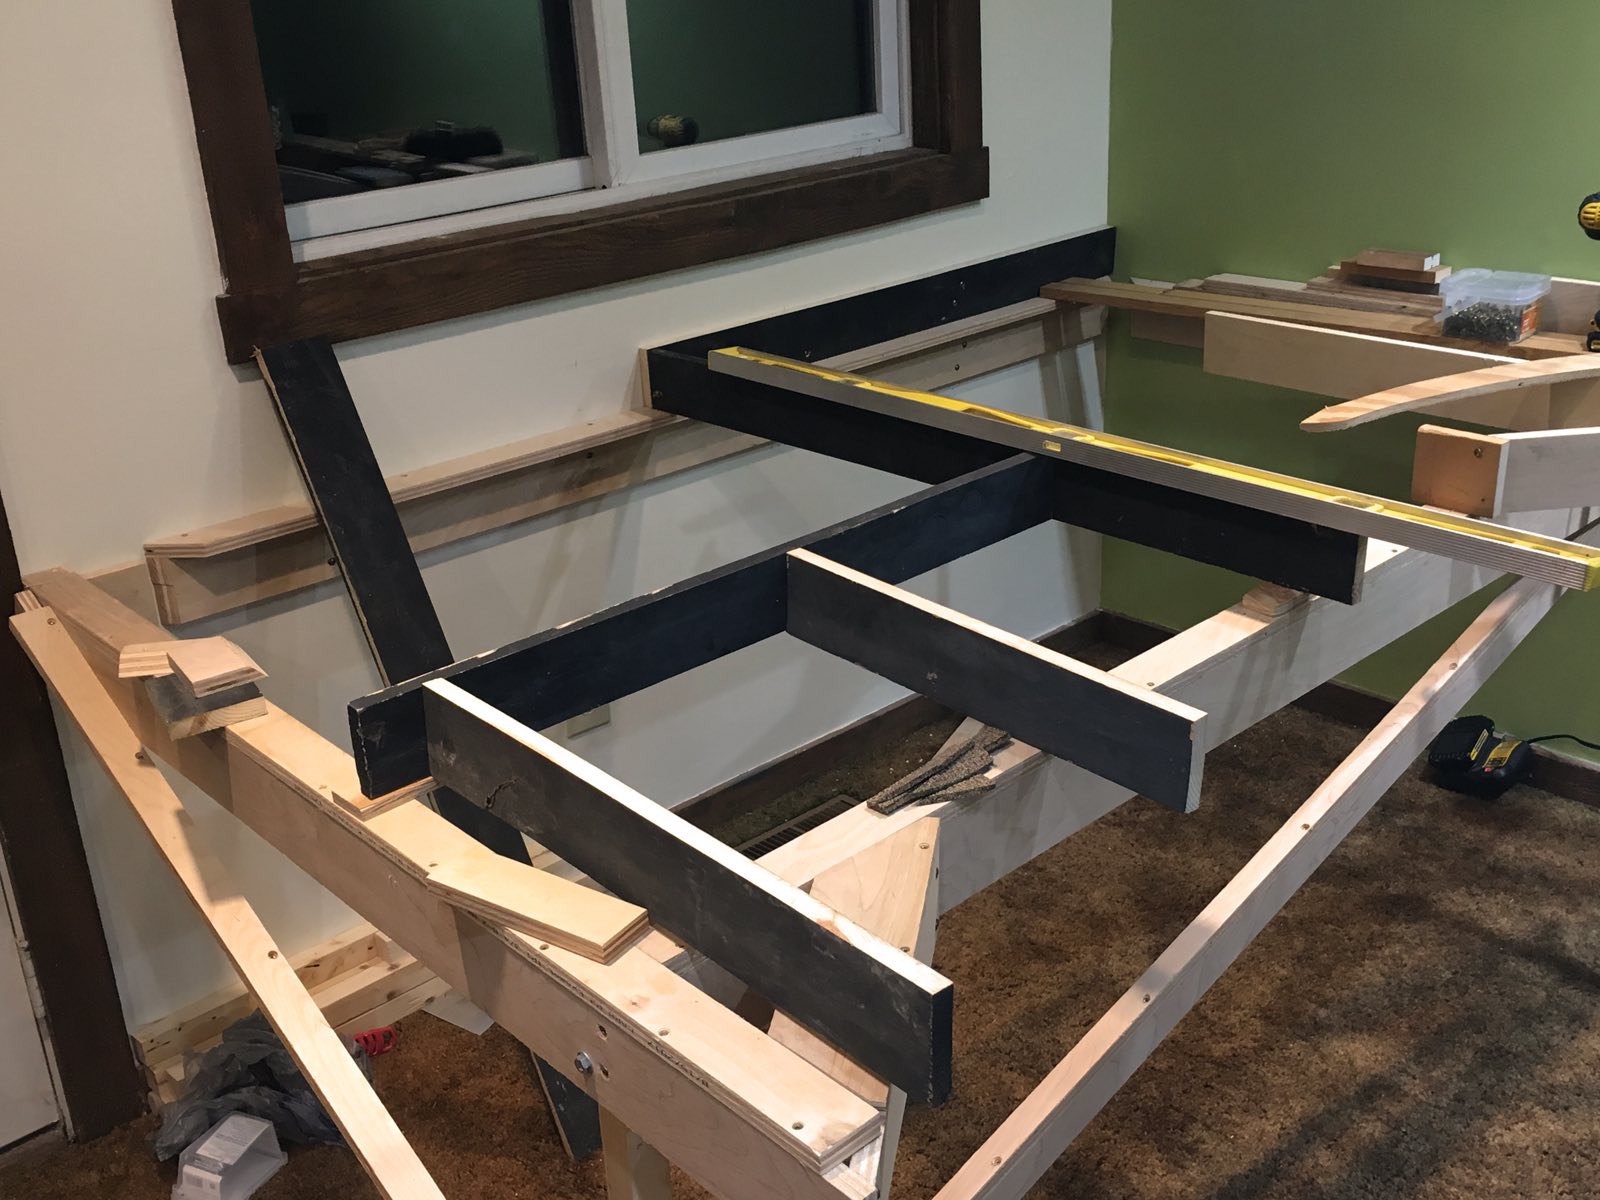
We didn't realize until two thirds through track installation that we forgot to drill holes for the under table Tortoise switch machines. Tom "Mr. Patience" Koole took on the job of fixing the mistake. In the case of the yard switches, he first solders them together for easy removal and replacement.
image
image
image

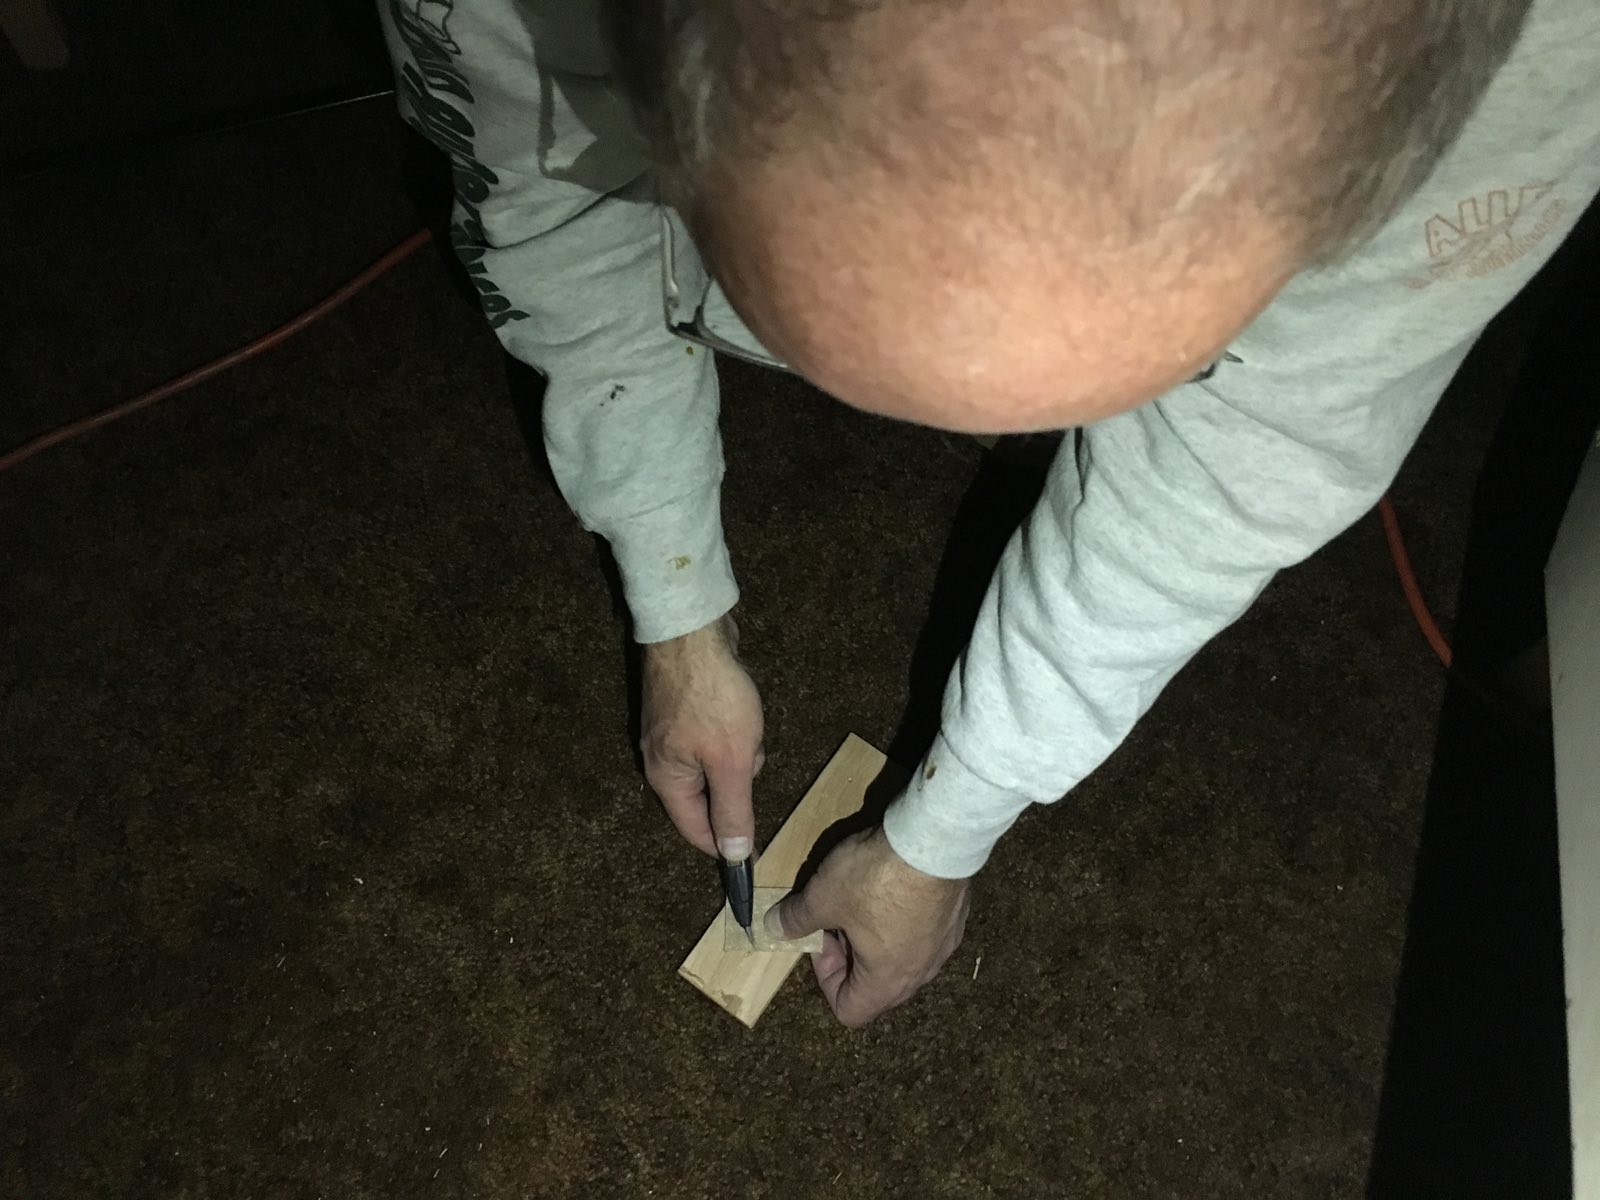
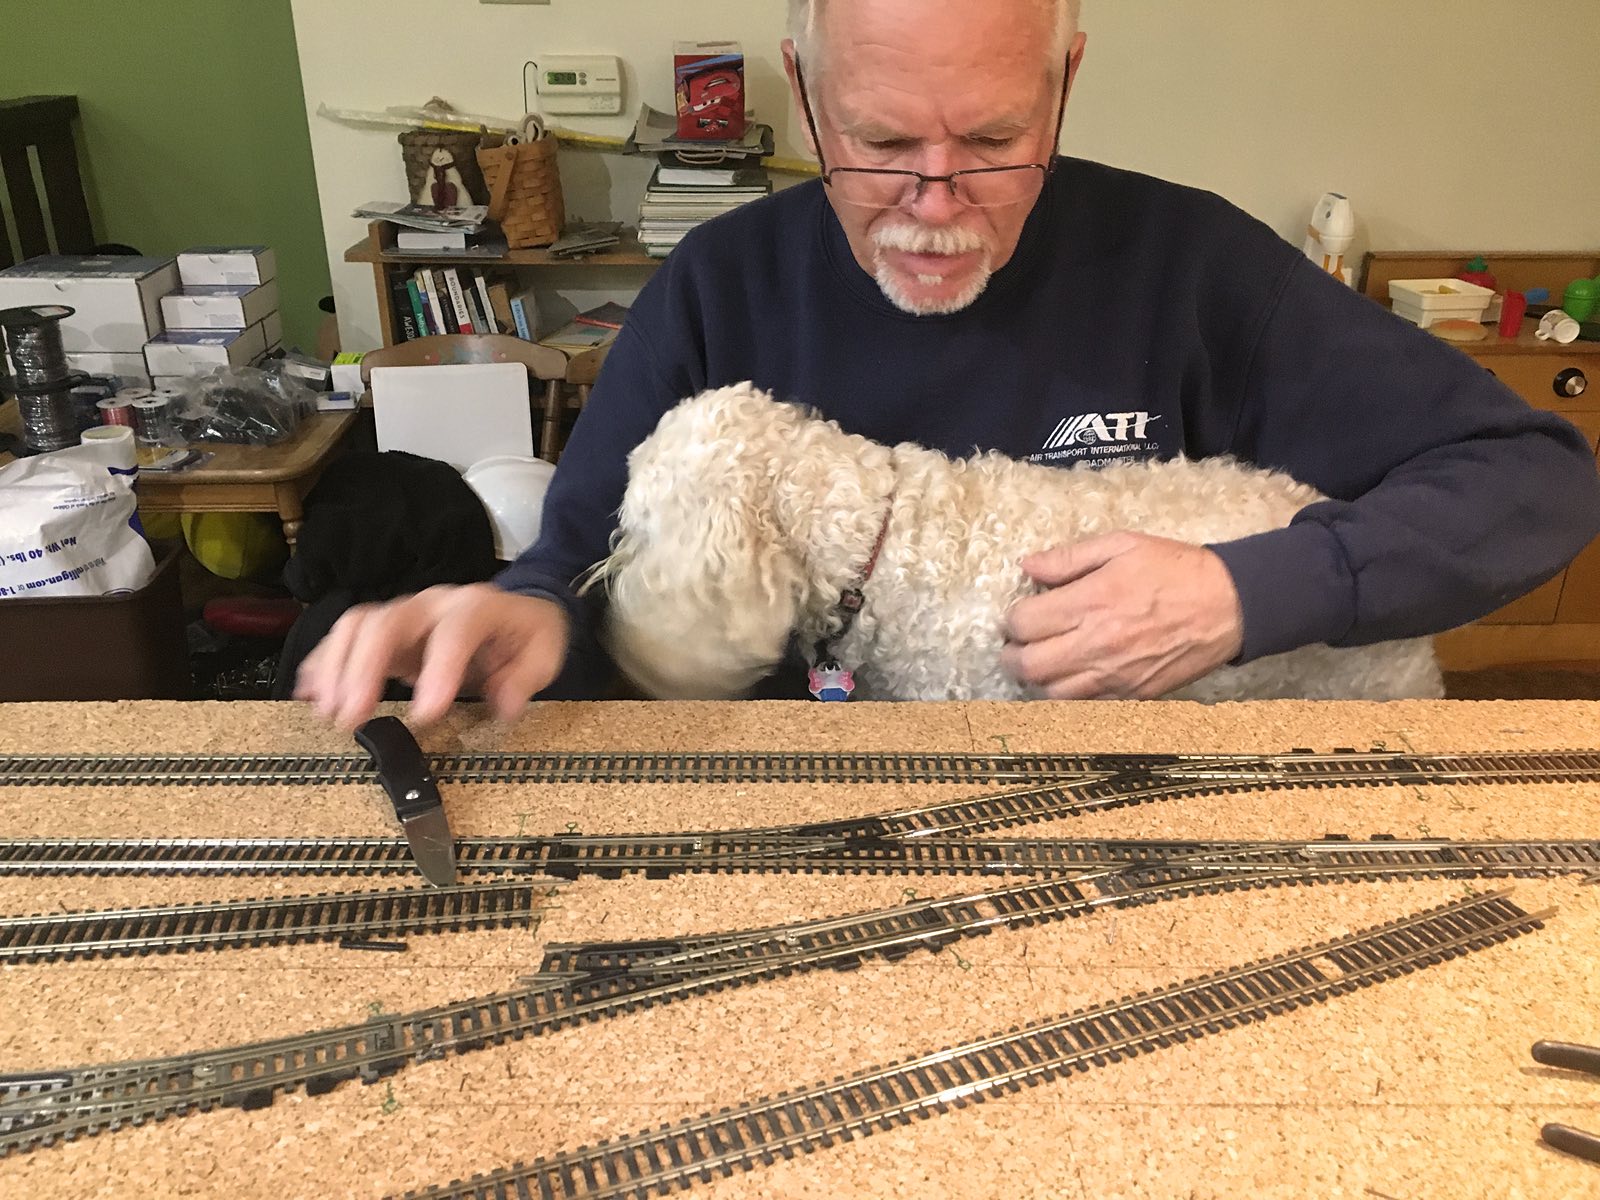
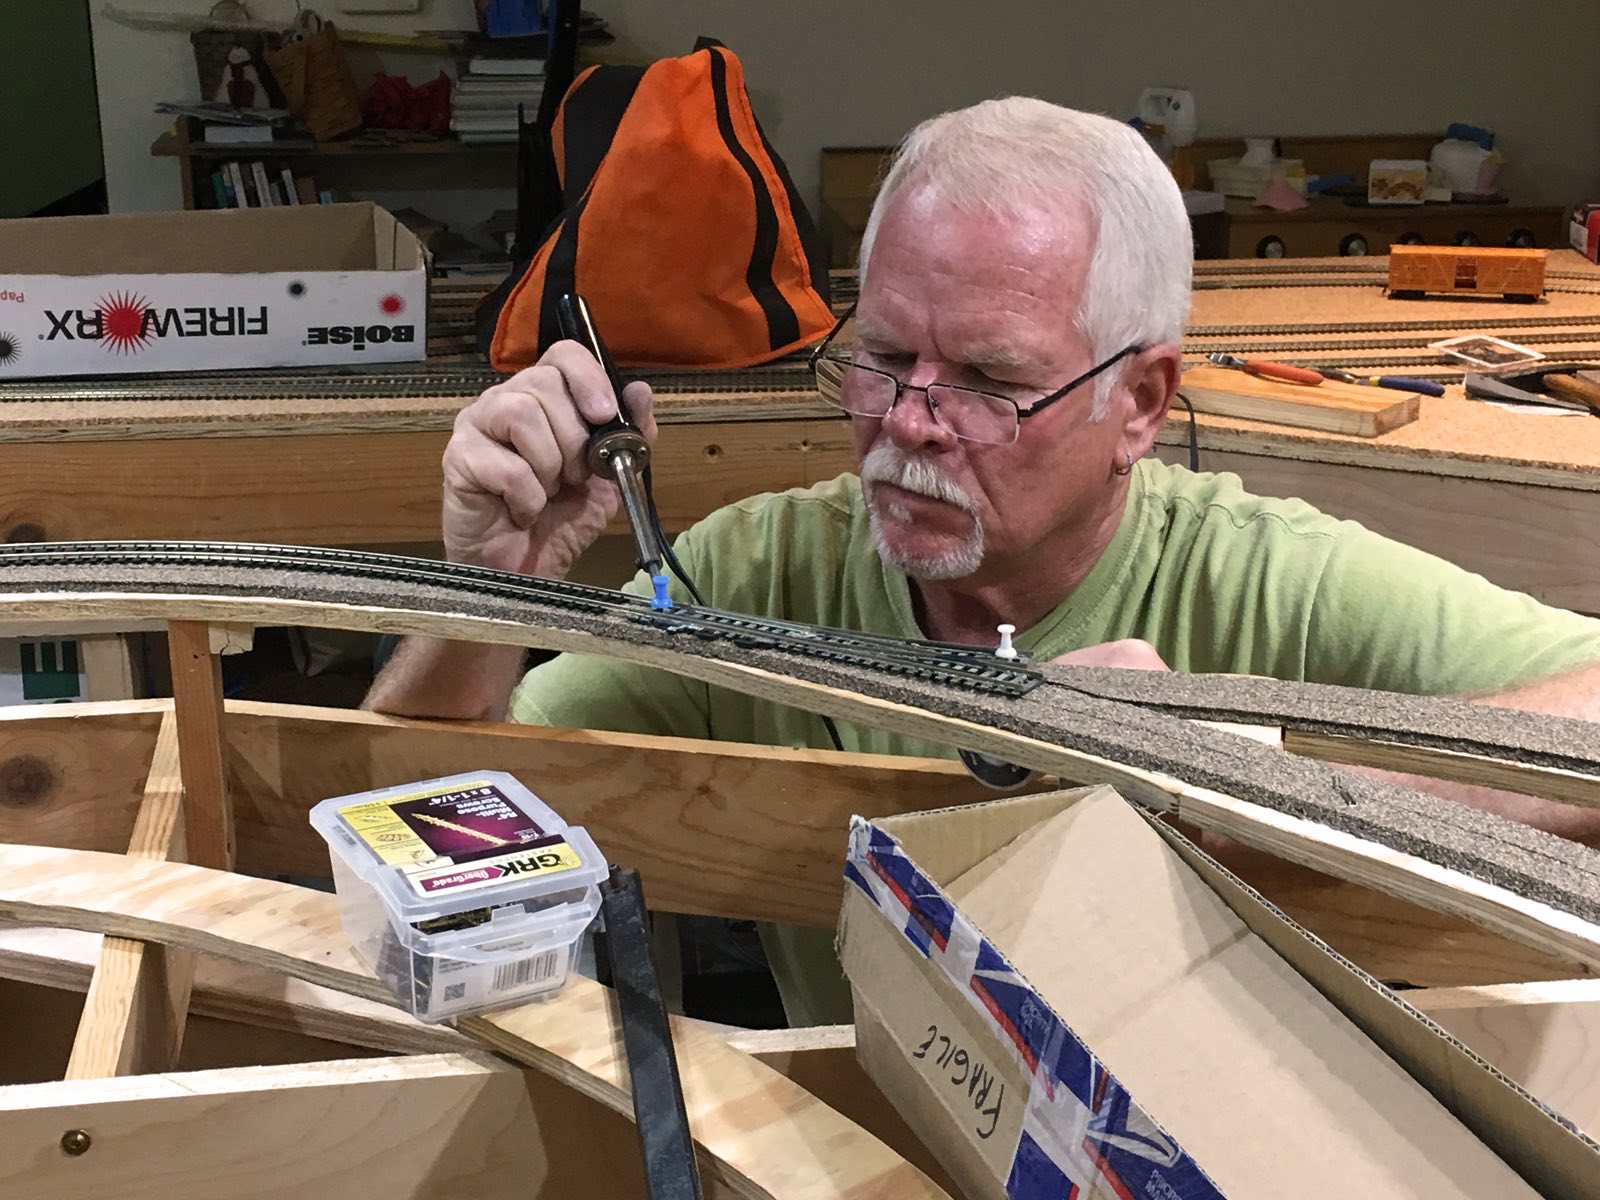
Tom carefully marks the location of every switch hole and then creates it using a quarter inch drill bit. Care must be taken as the cork wants to "relocate" the position of the drill bit.

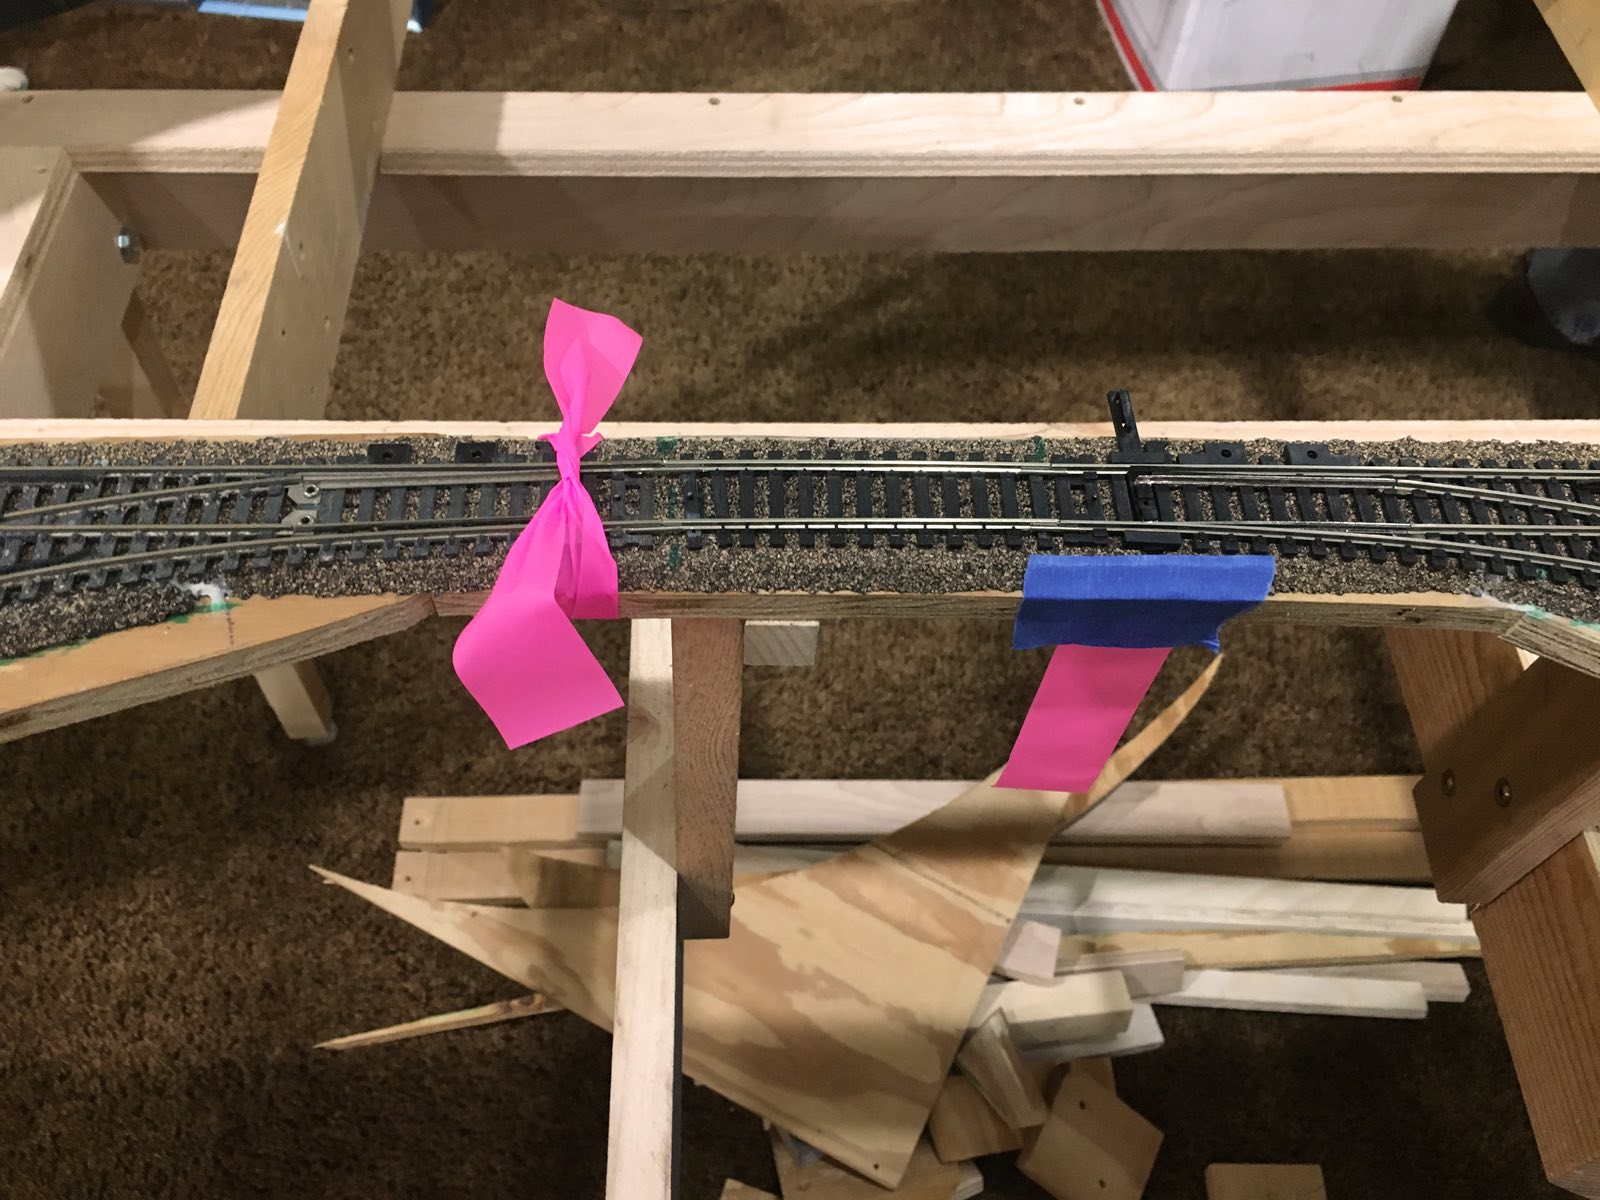
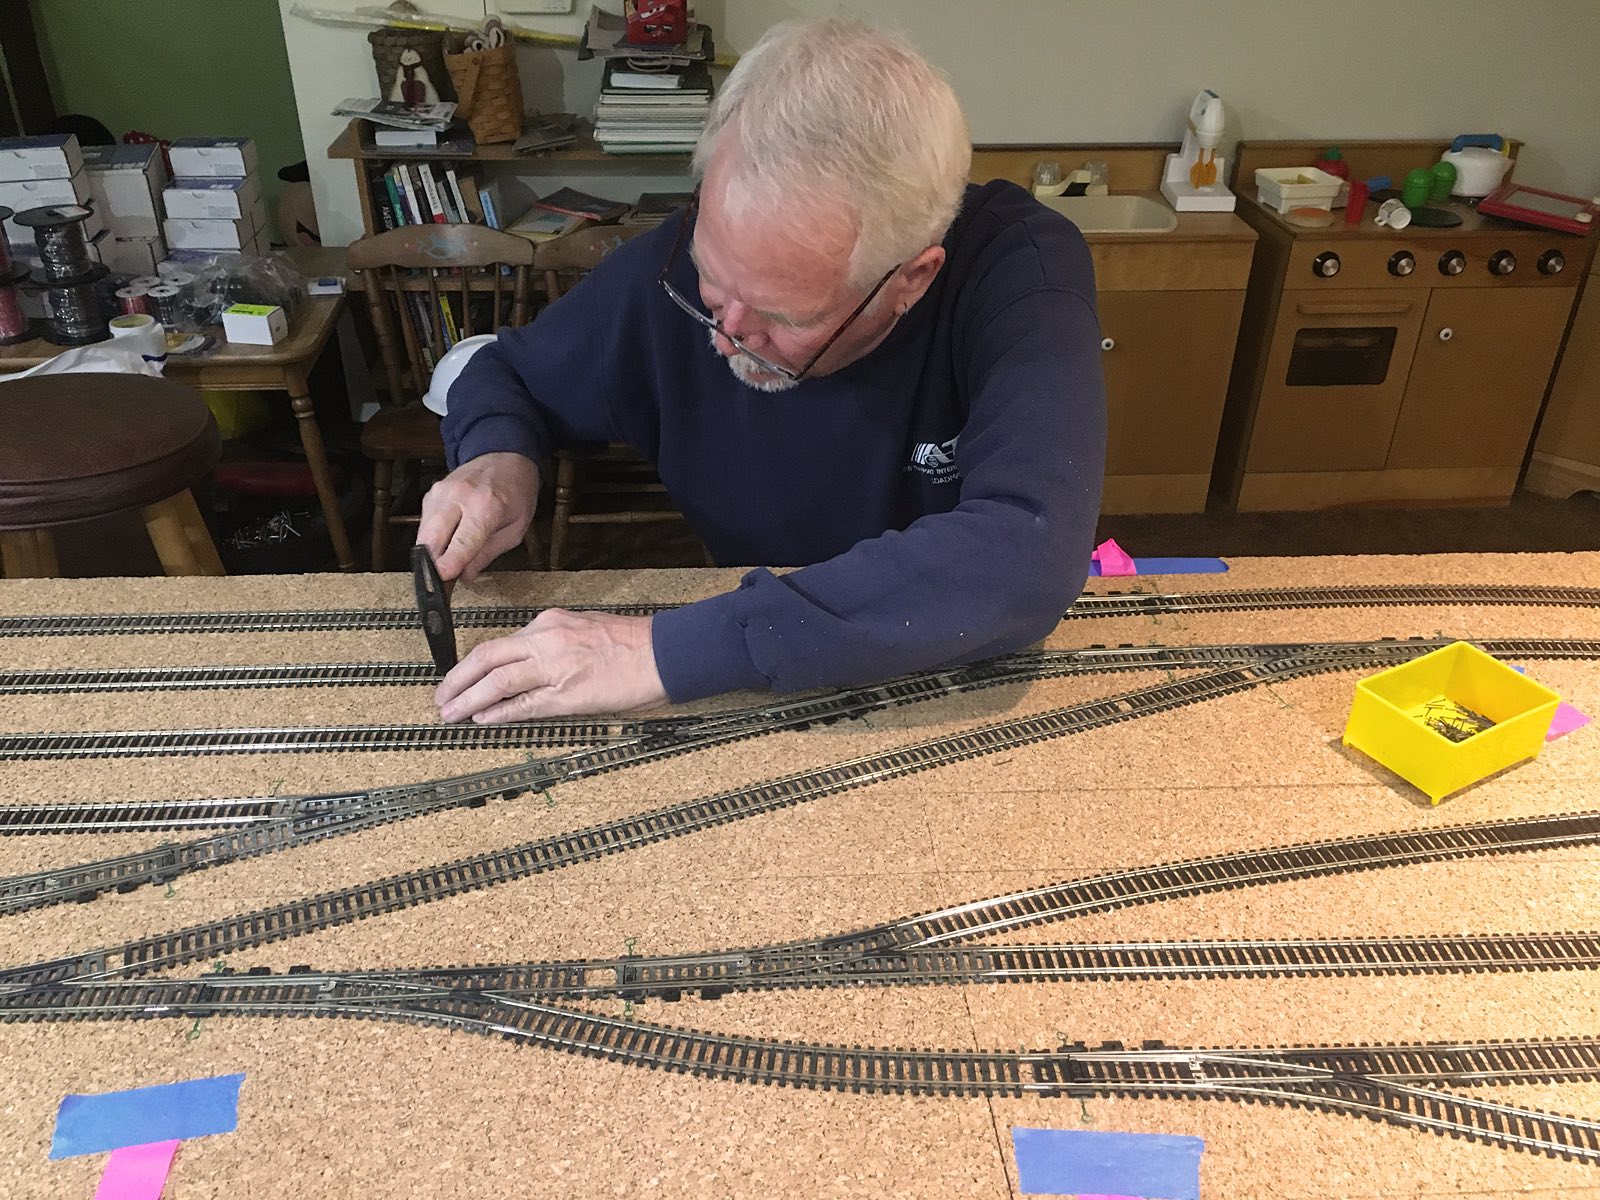
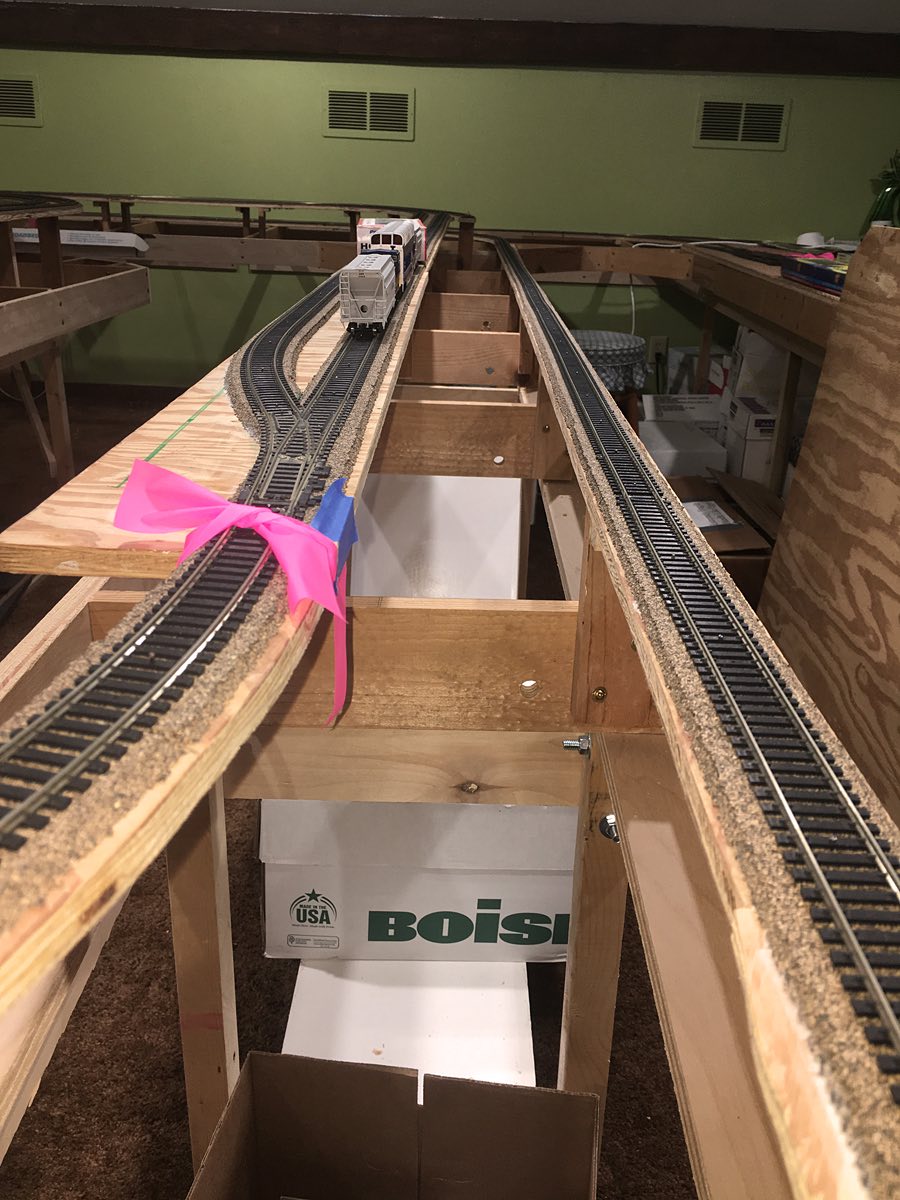
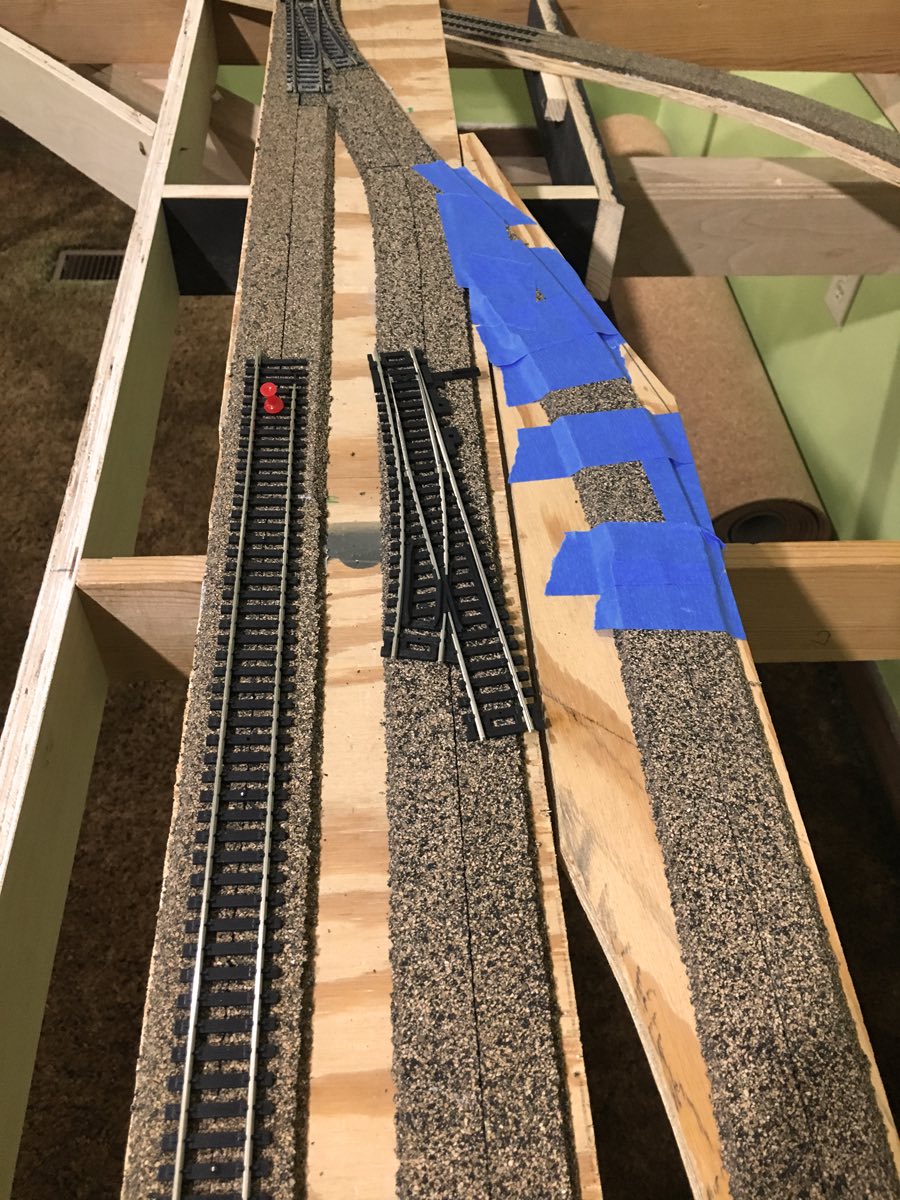
Afterwards every finished switch hole is marked with a piece of blue painters tape and a pink ribbon. If a hole cannot be drilled due to a metal plate joiner or brace being located directly underneath a pink ribbon is tied around the spot. Craftsmen will later return and correct the issue. 
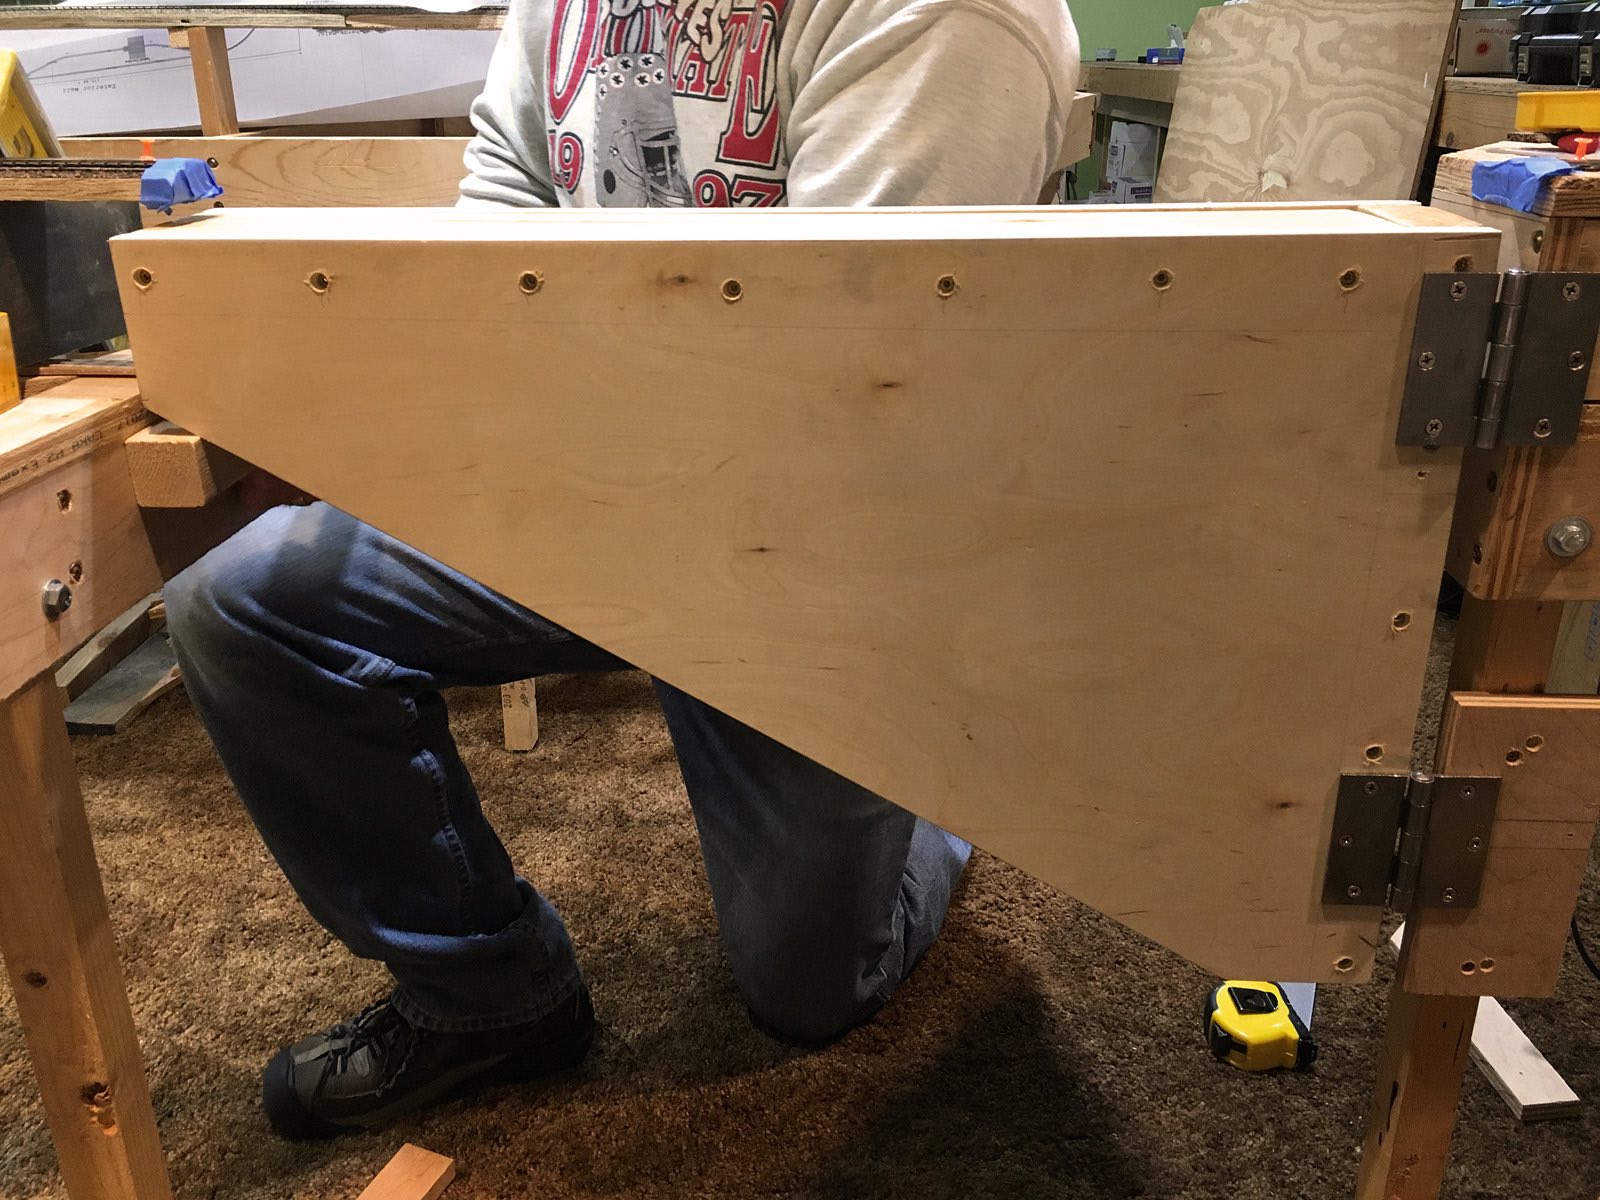
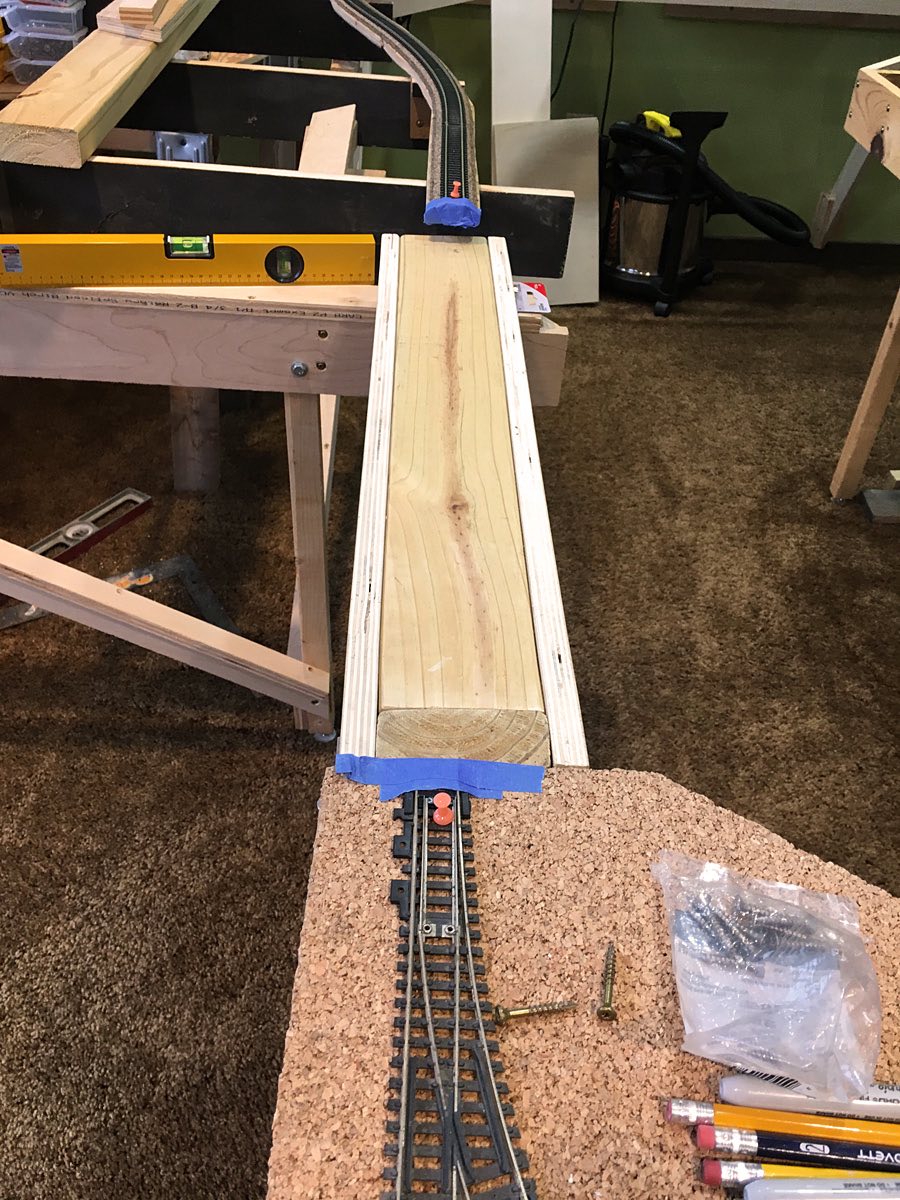
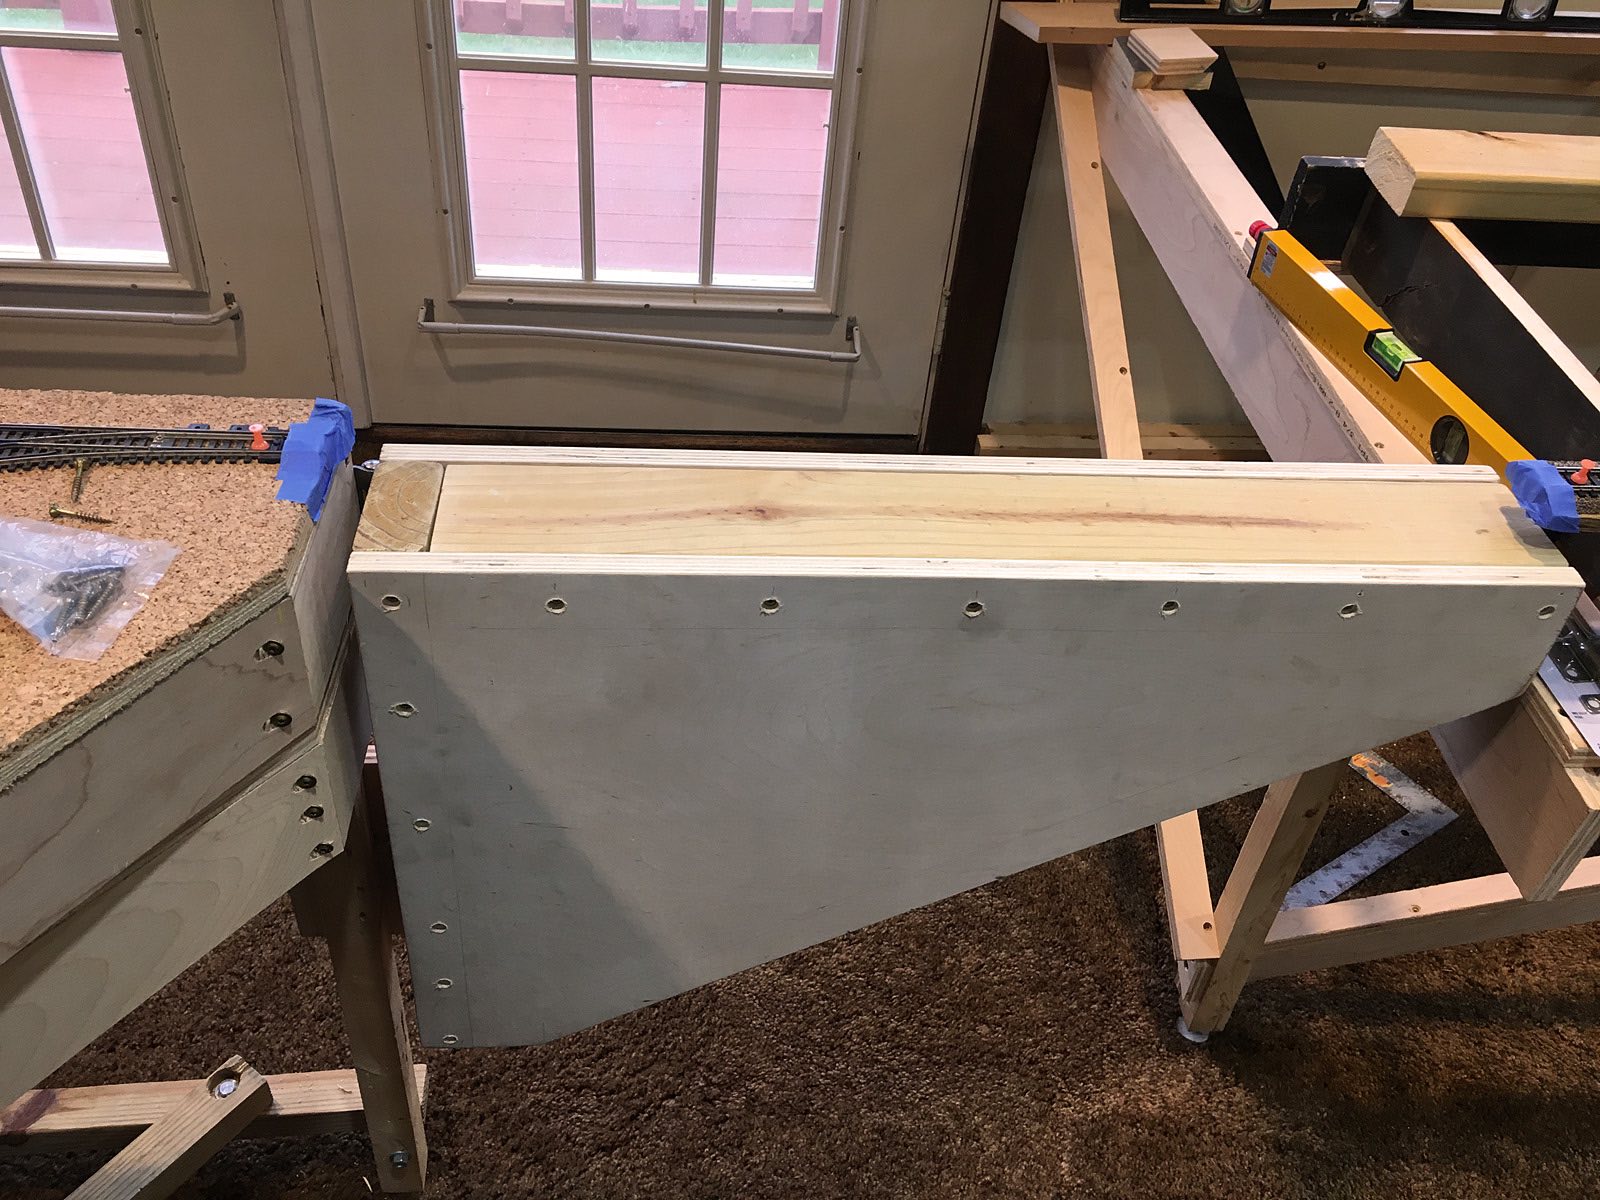
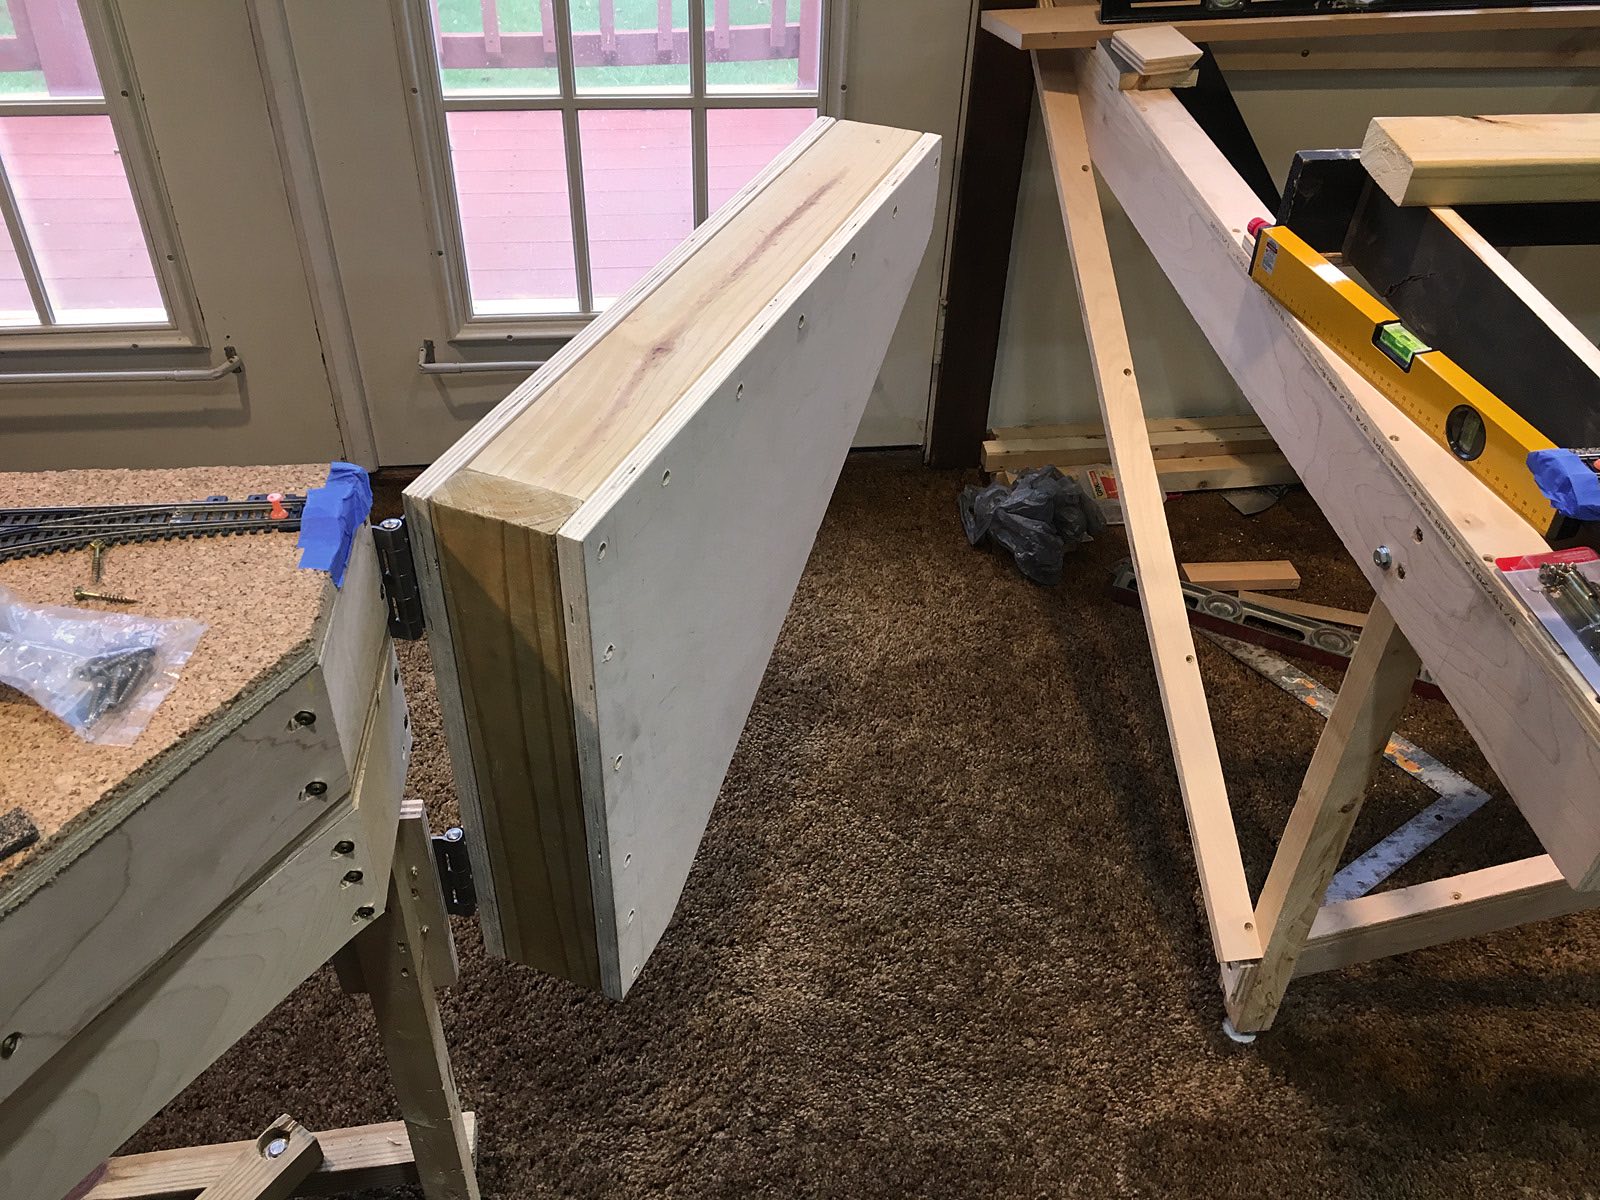
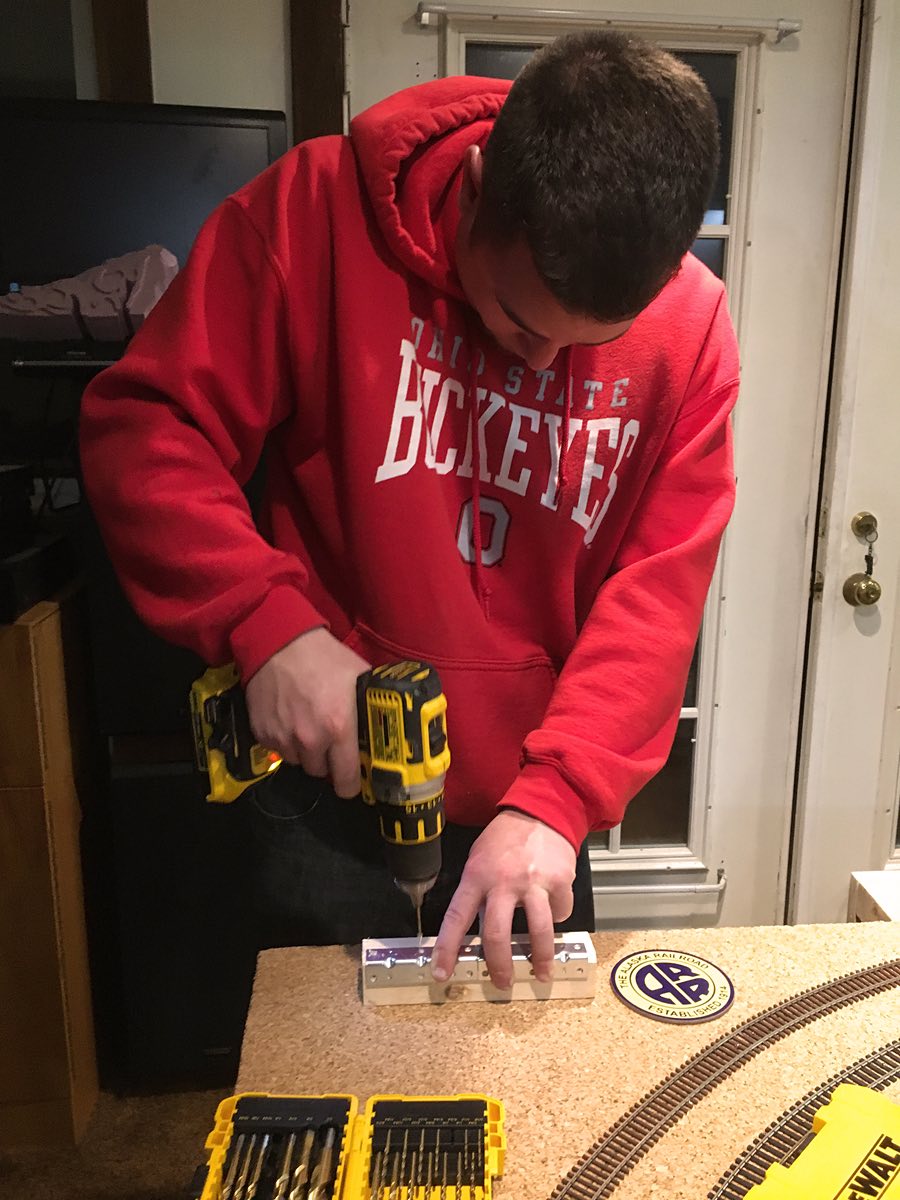
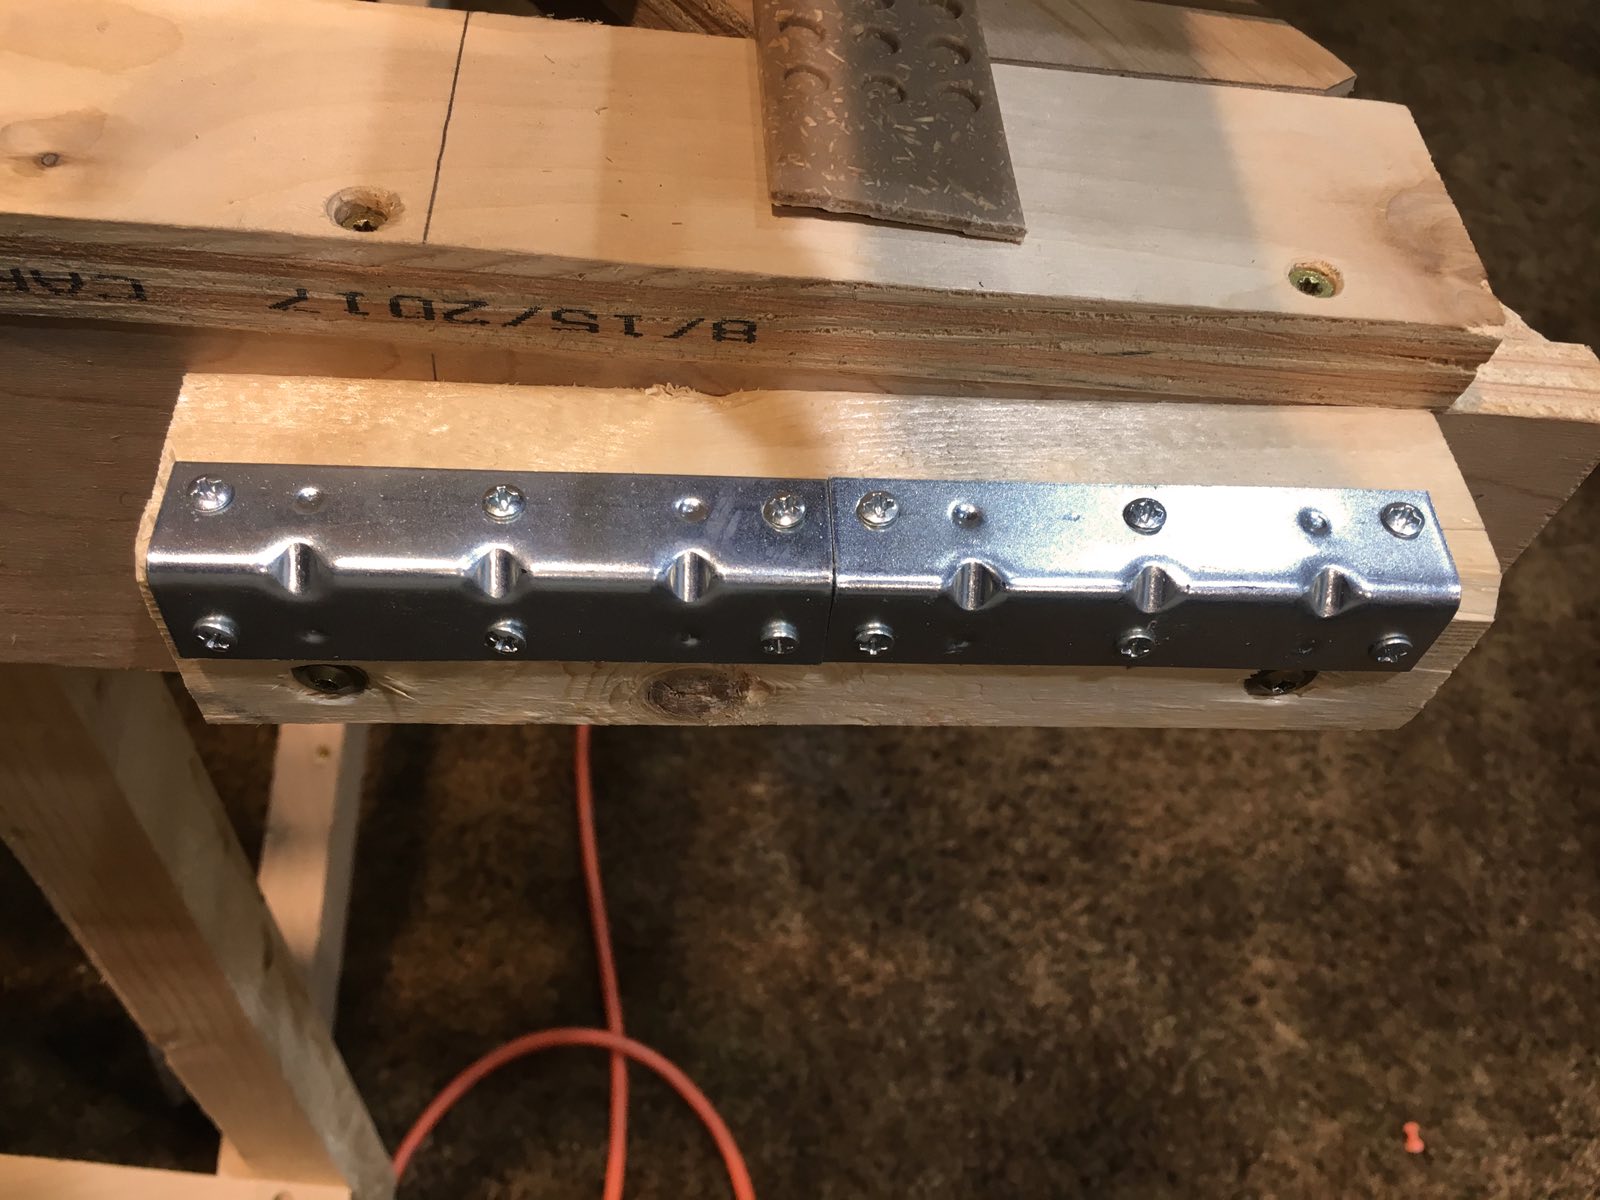
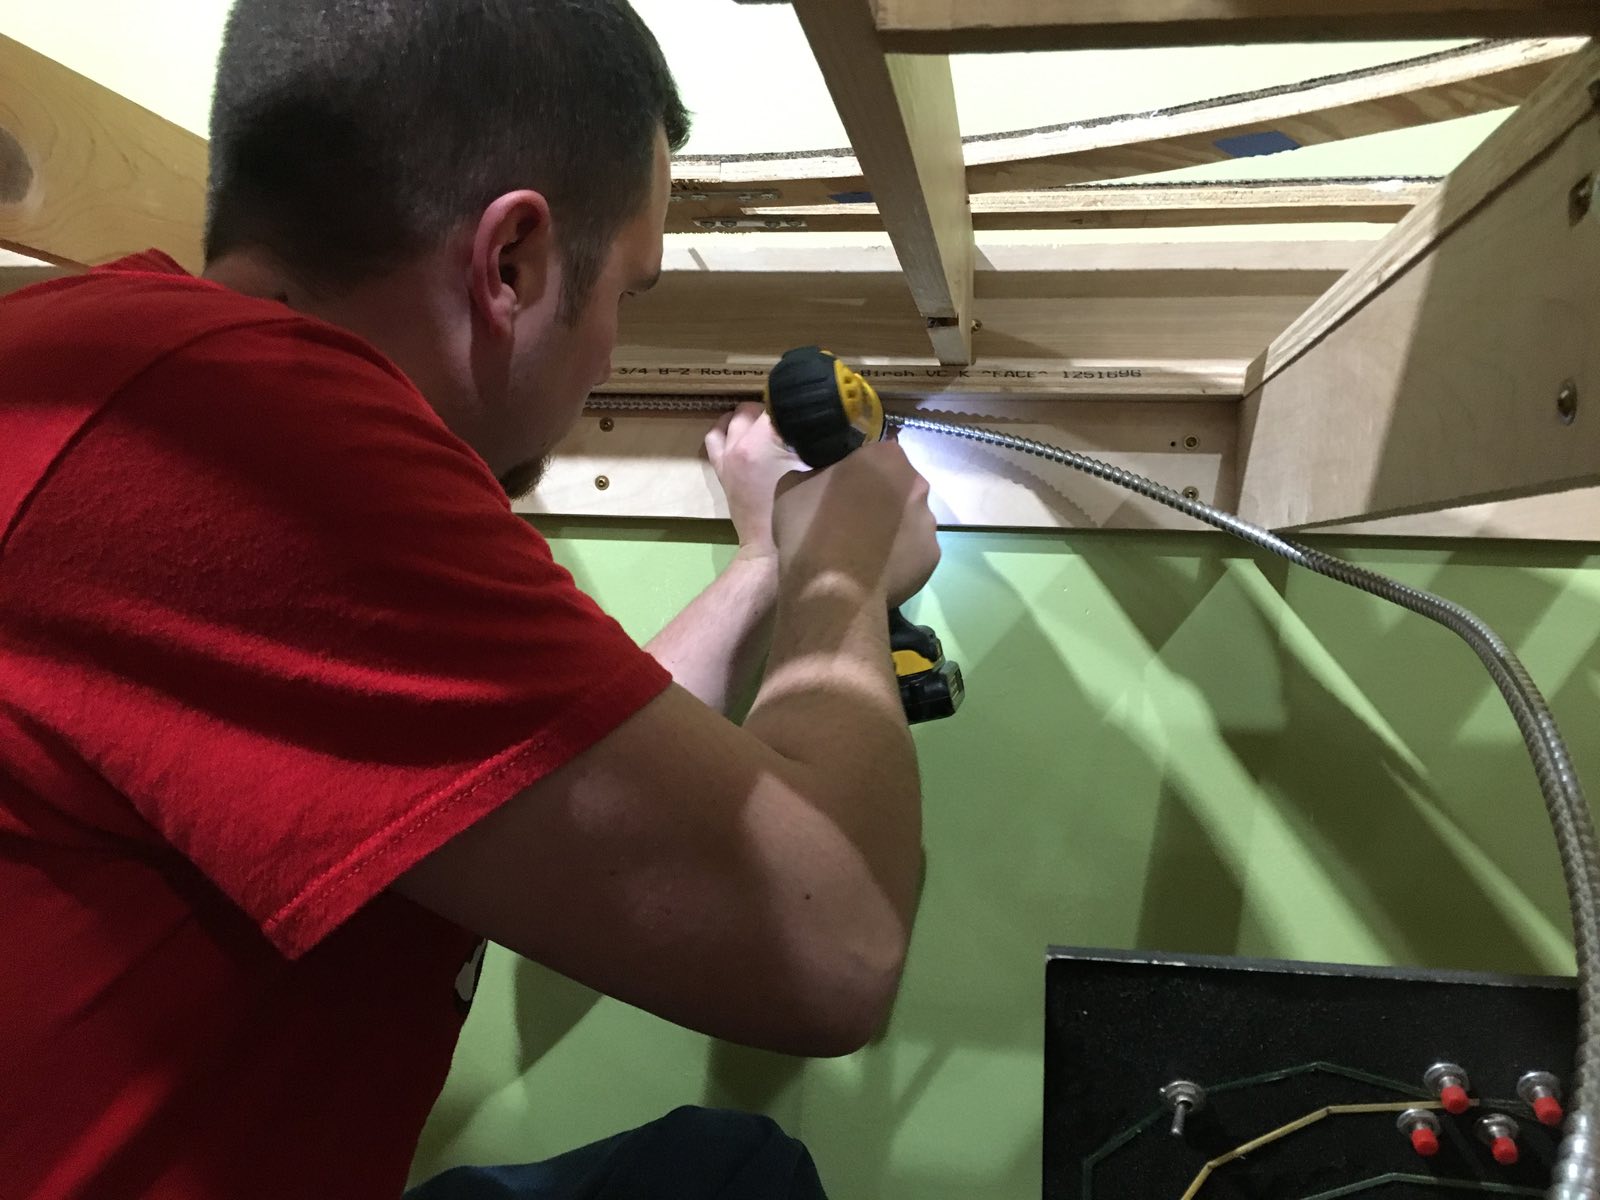
LJ attaches a strike plate to a wooden support. This grooved plate will hold the swing gate in proper position when closed plus provide a more durable surface.
image
image
 

The swing gate's strike plate in position and ready for business.

An easterly view of the swing gate.  


November 15, 2018
image
image
image

A power supply will reside in the center island of the layout. Running a long extension cord is unwise so we are going to add a power box at the wall and run a flexible wire conduit. With a song in his heart, LJ prepares to run the conduit.

Using metal hangers LJ mounts the wire underneath the L-girder construction.

John removes the tie plates of the track so the joiners can be moved aside and the switches then removed to accommodate drilling holes for the Tortoise switch machine wires.
image
image
image

An ice storm came through the area and we lost power at 9:03 PM. The workers never missed a beat and continued their tasks by flashlight. Mike finishes mounting the top board to the swing gate.

As the top of the swing gate must match both sides of the track perfectly Mike cuts shims to create an exact fit. LJ holds the flashlight while Mike puts the finishing touches on the swing gate.


November 29, 2018
image
image
image

Tom said it would take three weeks to correct our mistake of not drilling holes under the switches for the Tortoise spring wires and he is correct. He spent the entire evening working on the switches at the north end of the Anchorage yard. First, he solders all the track pieces together.

He removes the first section of the yard and sets it out of the way.

While Tom works to remove the second section of the yard Indy jumps up to lend a hand.

I ordered wire and terminal blocks from Parts Express and it arrived several days ago. It can be seen at left.

image
image
image

Tom carefully removes the second section of soldered track from the yard and sets it aside.

Using the guides drawn with a green Crayola marker Tom drills the holes for all of the spring wires. L-girder cross beams are below several of the holes and will need to be relocated on another night.

With the finesse of a Harsco 925SS Tie Inserter Tom tacks the track back into place. John polished the soldered joints with a piece of .320 sand paper to finalize the work.
image
image
image
LJ drills pilot screw holes for the RailPro Circuit Breaker-1 (CB-1). LJ will install a total of six CB-1s each controlling a different segment of track.

Screws are put in to hold the CB-1 in place. The unit is placed at the bottom of the cross piece allowing room for wires to be inserted at the top plus easier viewing of the status light at bottom.

All CB-1s are now ready for connection to the main power bus. Additionally, the Auto Reverse Loop (AR-1) is mounted at the Tunnel subdivision.
image
image
 
LJ drills holes through the L-girder cross pieces. Wires for the CB-1s, AR-1 and AM-1s (switch machines) will pass through these holes.

A view of wire pass thru holes in the L-girder cross pieces.


Feel free to contact me at john@alaskarails.org
Page created 11/15/17 and last updated 12/7
/18