May 03, 2018
image
image
image
I preserved about three dozen electric snap switches from my old layout. To make things a tad more realistic for the new layout I removed the excess switch throw tie on each one. Future underside tortoise switches only need the hole in the middle of the tie. Mike and LJ install the ribbing for the northern section of the APU spur. Now the outer facia is installed.
image
image
image
Work continues around the curve leading into the northern section of Alaska Marine Lines. An overhead view of the northern APU/Alaska Marine Lines curve.

Each work session is more exciting then the last as everything begins to take shape. All of the bench work and most of the ribbing is now complete!


May 10, 2018
image
image
image
The Usibelli subdivision as well as the S curve leading into Whittier are braced with angled supports. Shown here is the foot brace of the support.

Mike marks the angled wood for LJ to cut. Due to sawdust settling on the CFO's car the DeWALT 12" Sliding Miter Saw was moved just outside the garage.


The angled support was subjected to The Fat Man Test and passed with flying colors. Future gravel and coal trains will let the big dogs roll with confidence. Zeus, the biggest dog on the line, gives his nod of approval as well.
image
image
image
LJ mounts supports as part of the angled brace structure. He wears goggles to prevent wood shaving from falling into his eyes. It is no surprise that we passed our recent OSHA inspection with flying colors. The areas adjoining the swing gate need strong bracing to prevent movement and thus keeping track up top properly aligned.

Mike and LJ mount a diagonal brace for rigid swing gate support. Rumors floating around the shop is the swing gate will use extremely powerful magnetics to hold it closed and properly in place. Stay tuned.....


May 17, 2018
image
image
image

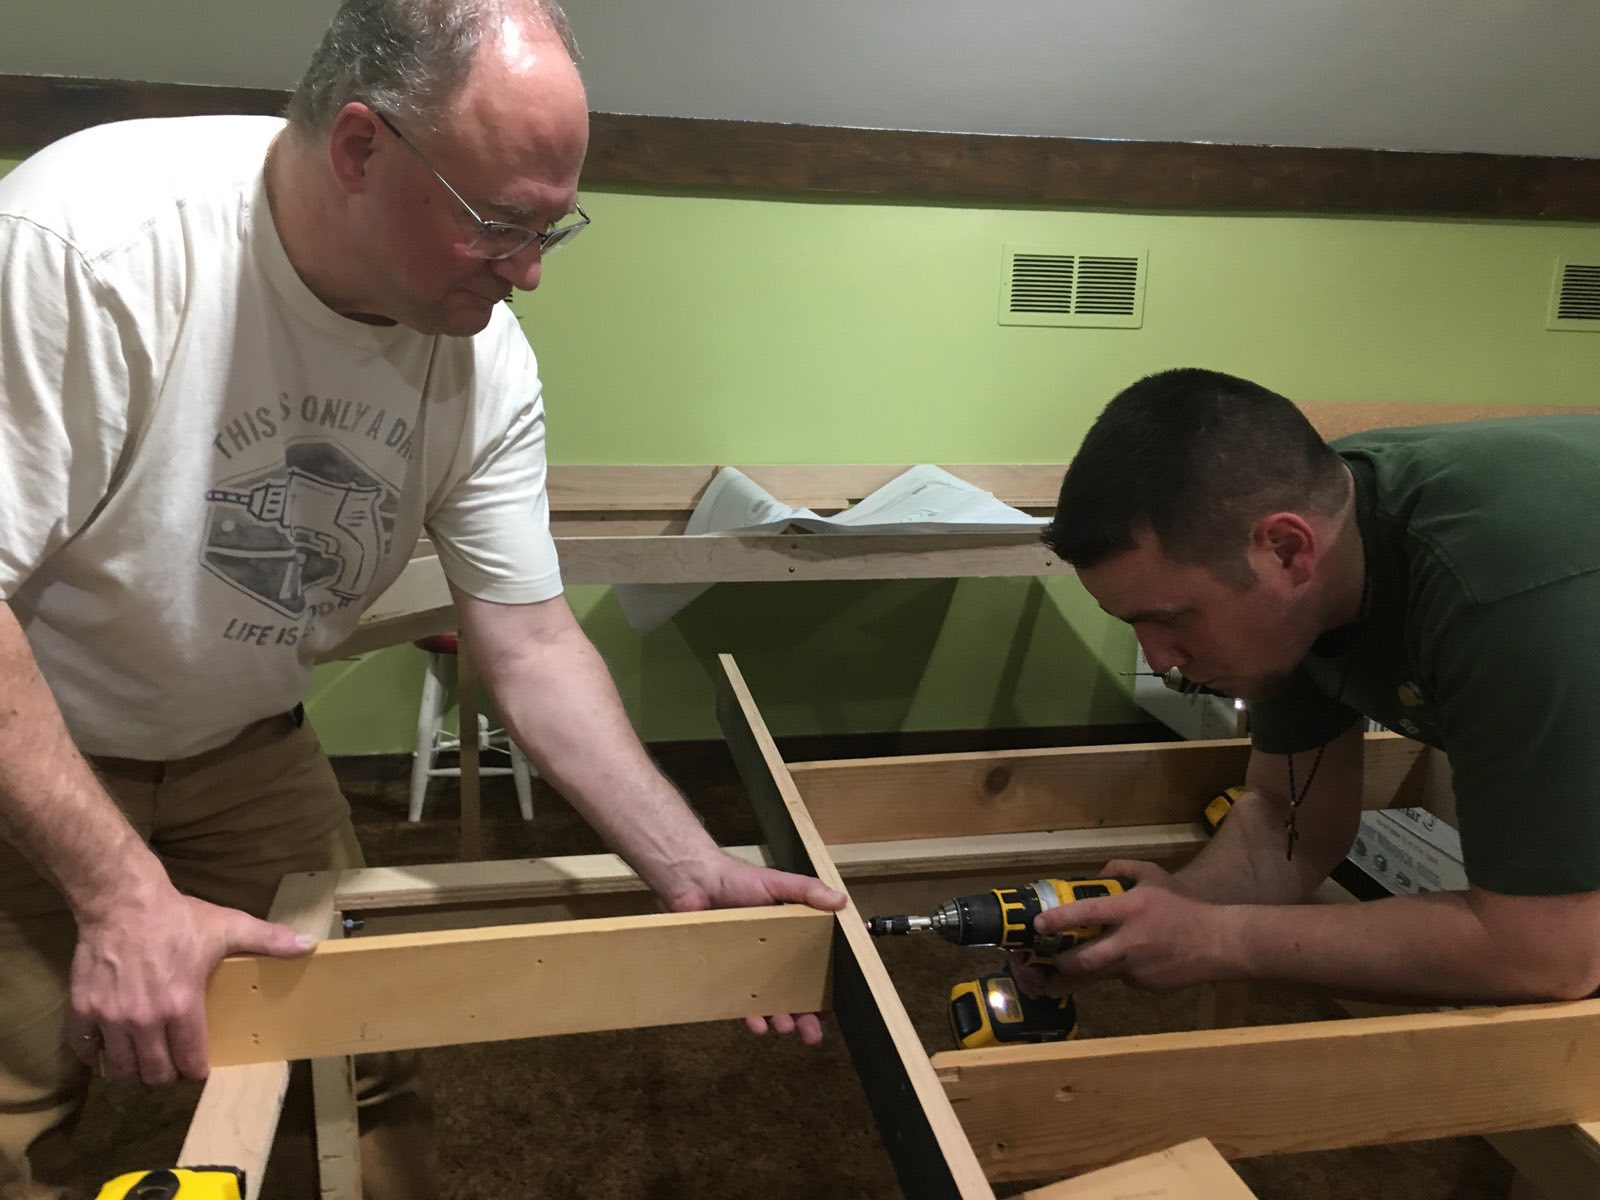
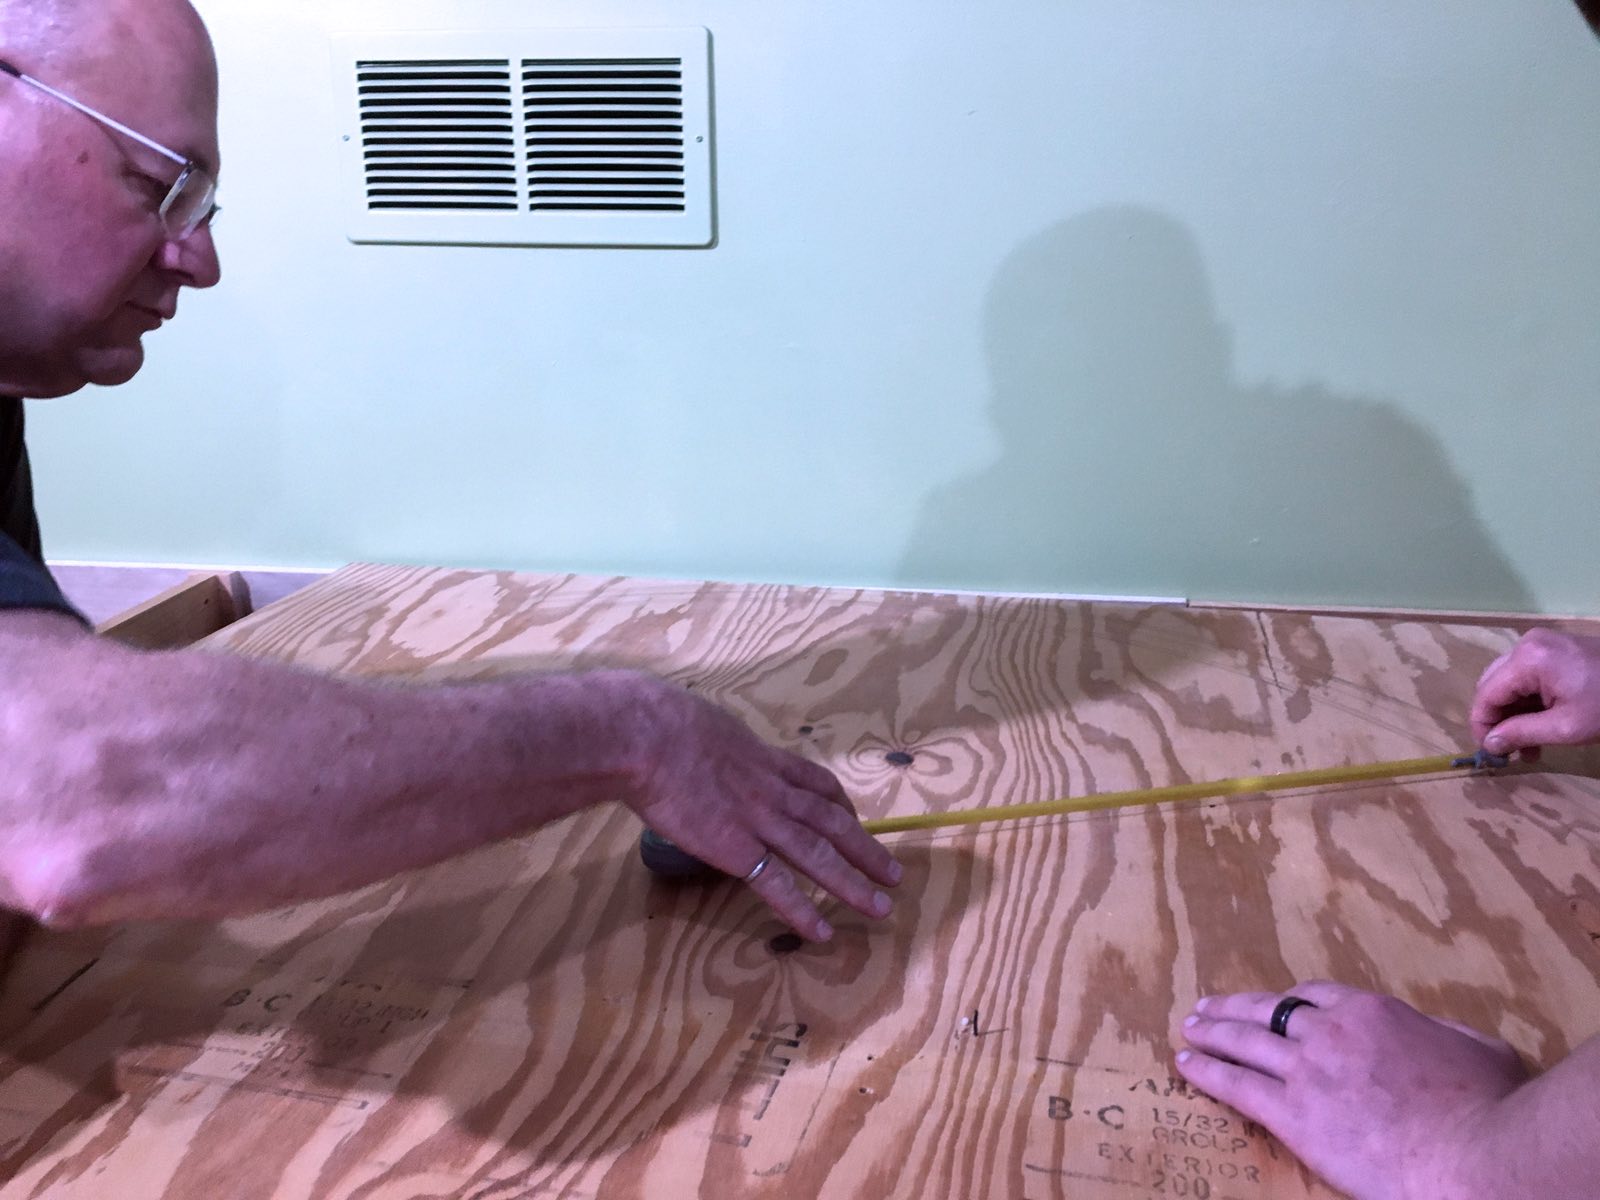
Mike and LJ are using the Roto-Tape which allows them to draw arcs or circles from 7 inches to 12 feet. The built in tape measure makes it easy to trace arcs. This will be used to cut roadbed out of existing plywood. Sorry for the excessive pinkness of the skin tones in the photo.

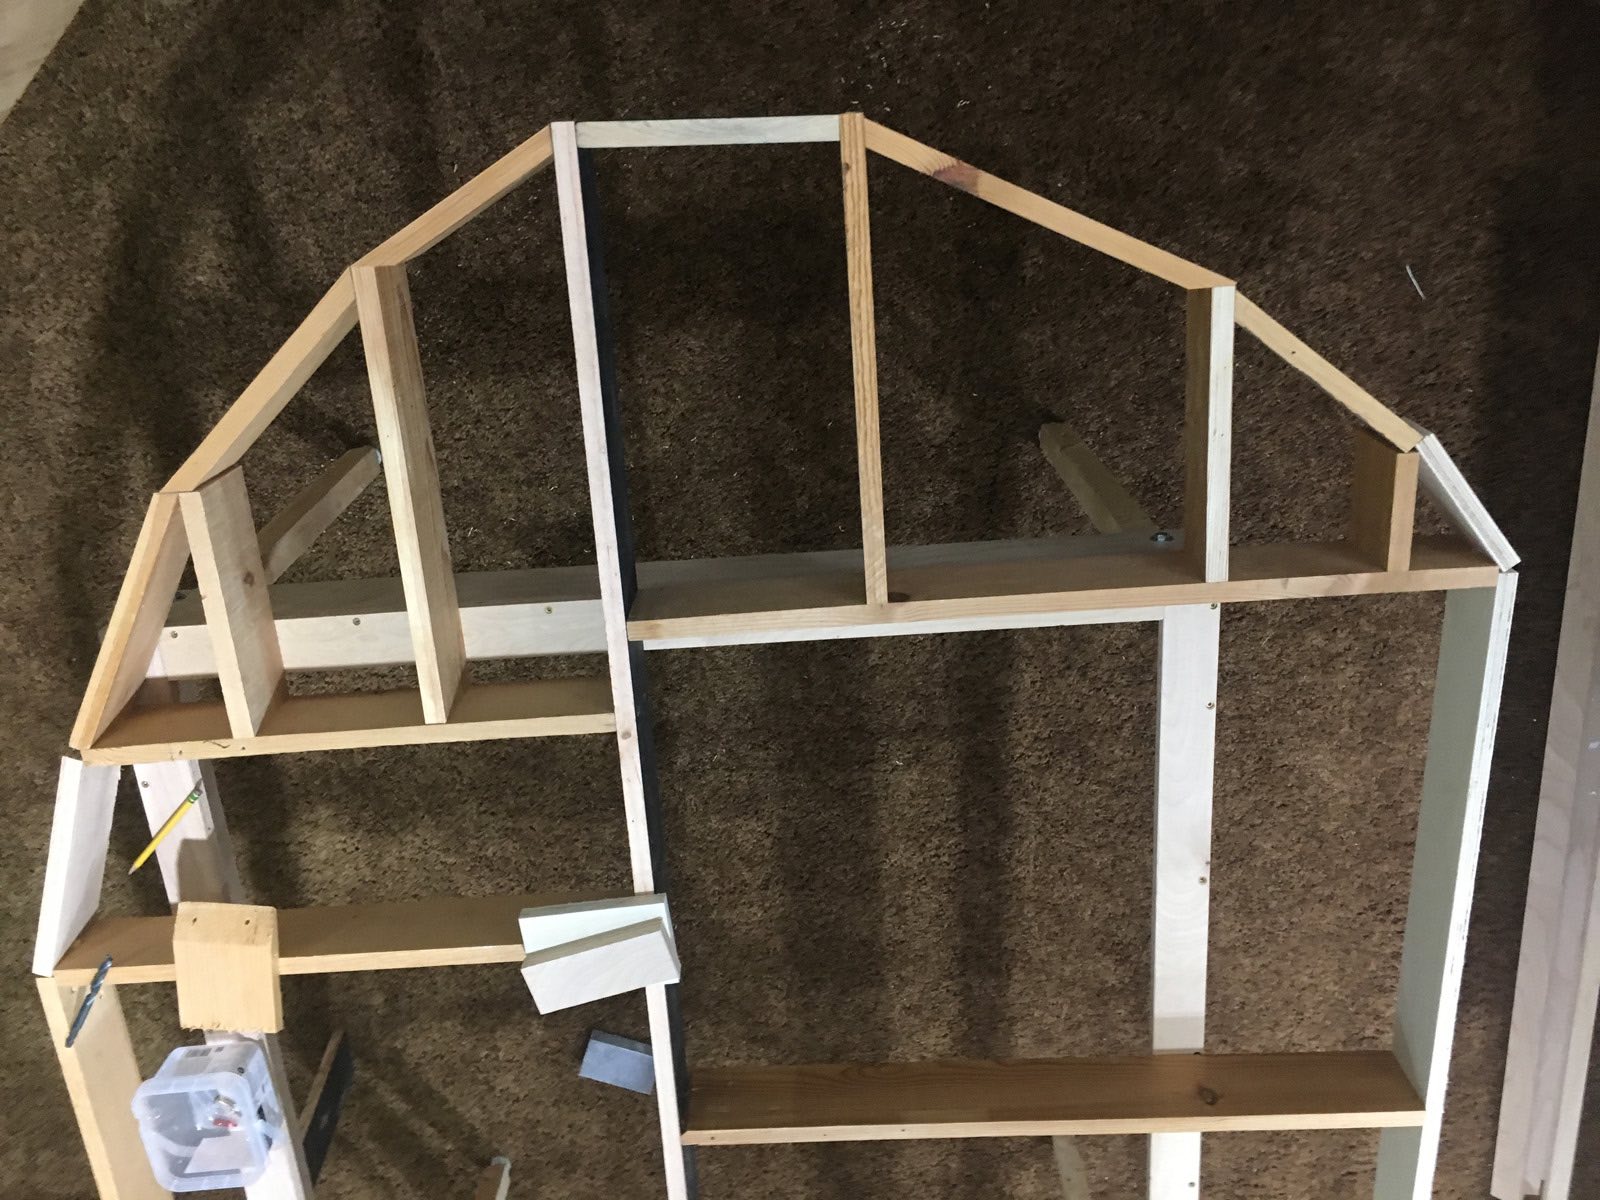
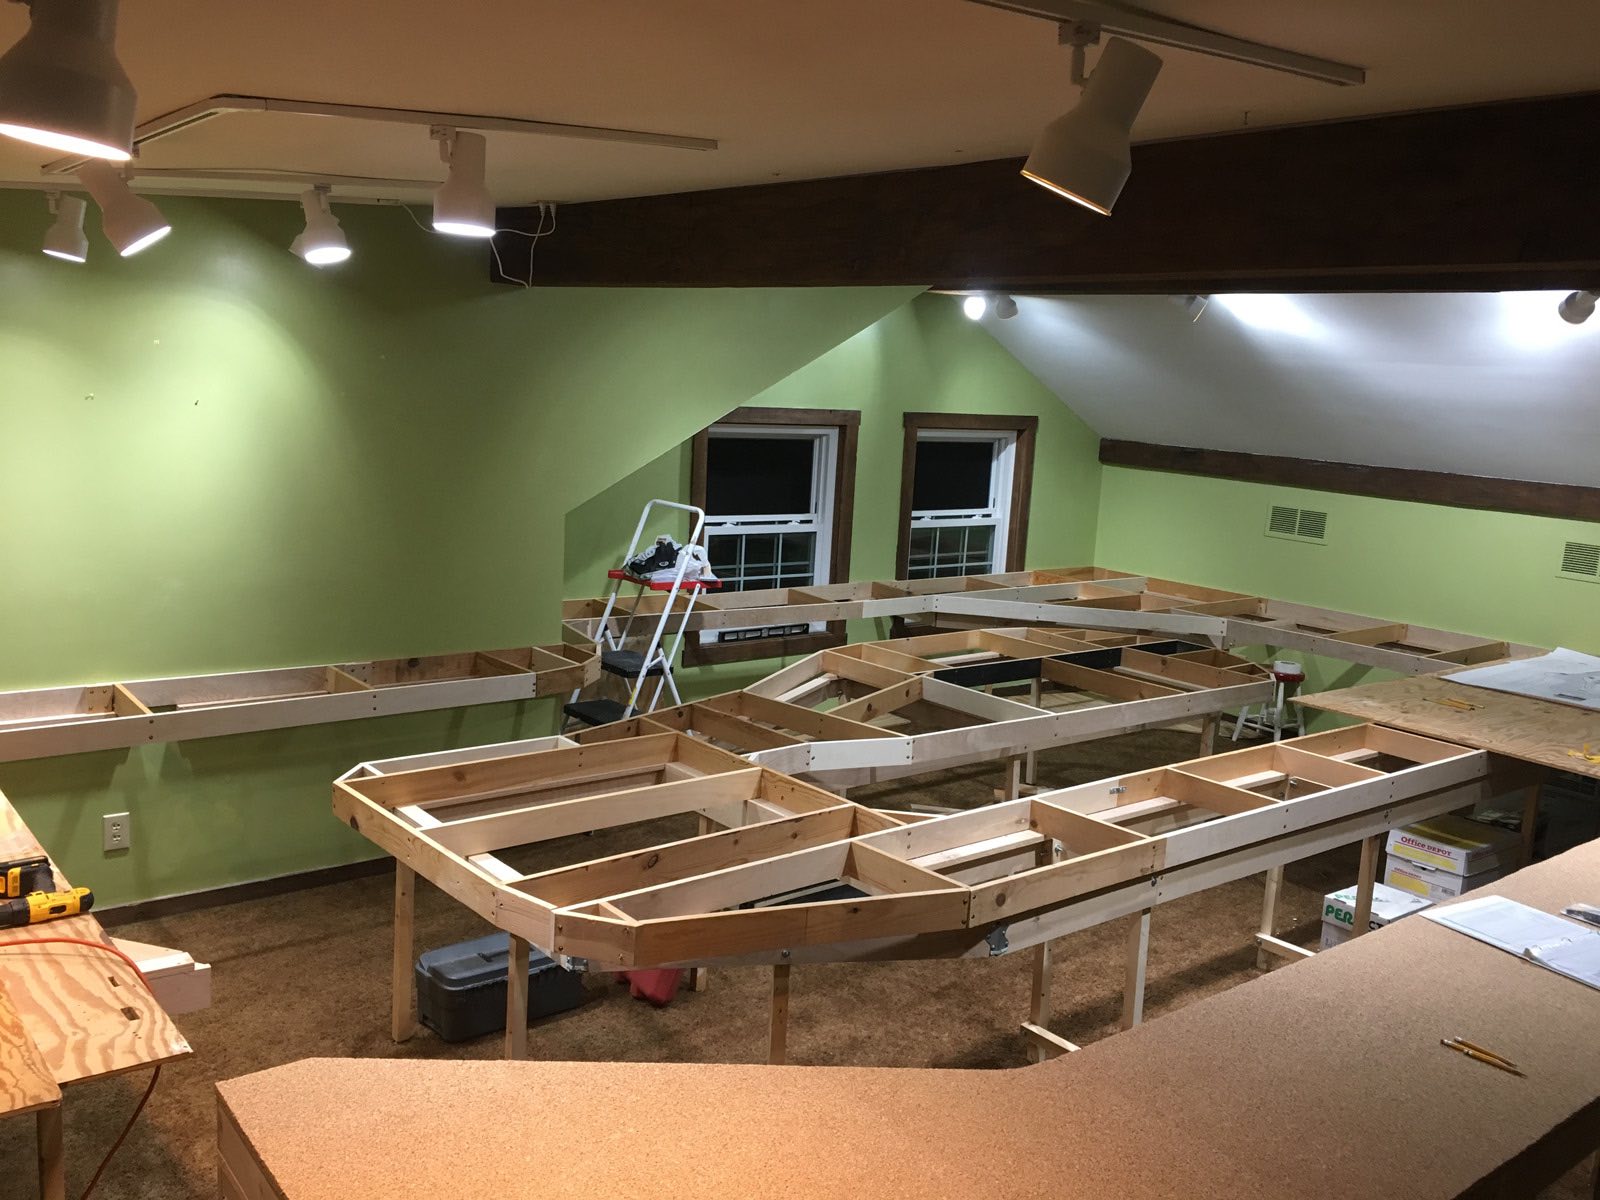
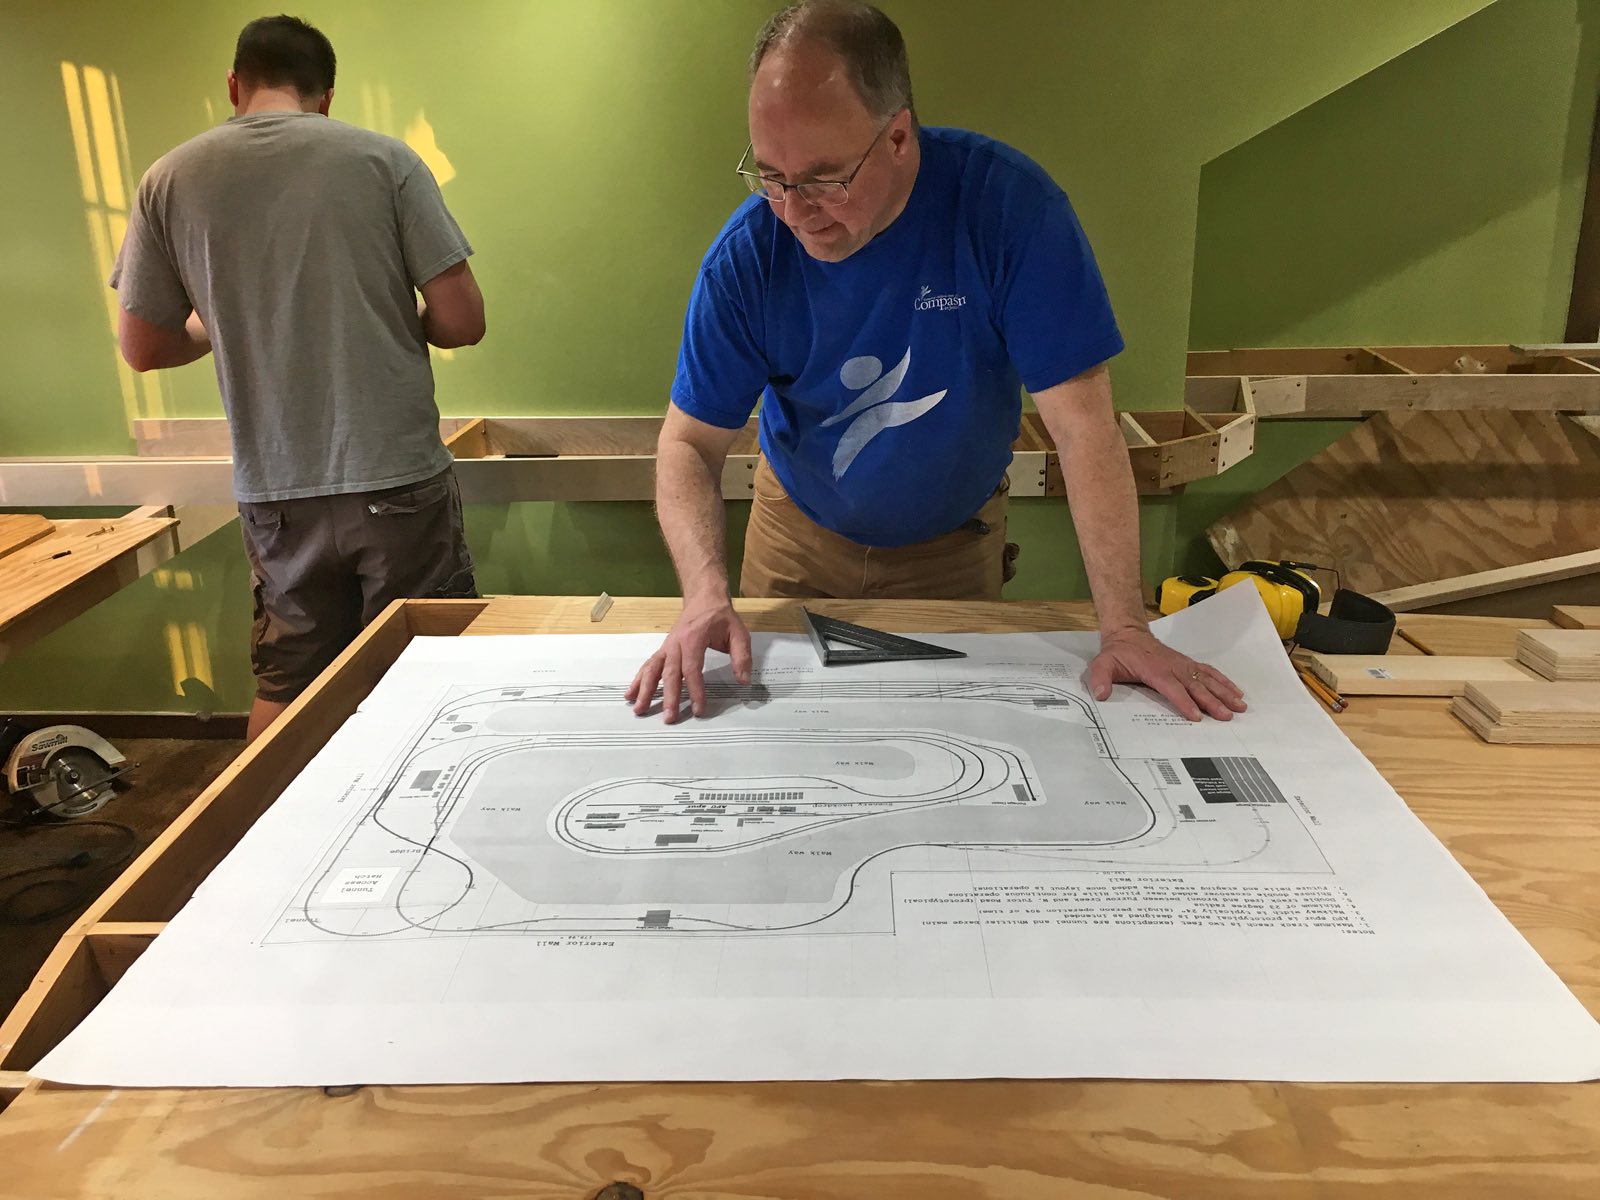
After playing the the Roto-Tape the crew held a lively discussion on RailPro and electrical connectivity. Also, measurements were made for the swing gate.

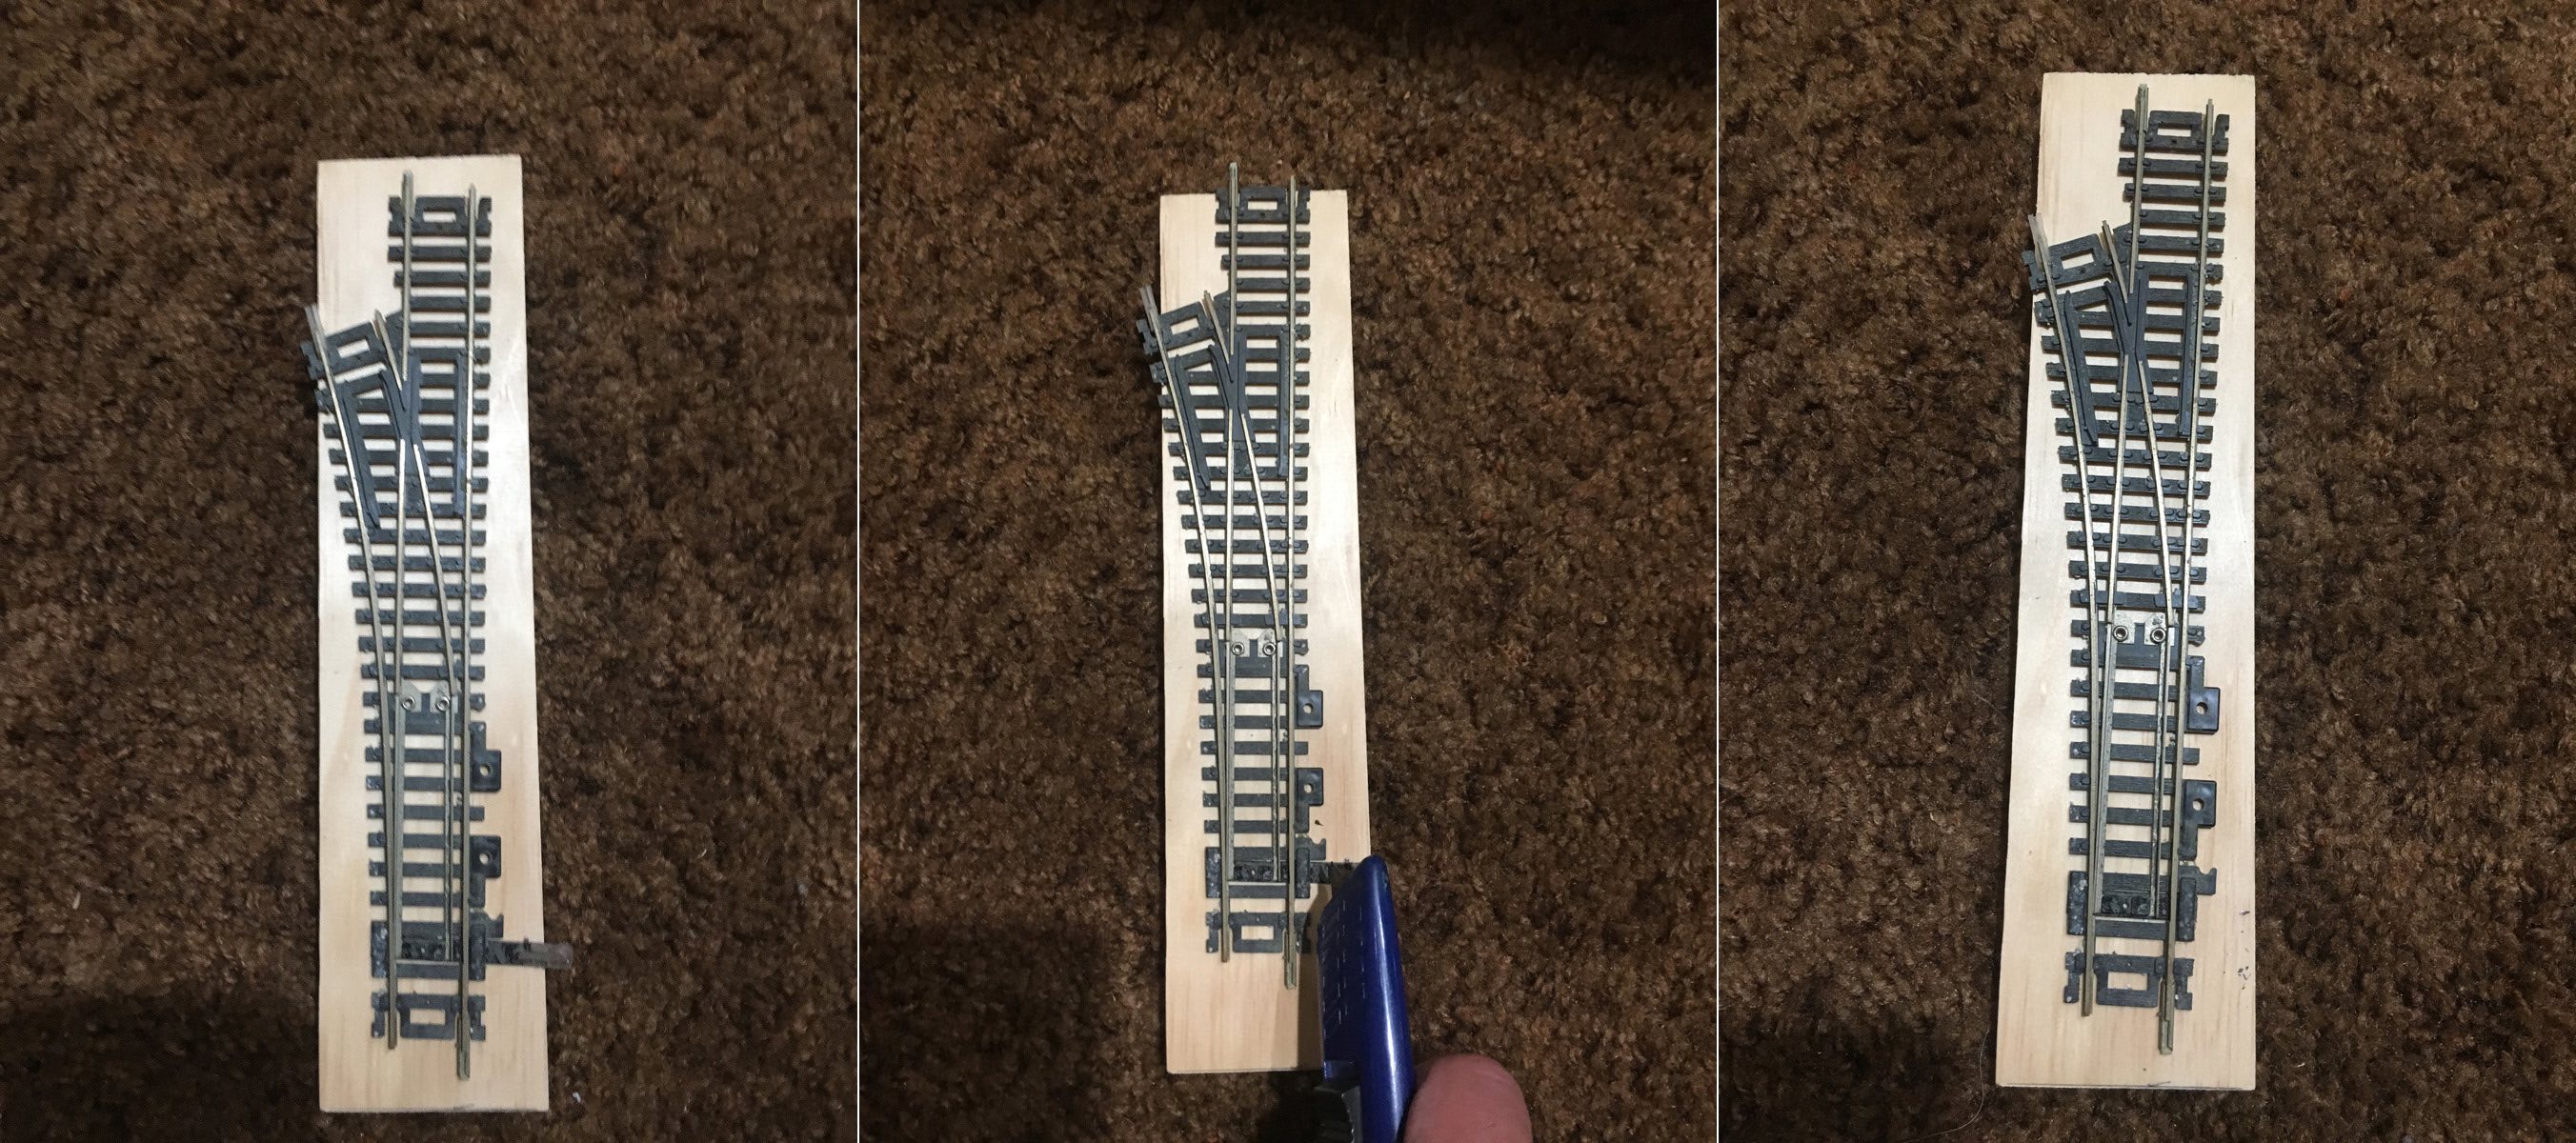
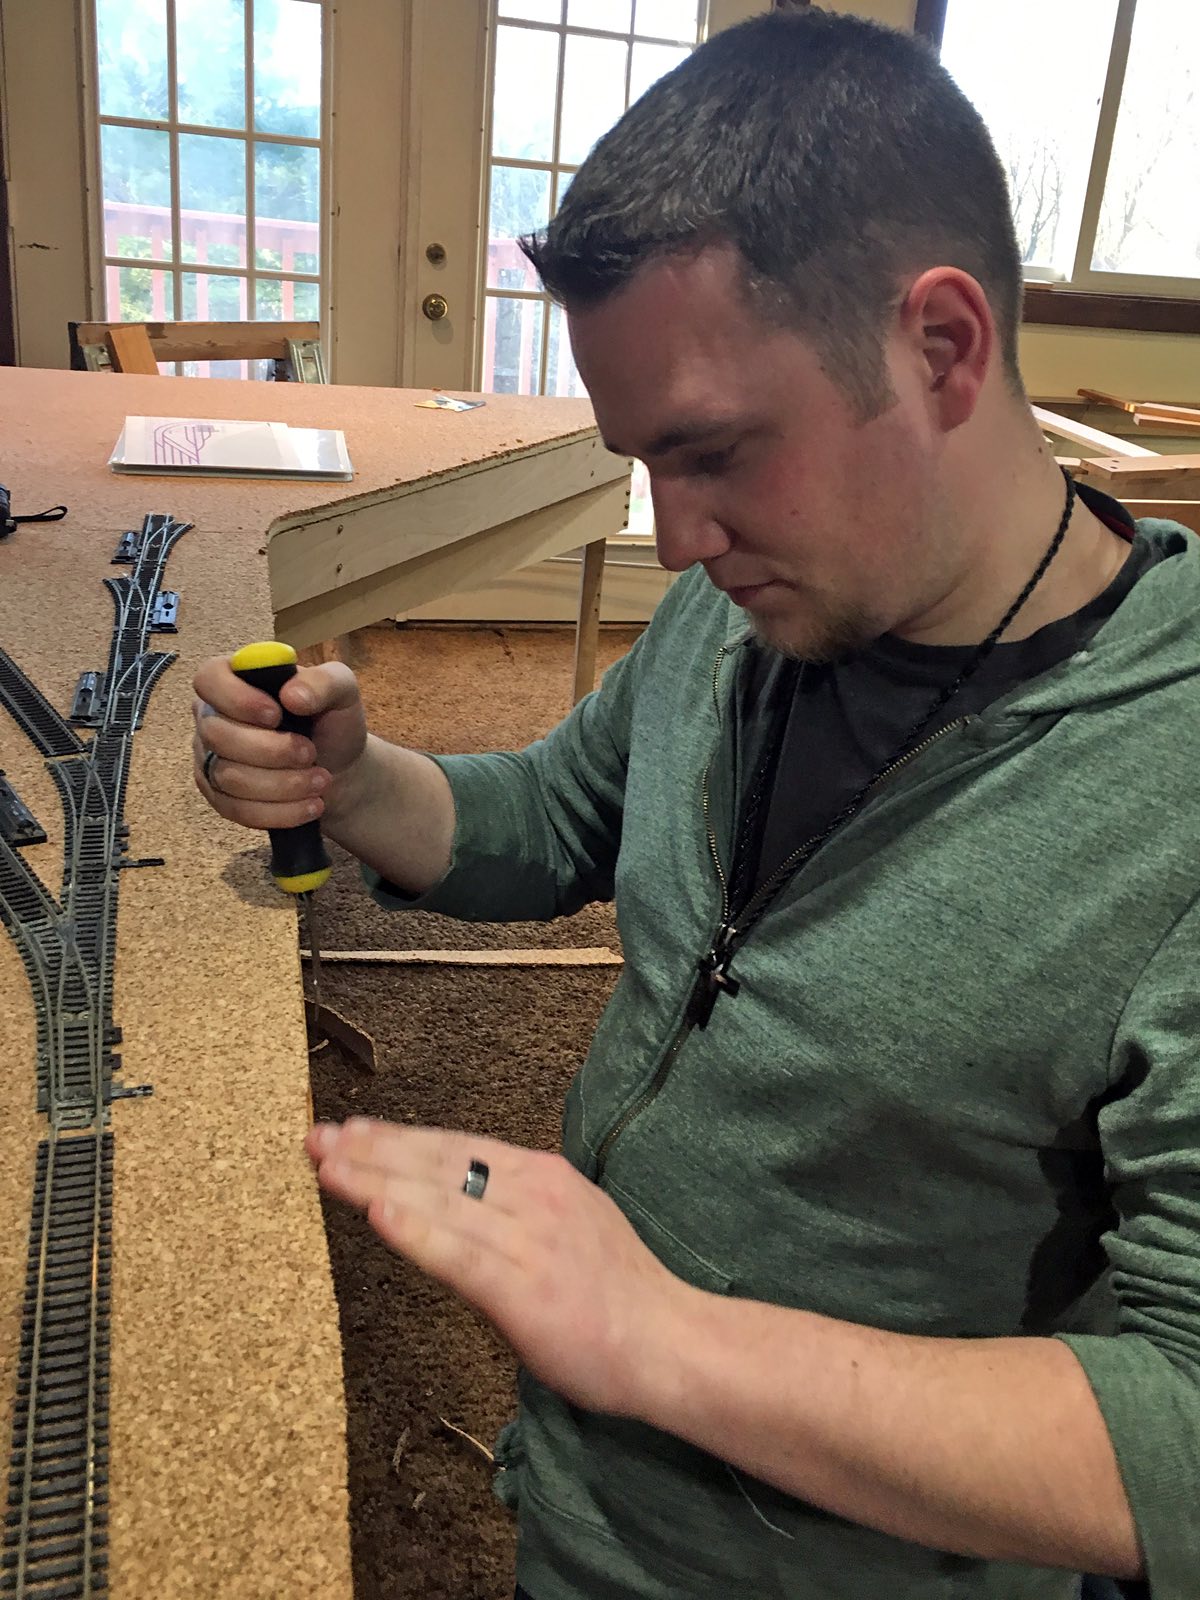
We needed rail joiners to connect switches and track. You would think their purchase would be straight forward. Nope. Amazon sells a pack of 48 for $8.00 and free shipping. Most online hobby stores have them for $2.60-$3.20, but charge $7-$8 for shipping. Hey folks these are just small pieces of metal! eBay won out with a $3.15 price. I bought fives packs and paid $2.66 shipping for all.


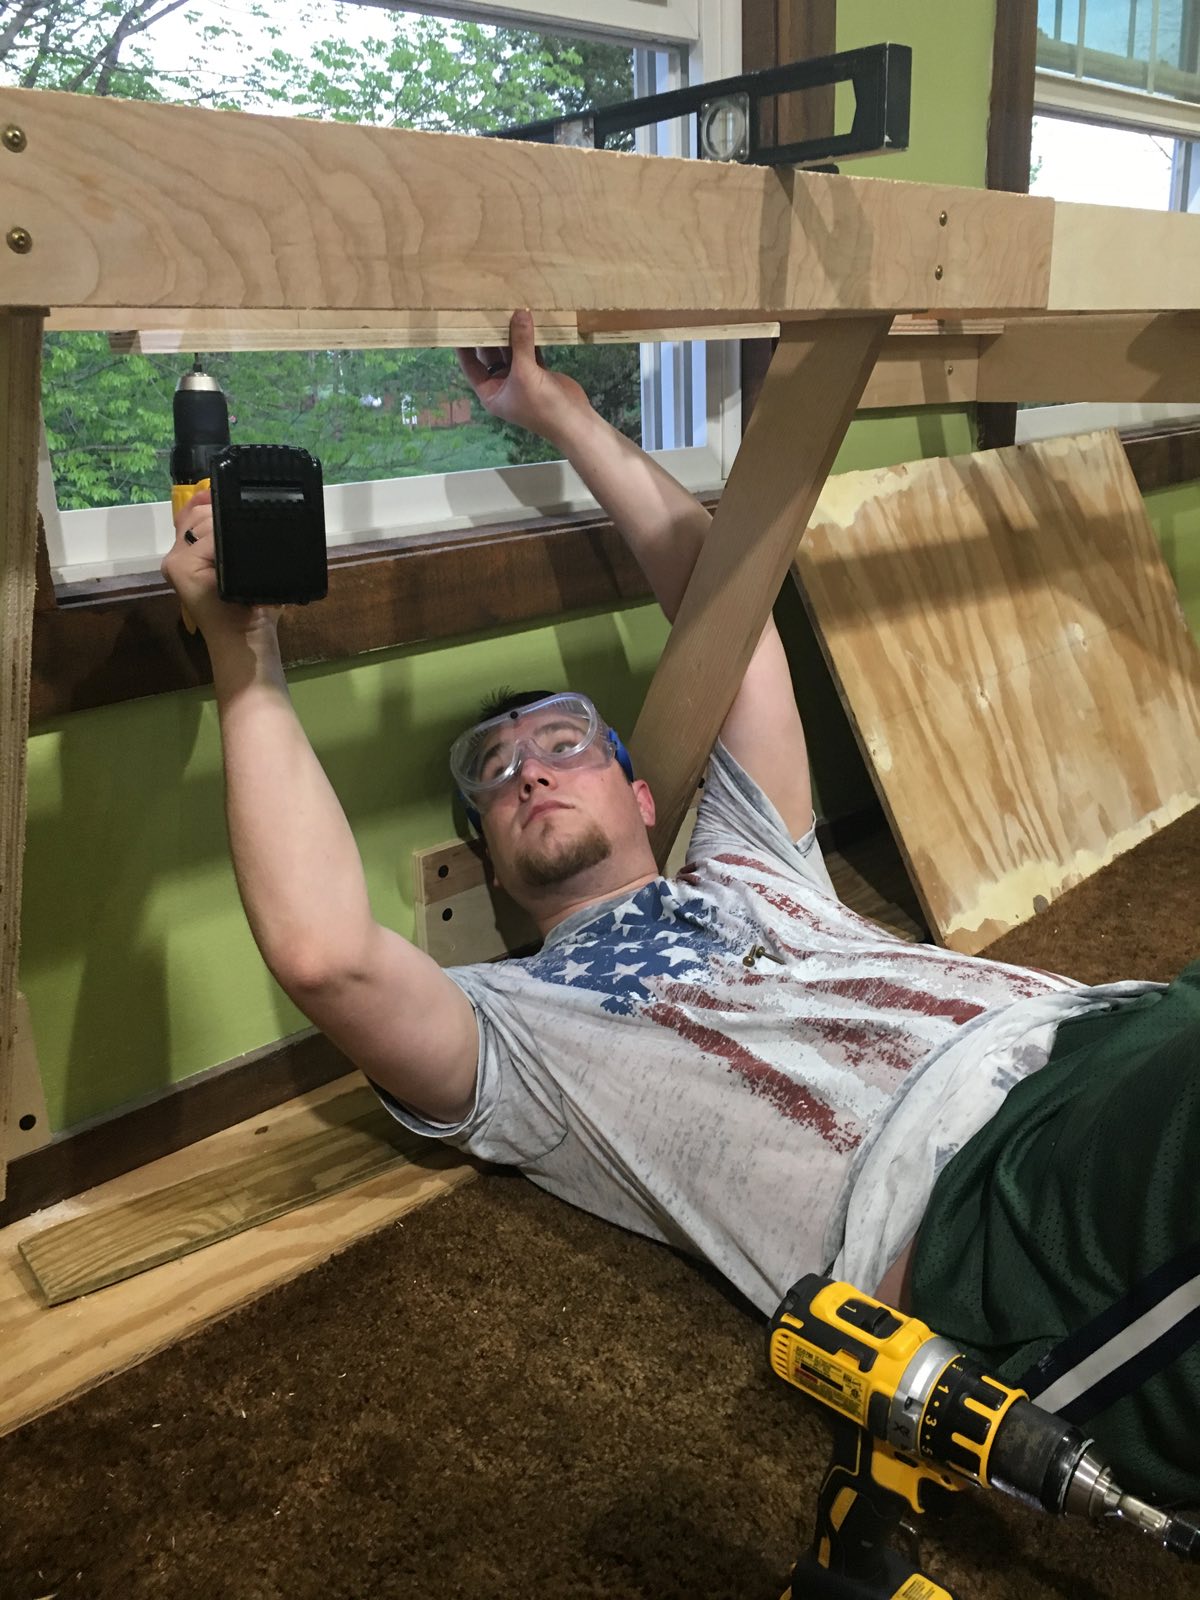
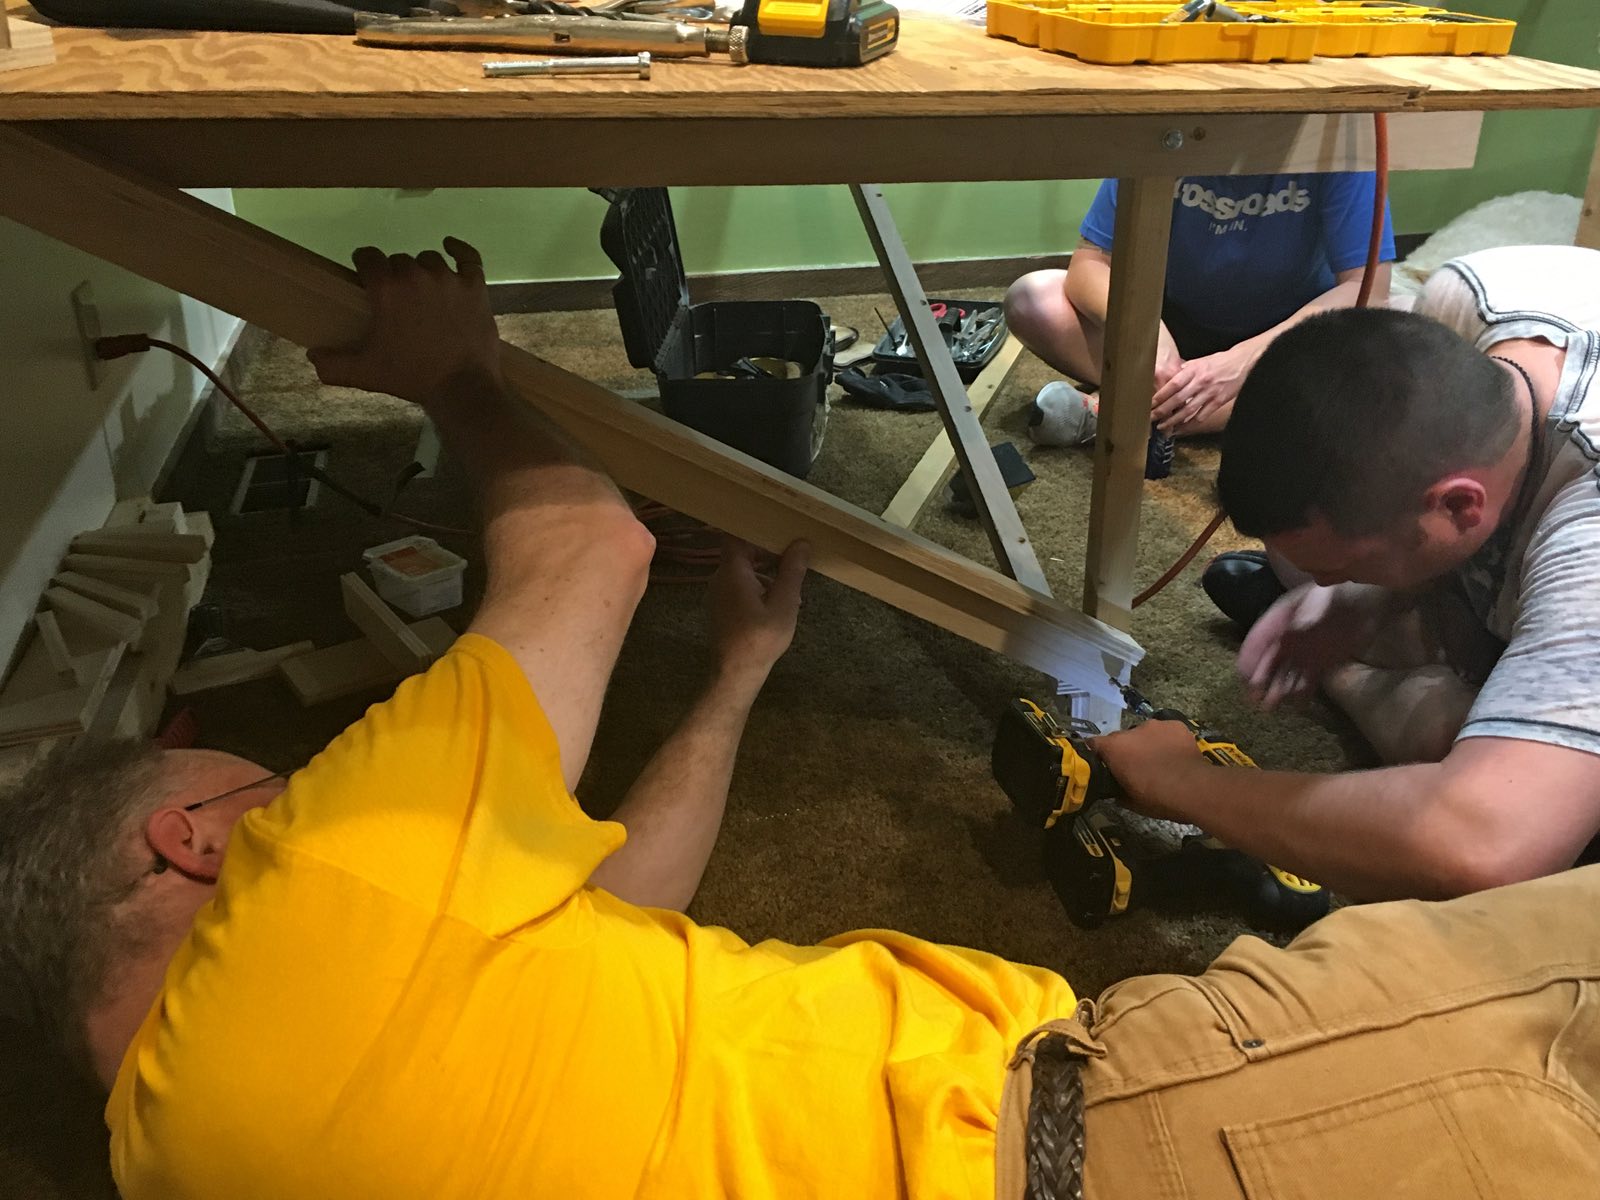
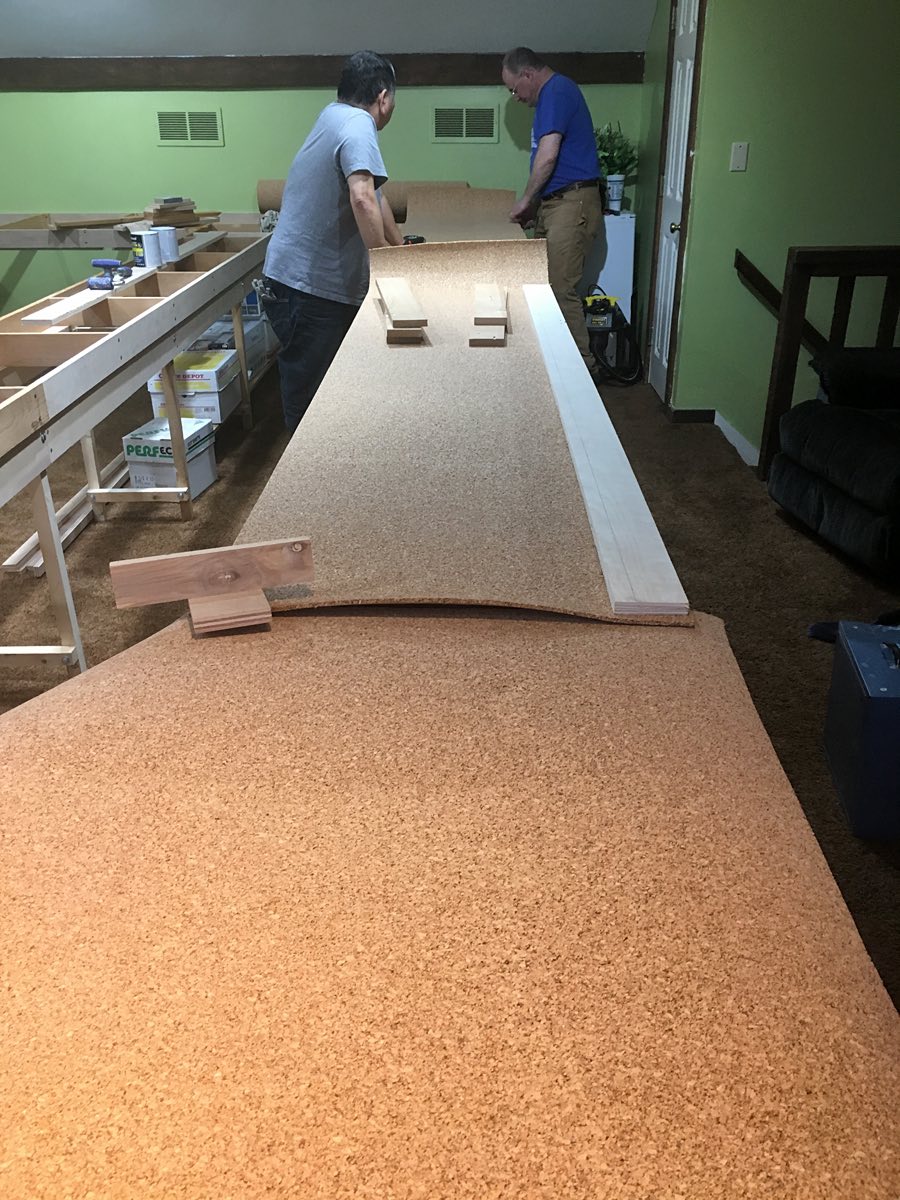
Mike laying down on the job.


May 24, 2018
image
image
image

Tonight begins cutting the road bed for the layout. Mike used the circular saw to cut the straight sections.

A jigsaw is used to cut the curved sections like this one in the tunnel district.


Another view of the curve through the tunnel district.


May 29, 2018
image
image
image

In the future Grandson Liam will run heavy gravel trains around the layout, but today he prefers to play with cupcakes.

Leigh helps hold the long half-inch plywood board in place while Mike uses a jigsaw to cut pre-measured curved roadbed.


This curve will become part of the reverse loop for the mountain division.
image
image
image
Although Terry's kitchen is in the midst of being remodeled she still rises to the occasion by providing great meals and fun desserts. The roadbed for the TwentyMile subdivision is cut and in place.

The roadbed for the mountain tunnel reverse loop is cut and in place.

There will be no work session next week since Mike will be on a vacation trip.