April 5, 2018
image image image
LJ installs ribbing (joists) for the Flint Hills Refinery district. Ribbing work continues east through Tunnel Section. The spacing of ribbing will increase to allow underneath mountain/tunnel access. Judging by the smile on his face the Construction Foreman is pleased with the ribbing along the south wall.
image image image
Joists for Flint Hills Refinery east. Installing joists underneath the future mountain.

Mountain area bench work complete!

image    

LJ brought in a TV and DVD player so we could watch Alaska Railroad videos while working on the layout. The only drawback was the Railroad Alaska segments were so interesting we couldn't get any work done!


April 12, 2018
image image image
Cork is applied as sound deadening material for the entire Anchorage yard. Allyn and Mike fitting and cutting the cork for the diesel shops and north Anchorage yard. Cork will overlap plywood and later be trimmed after curing. Unrolling the cork to cover the entire 27-foot long Anchorage yard.
image
image
image
Mike uses DuraShears to cut the cork to the proper width and length. The final section of cork is cut to fit the southern end of the Anchorage yard.

Using disposable foam brushes Allyn, LJ and Mike spread Weldwood contact cement over the cleaned plywood surface. Open windows provide adequate ventilation. John claims his sinuses haven't been this uncongested in weeks.

image image image
Next, the trio applies the contact cement to the cork. Both surfaces will need to dry 15-20 minutes before joining. The crew moves on to the main Anchorage yard to apply contact cement to both the plywood and cork. At the northern end of the Anchorage yard Mike uses a J-roller to flatten the cork and remove any air bubbles.
image image image
The trio applies contact cement to the remaining yard sections. Hopefully there is enough contact cement to finish! Clean strips of wood is positioned across the substrate to serve as spacers between the glued layers. As long as the spacers have minimal contact cement on them, they won’t stick to the substrate or cork. LJ and Allyn butt the final cork piece up to the previous section. Mike ensures the cork sheet lines up along the plywood edge. Tonight Terry made chocolate chip cookies for the crew. Later John smuggled up several balls of uncooked dough!
image image  
LJ and Allyn remove the slats as Mike uses the J-roller to flatten the cork. Windows are closed overnight to ensure proper curing temperatures. The cork is inspected the next day and zero defeats are found. That's right folks....no wrinkles or air pockets. Windows are reopened for ventilation.  


April 19, 2018
image
image
image
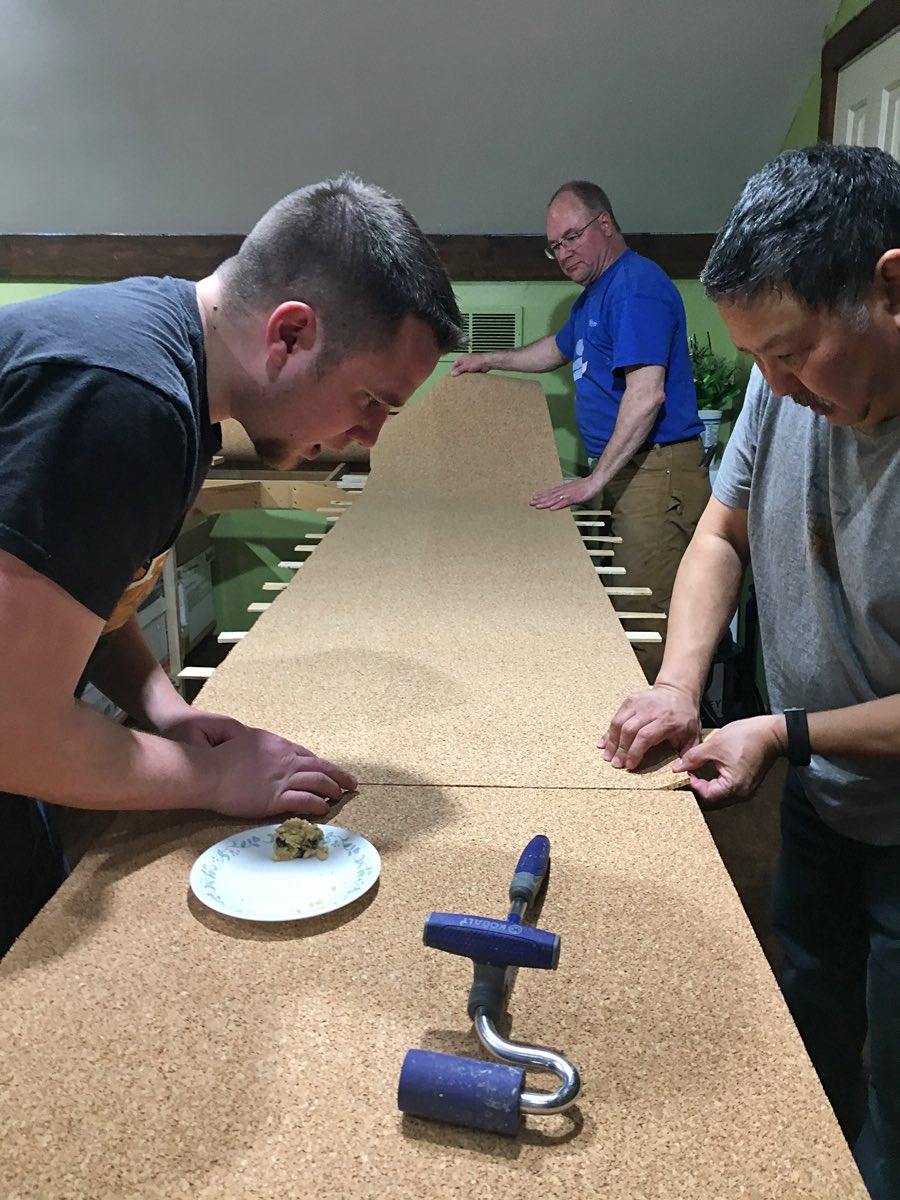
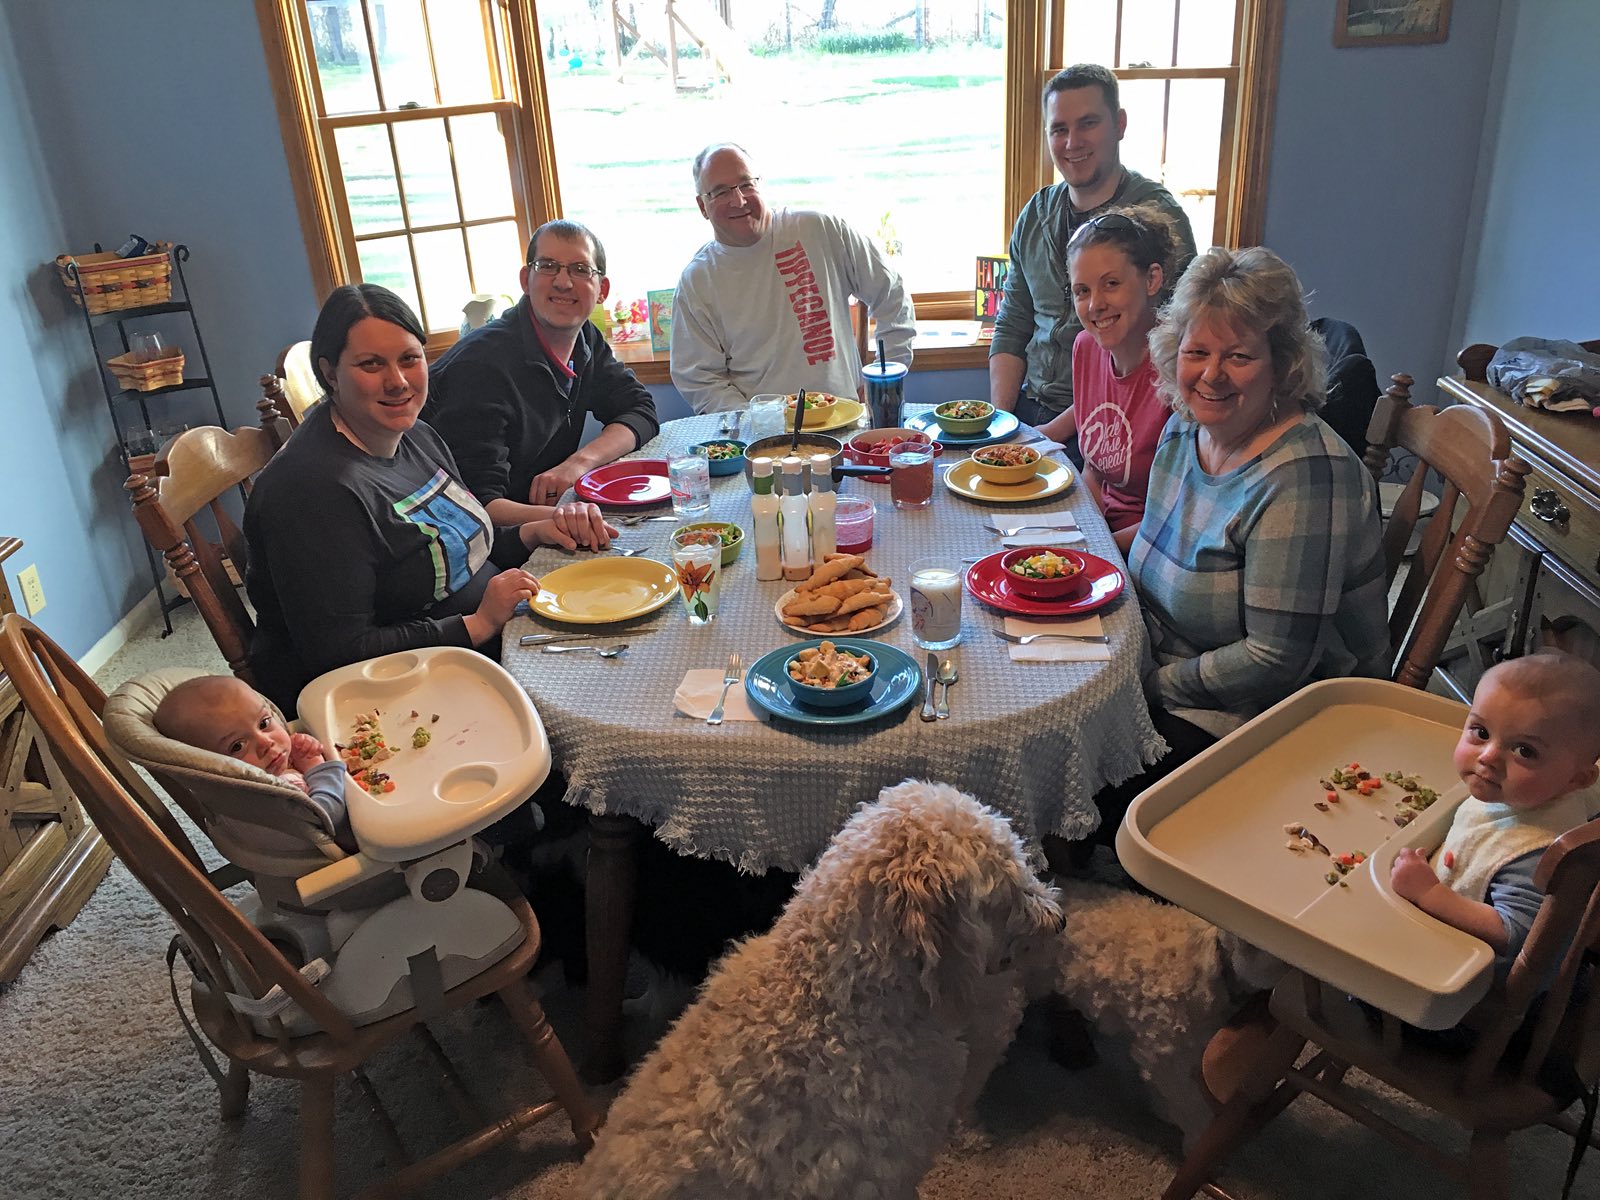
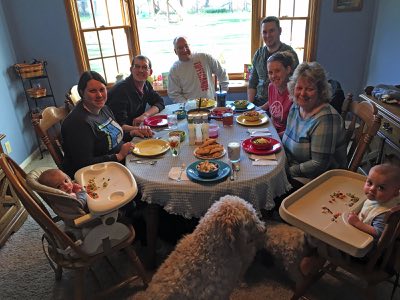
Our work sessions always begin with a fabulous home cooked meal by the CFO. Sometimes the associated food coma slows down the work! At the bottom of the photo Zeus waits for one of the twins to drop anything edible. 
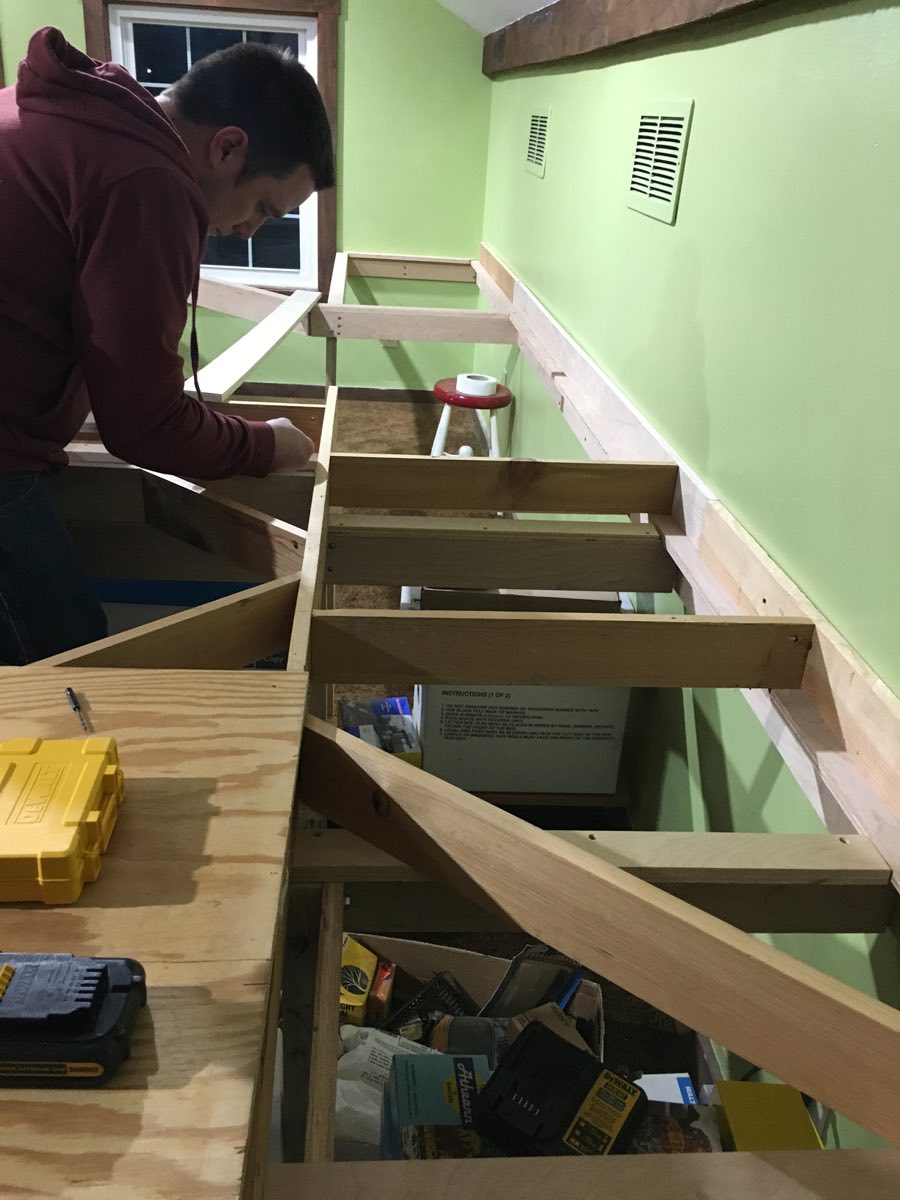
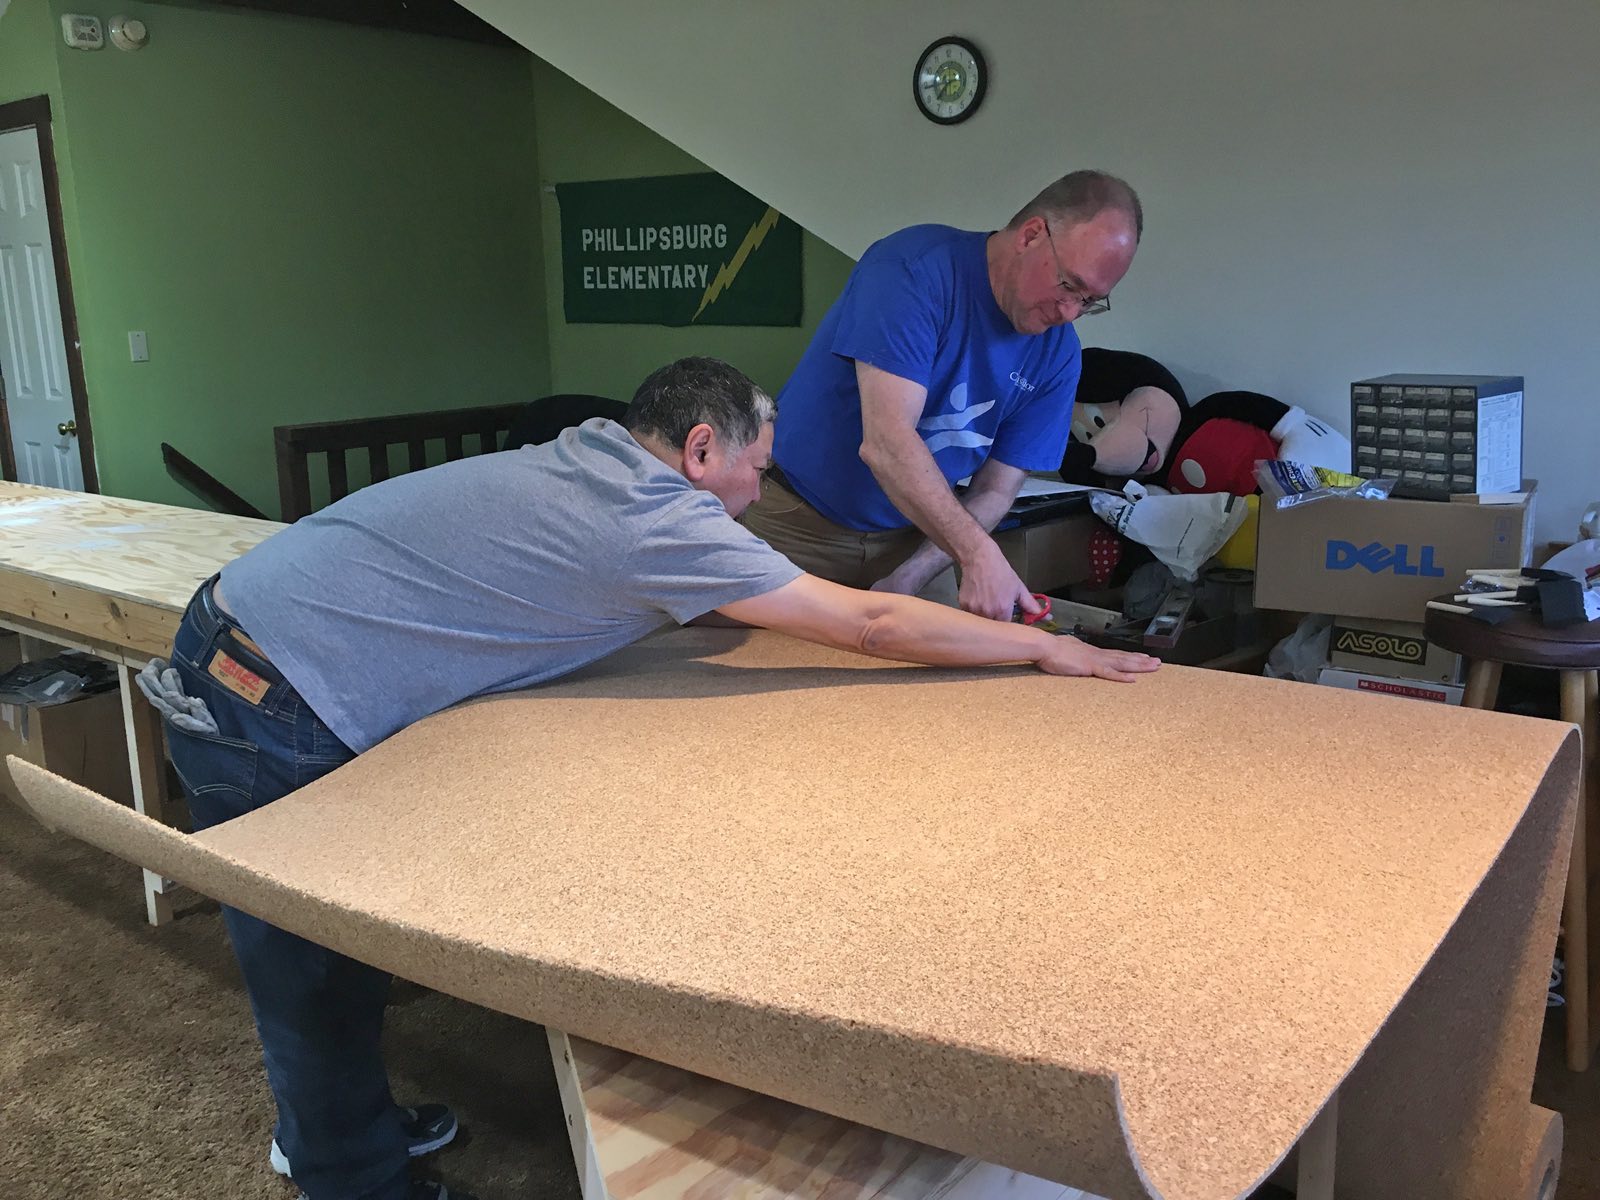
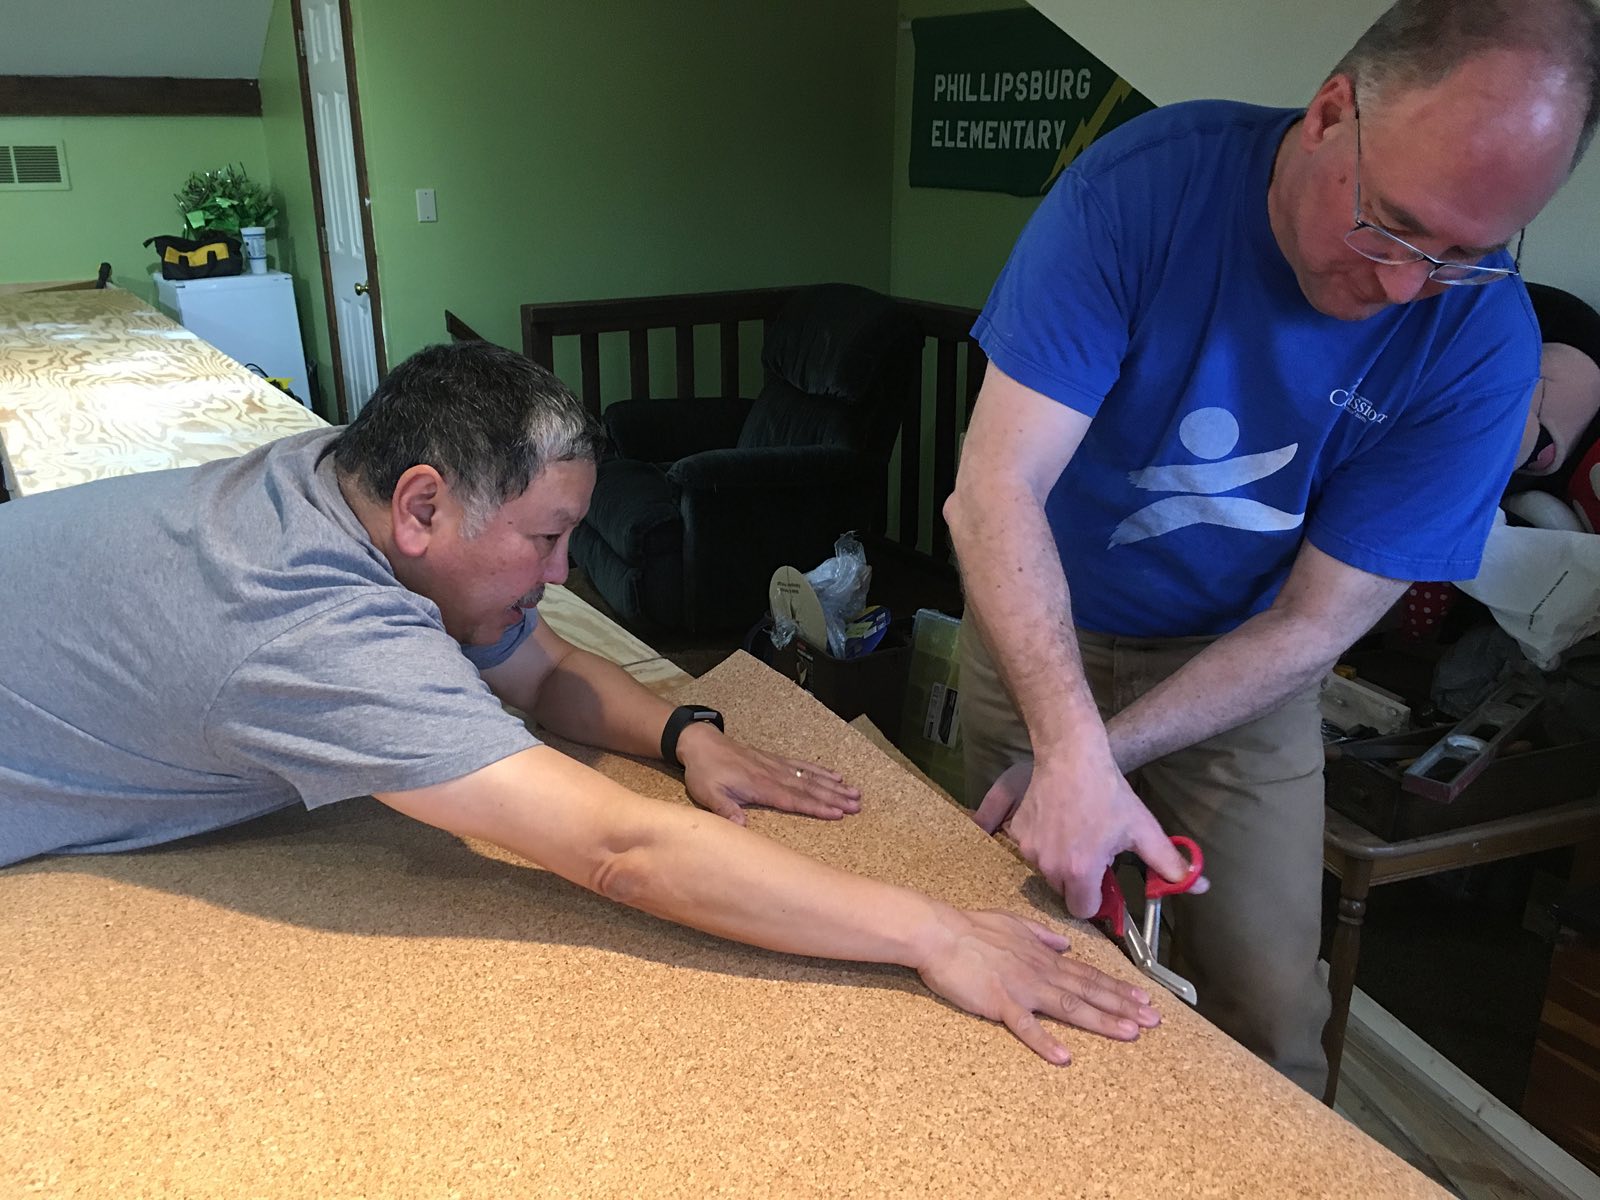
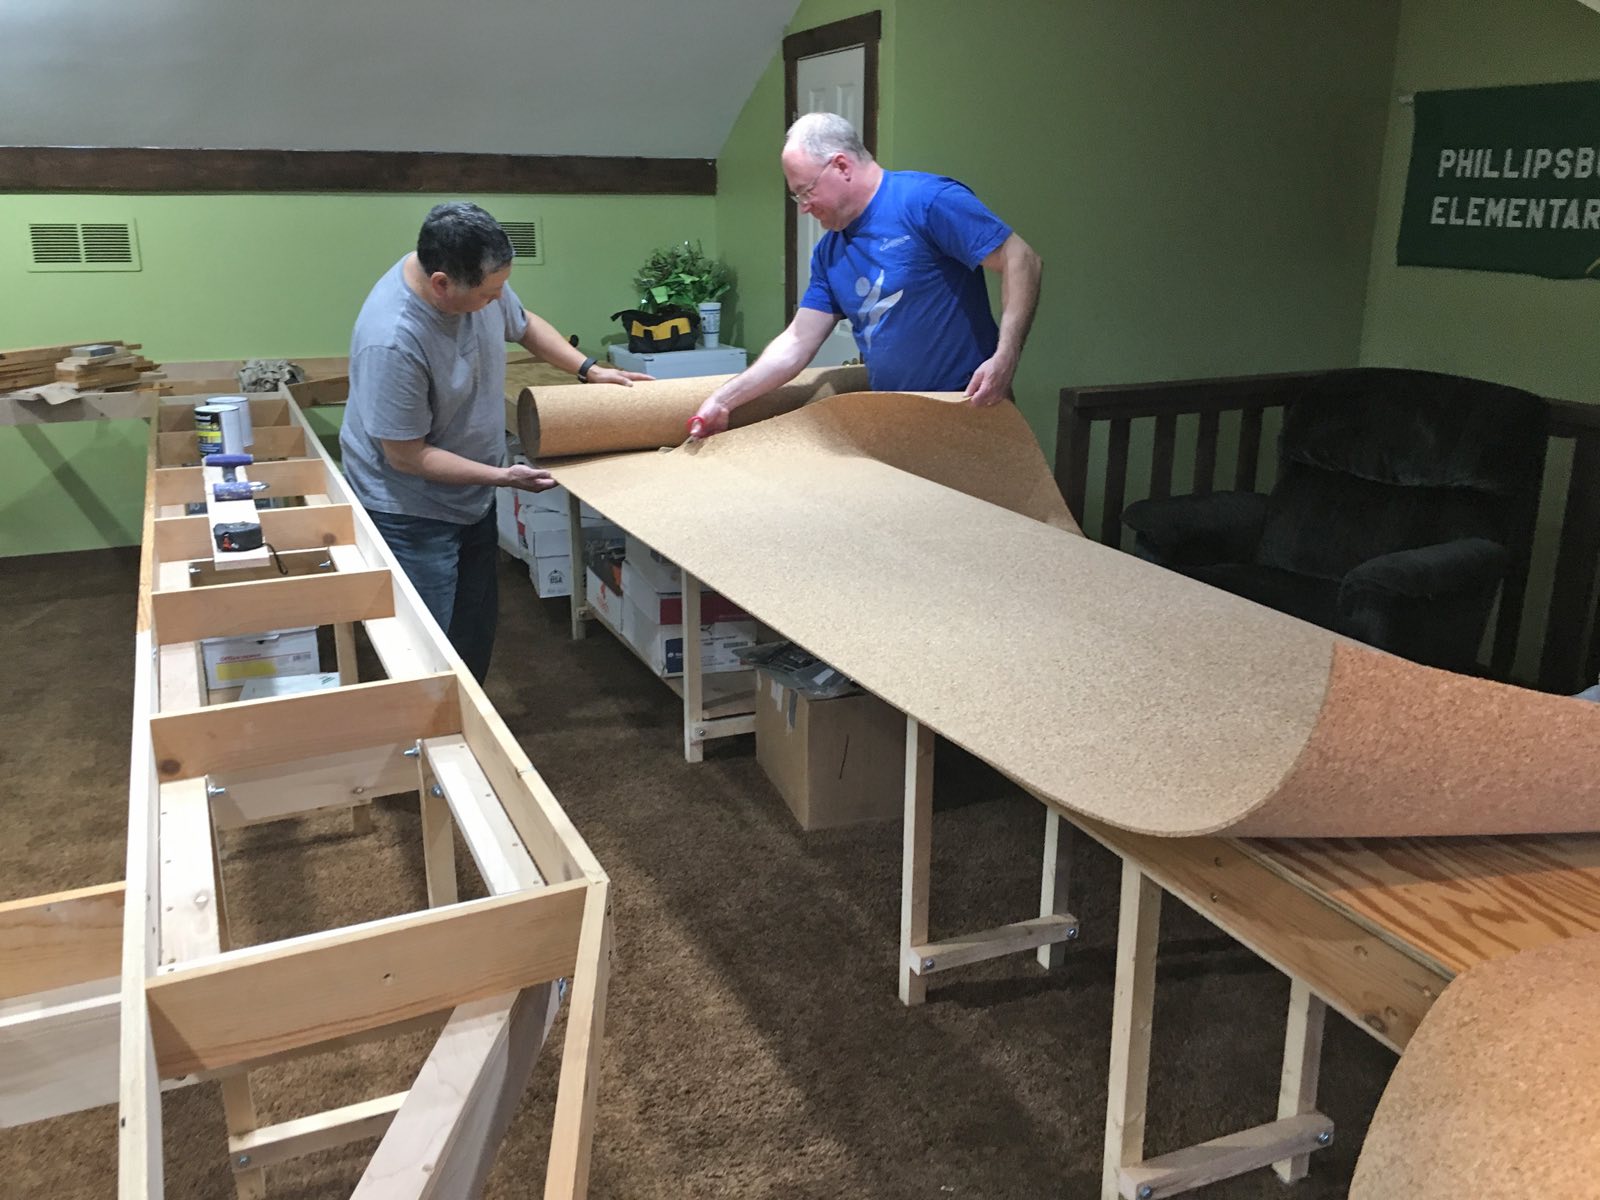
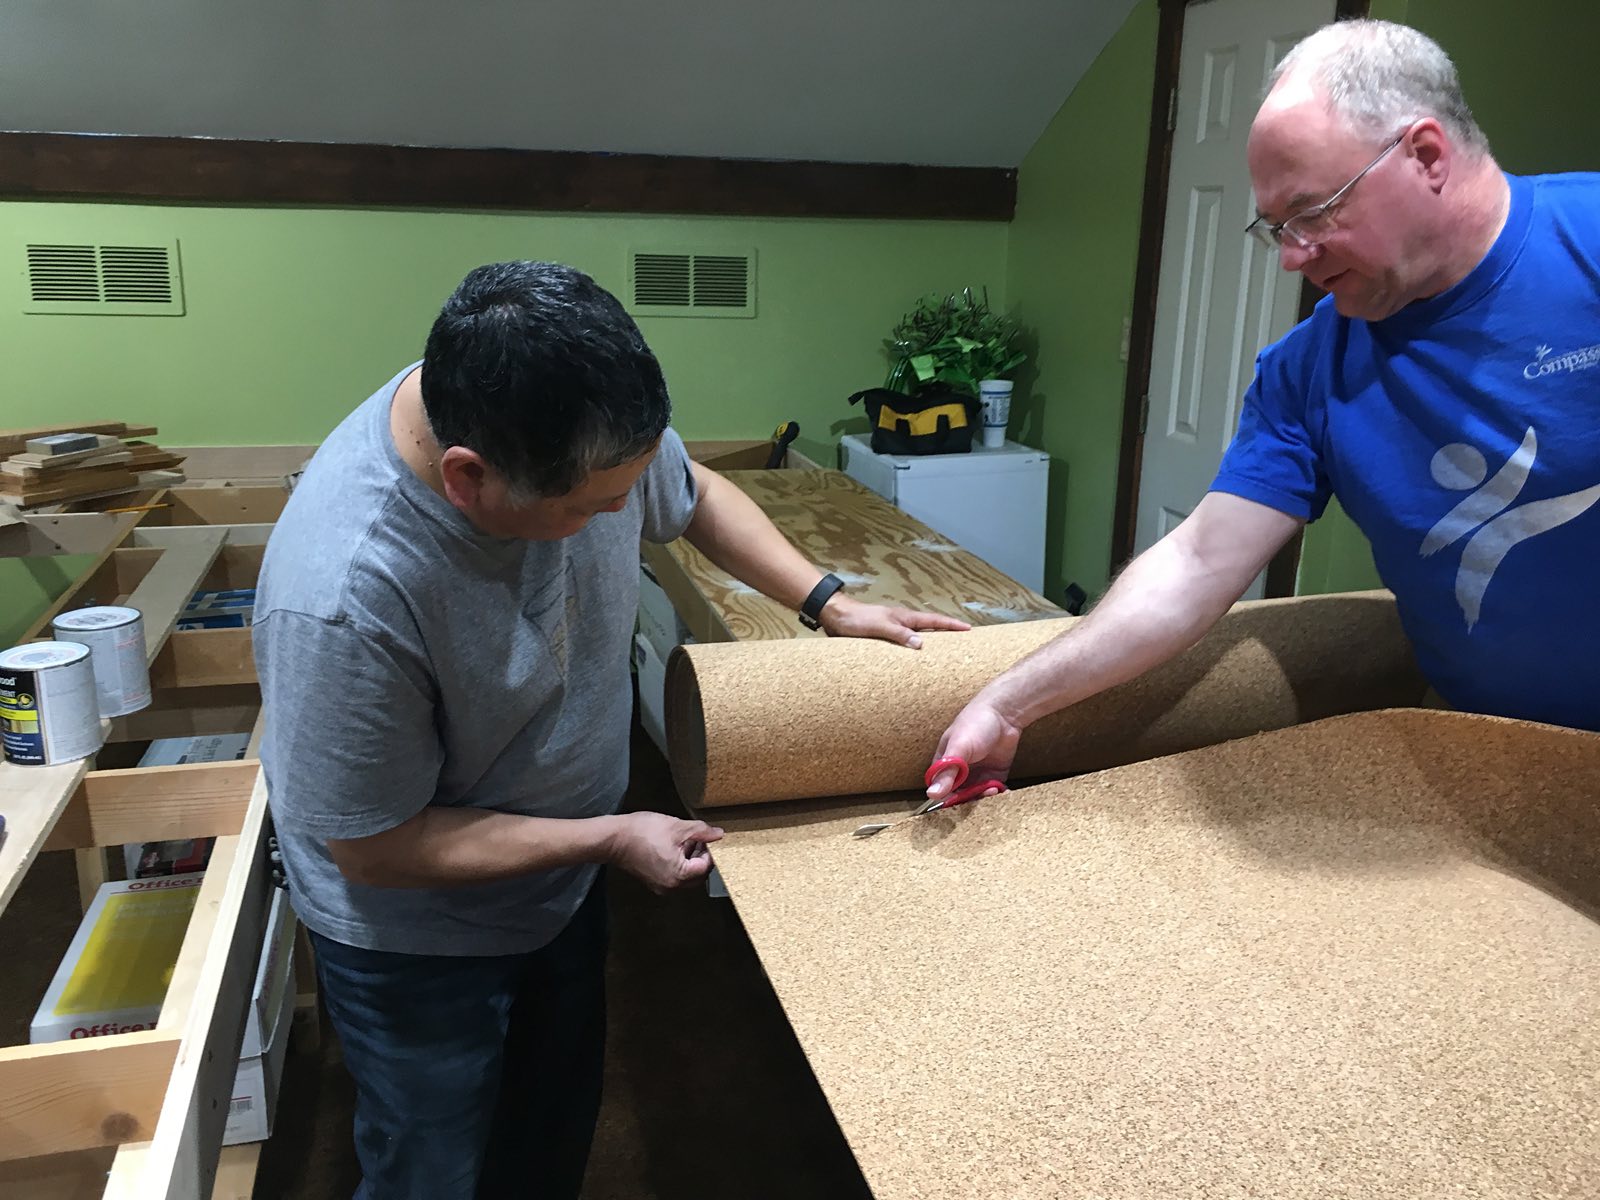
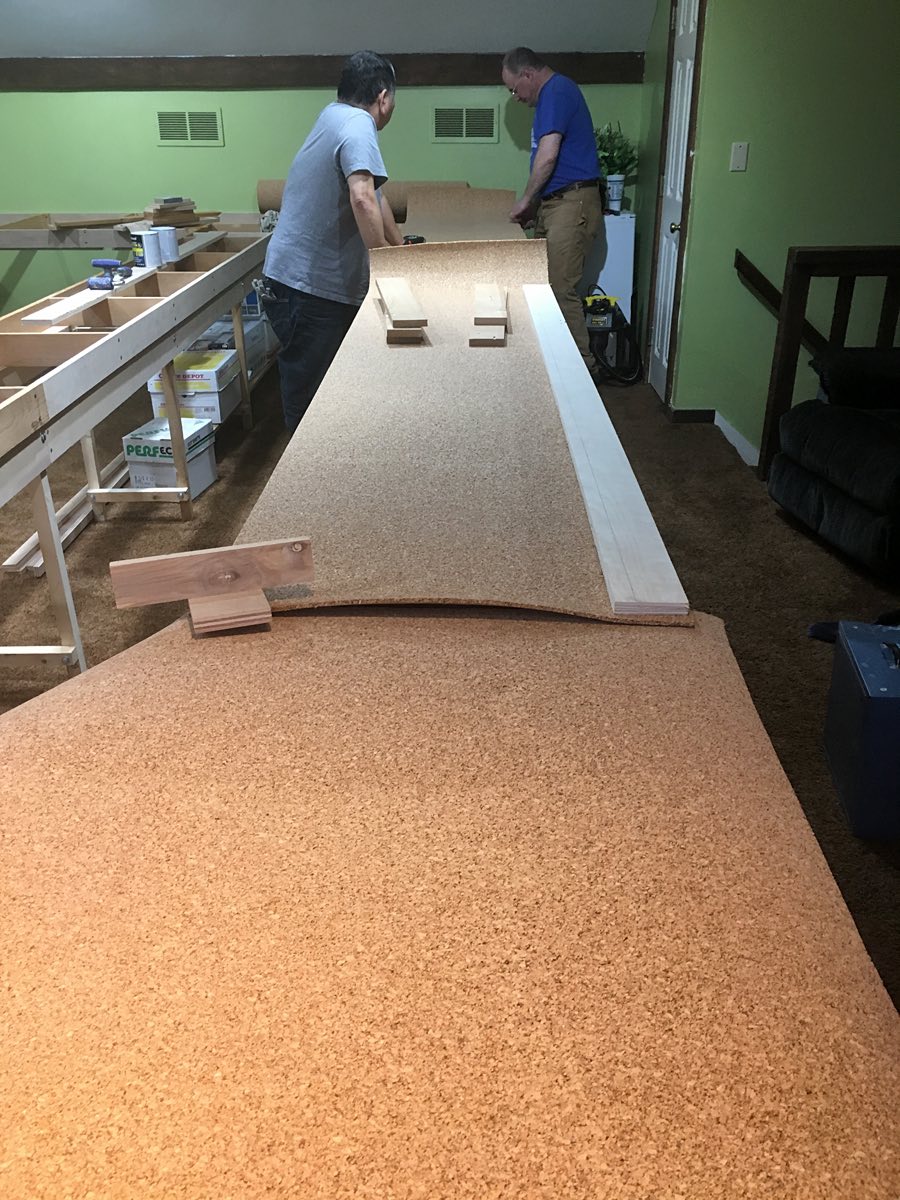
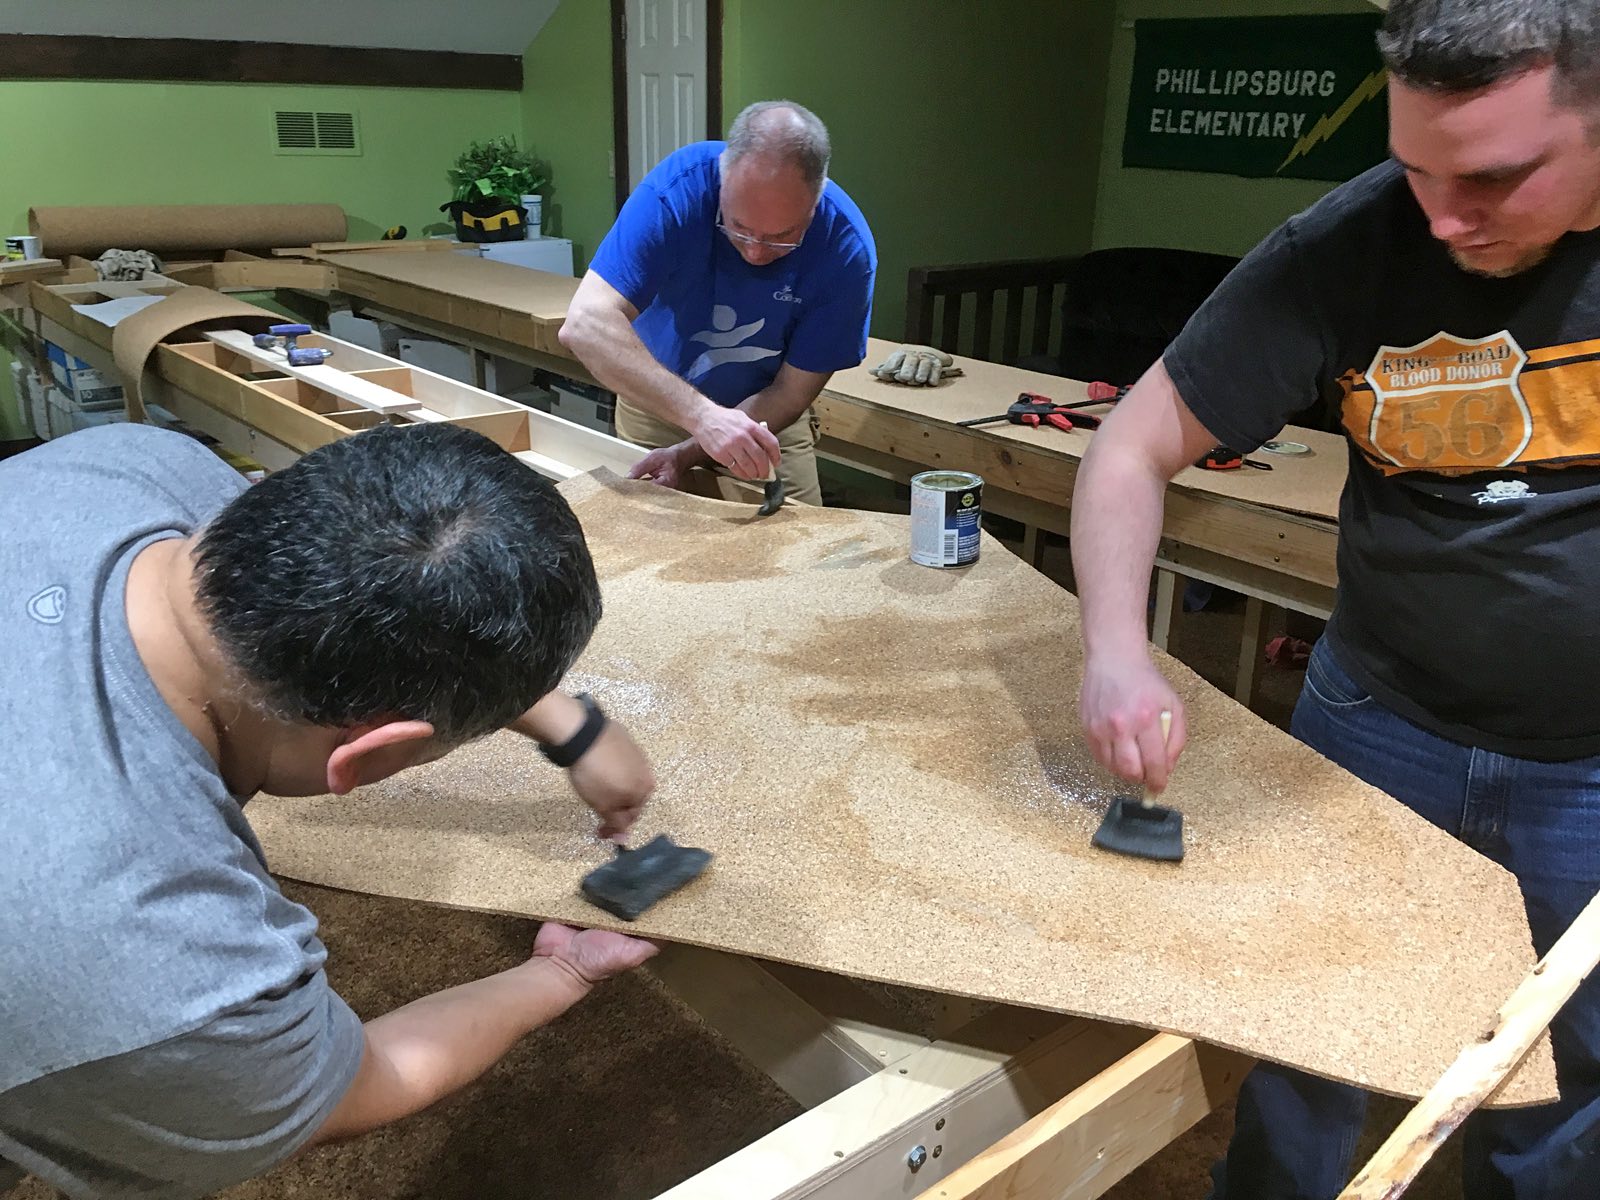
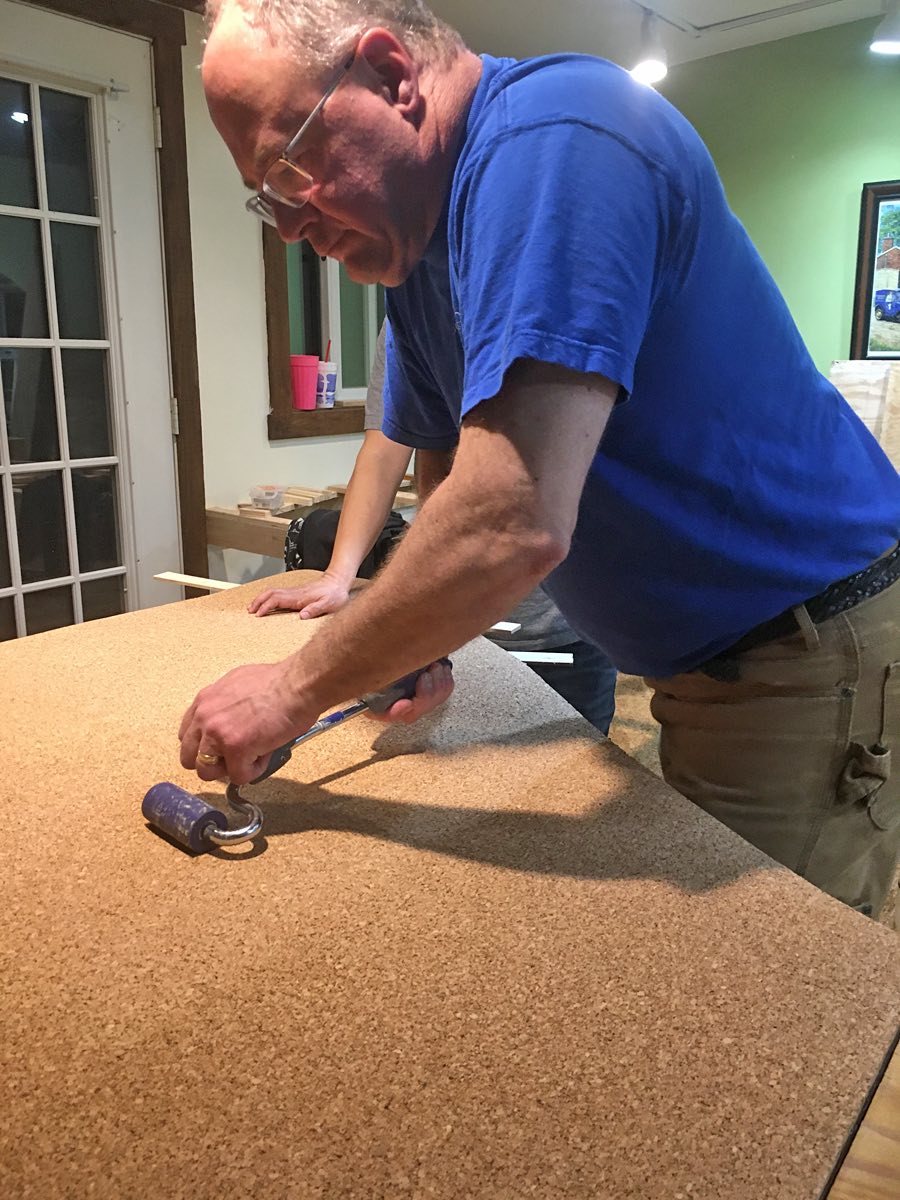
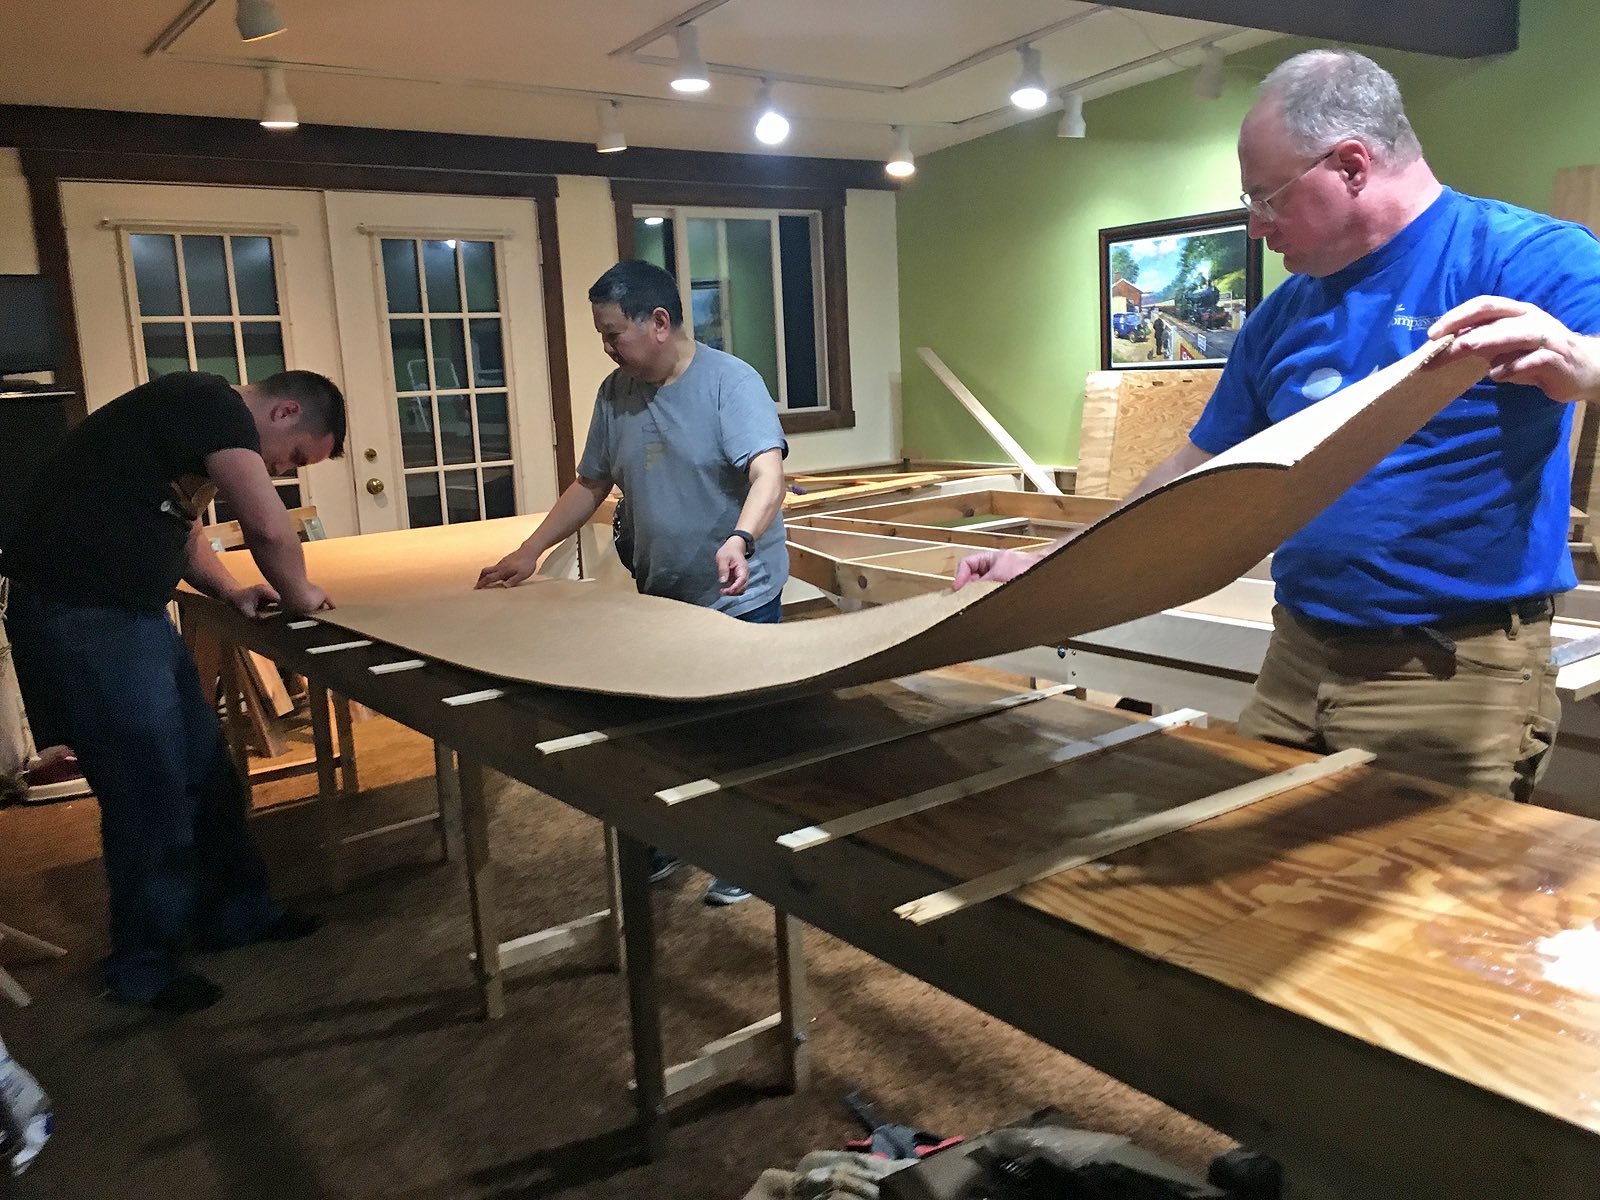
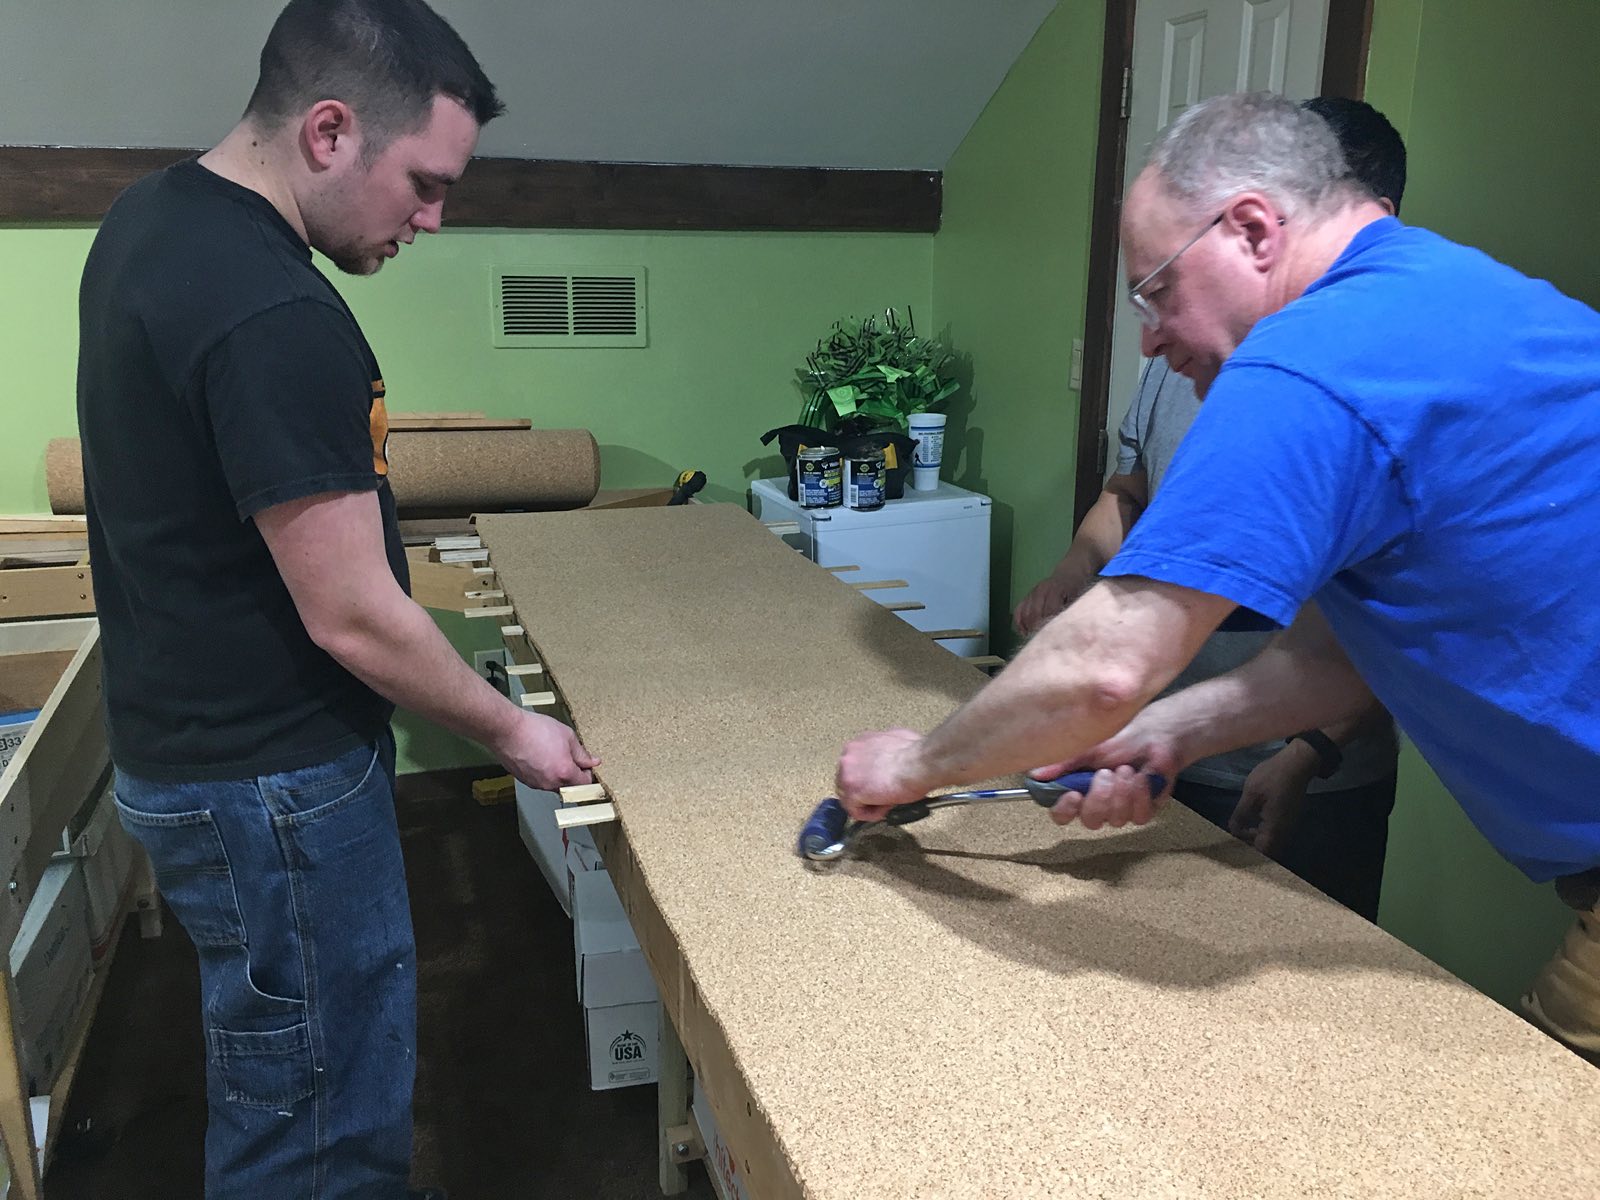
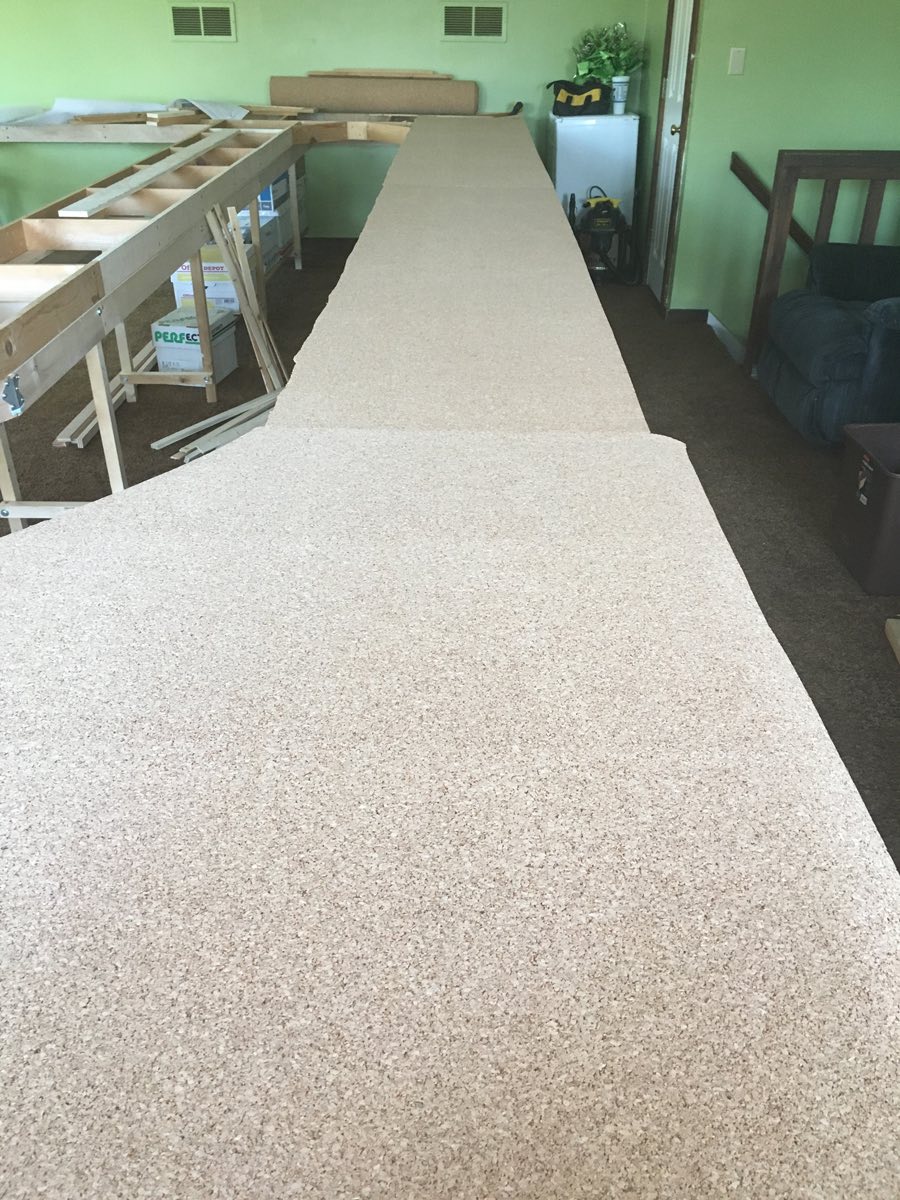
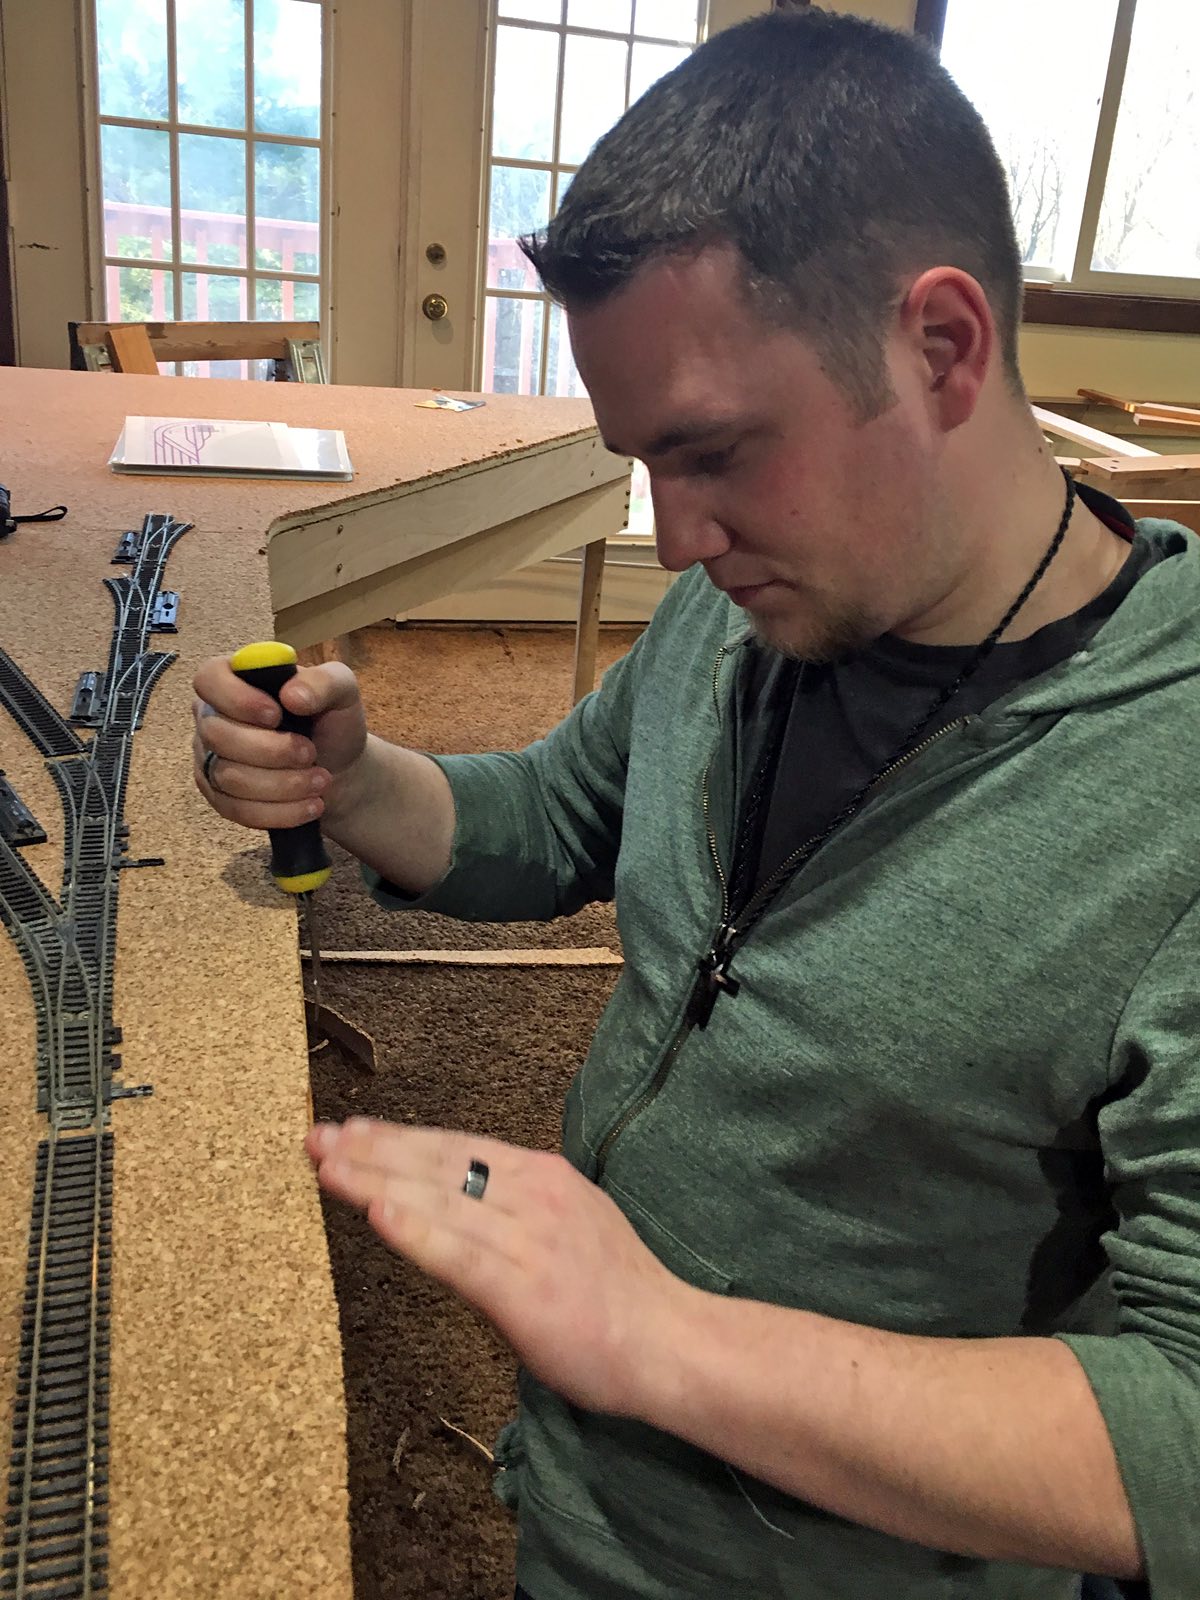
The cork has cured for a week so LJ can now use a hooked carving knife to trim it along the facia. Leigh later vacuumed up all cork droppings on the carpet. To the left is a test fit of track for the north Anchorage yard. LJ puts the final ribbing pieces in place for the mountain Tunnel subdivision.
image
image
image
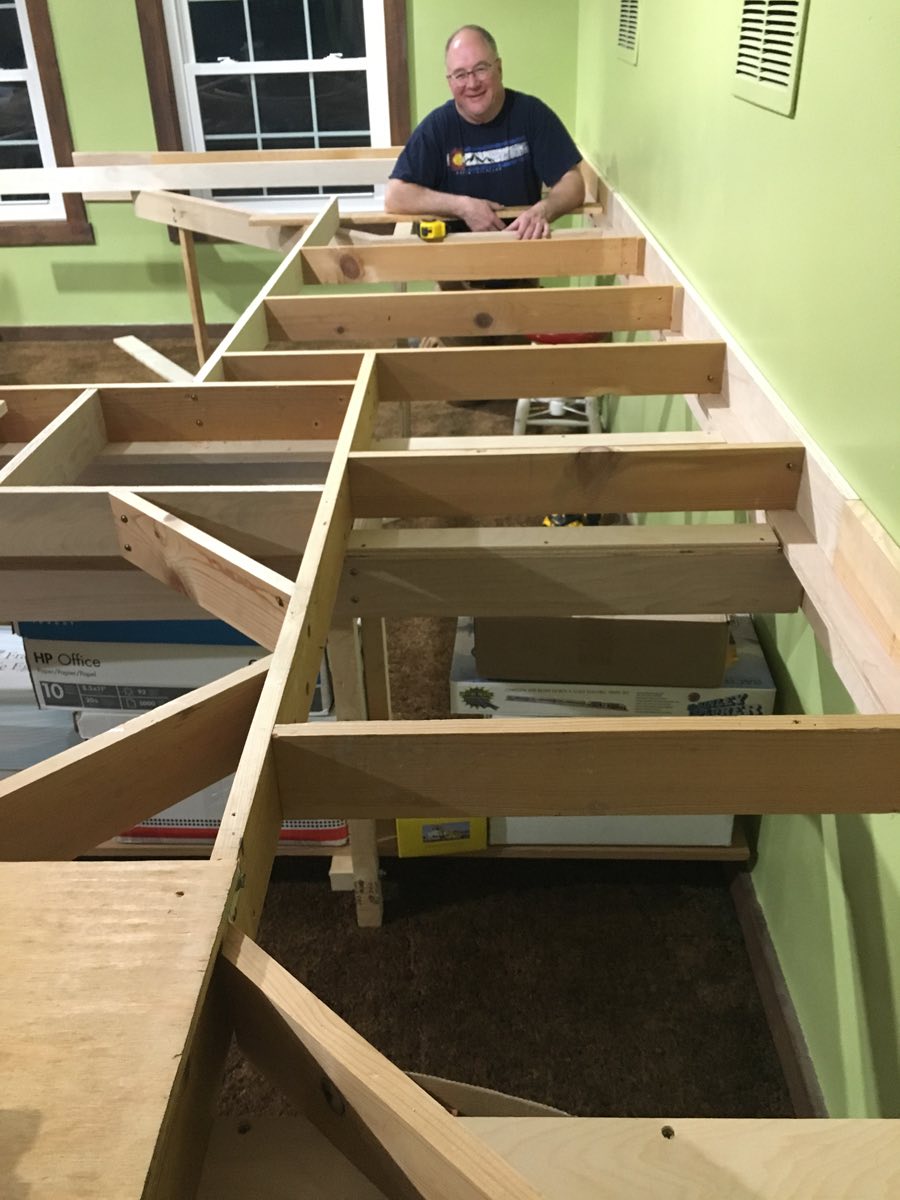
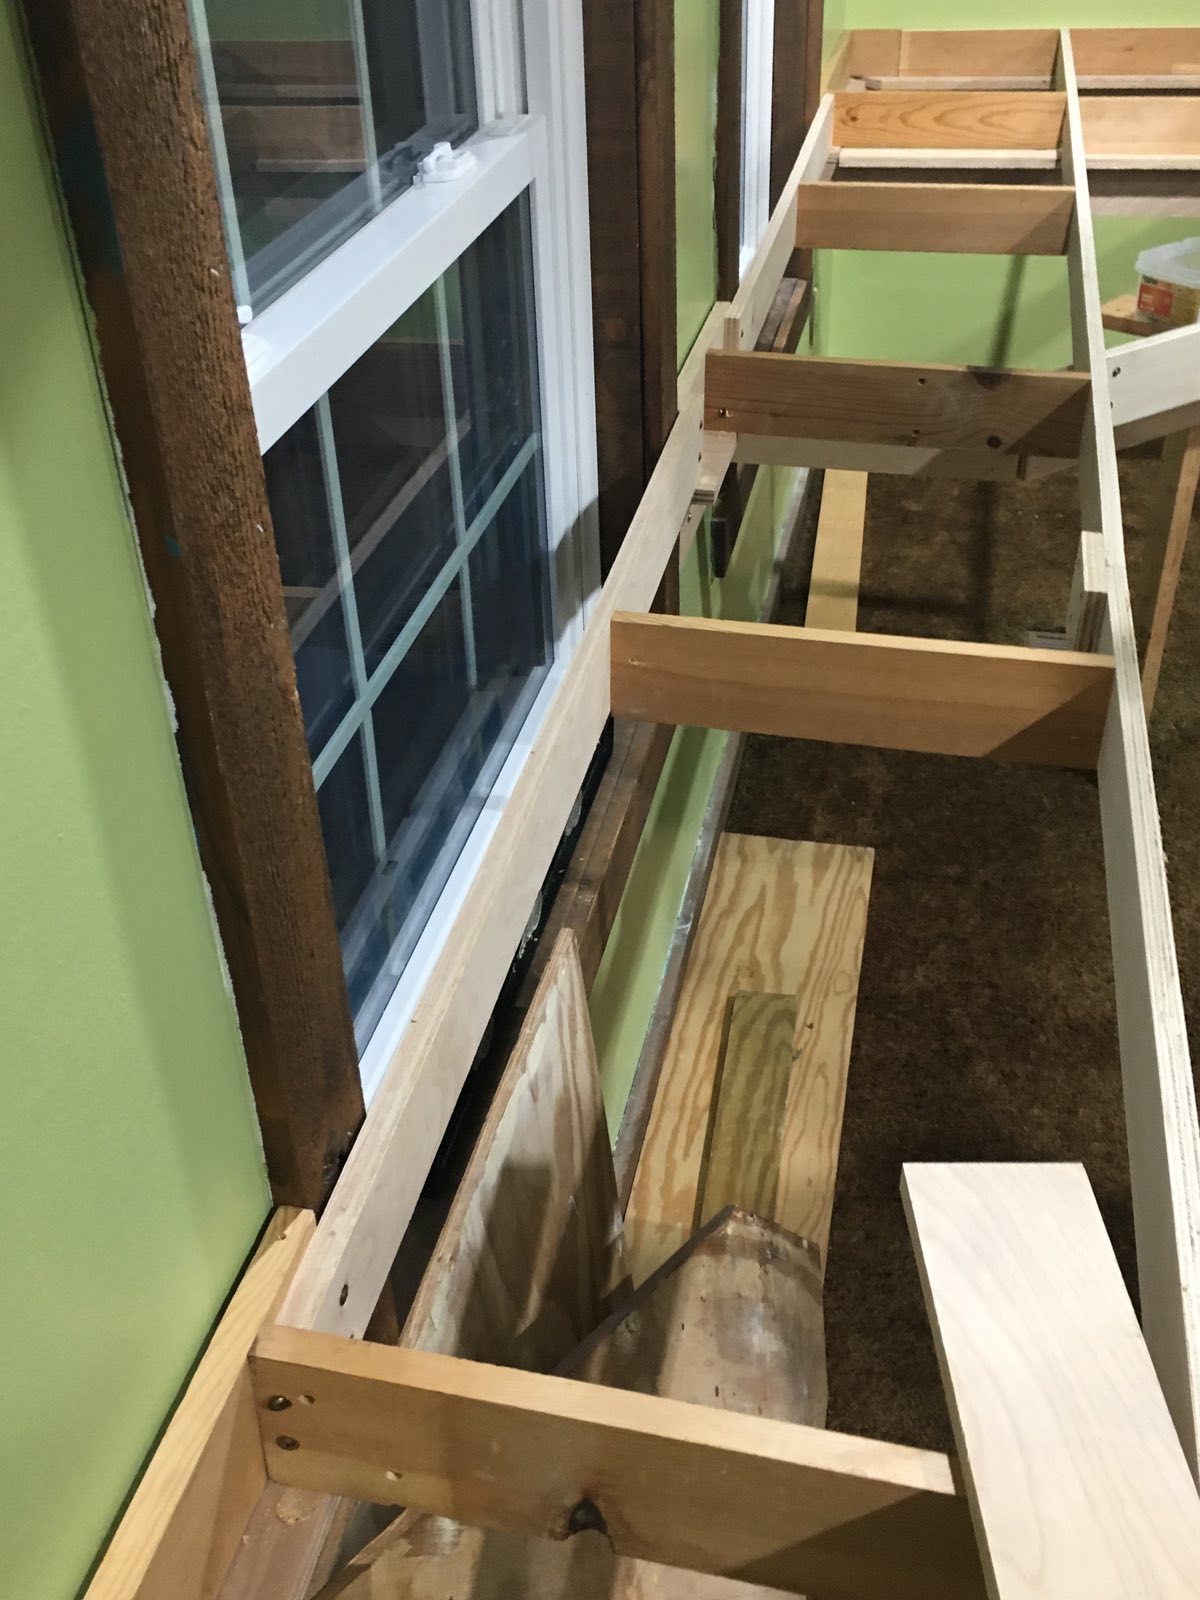
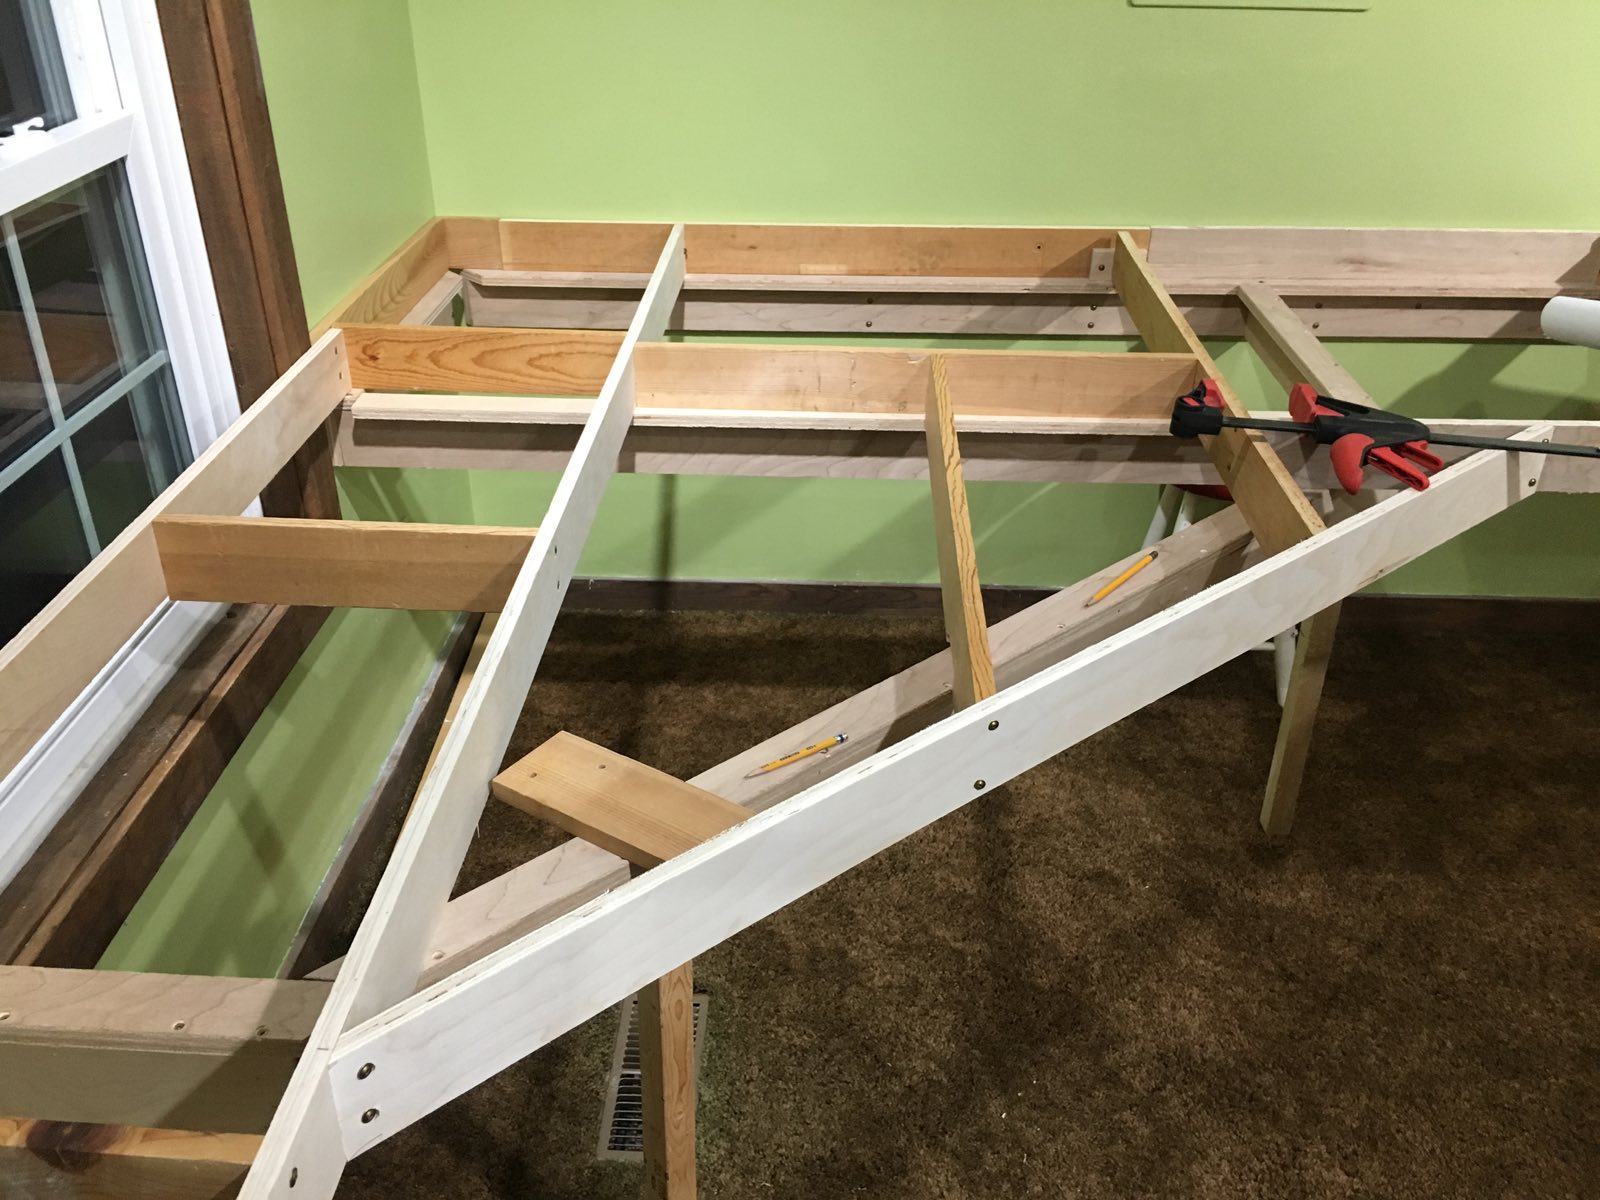
All ribbing is now in place for the Usibelli Coal Mine subdivision. Double hung windows are tested to ensure they can be opened with all bench work in place. Ribbing is now complete in the mountain Tunnel subdivision. Open spaces along the southern wall will permit underneath access to the mountain.

Ribbing is in place for the southern section of the S curve leading into Usibelli Coal Mine.


April 26, 2018
image
image
image
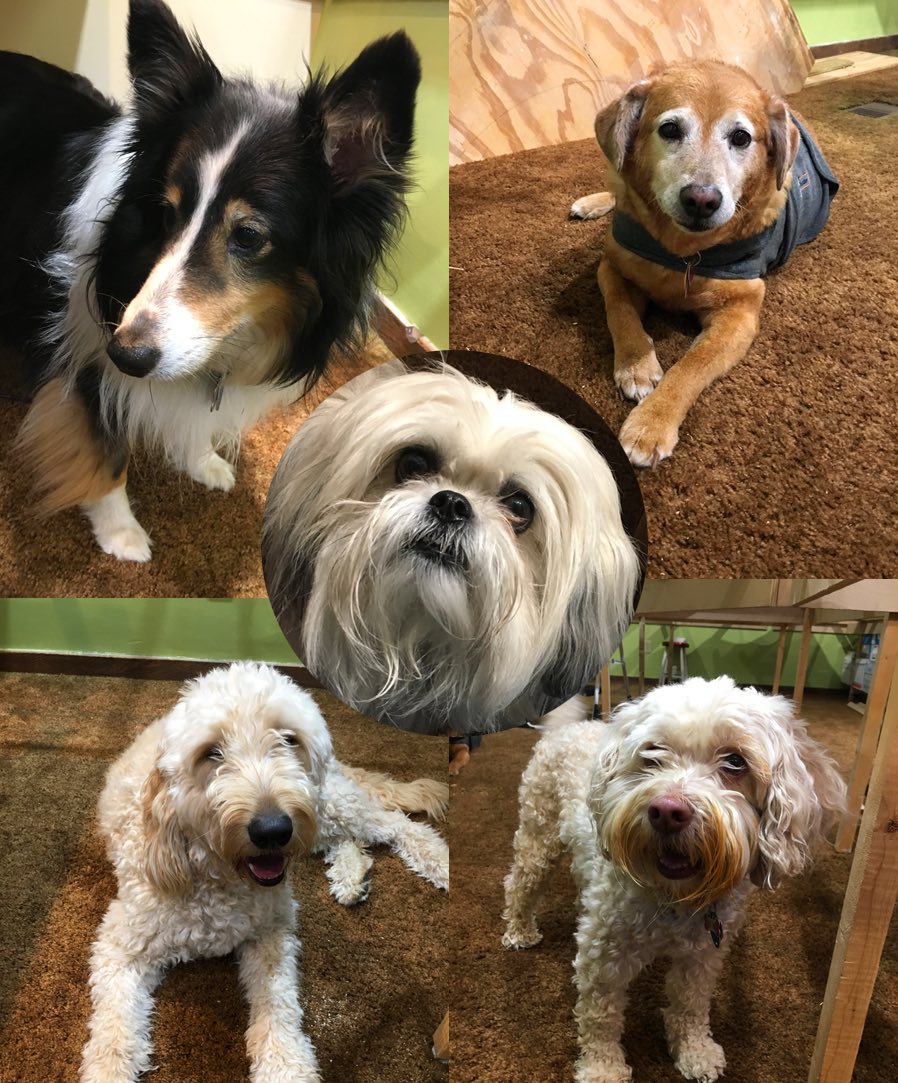
During our work sessions we are graced with the presence of our furry friends. They love to supervise almost as much as they love to sleep. Tonight we broke a record with 20 paws on the work floor. Clockwise starting at upper left is Max, Cayenne, Indy, Zeus and Bailey (center). 
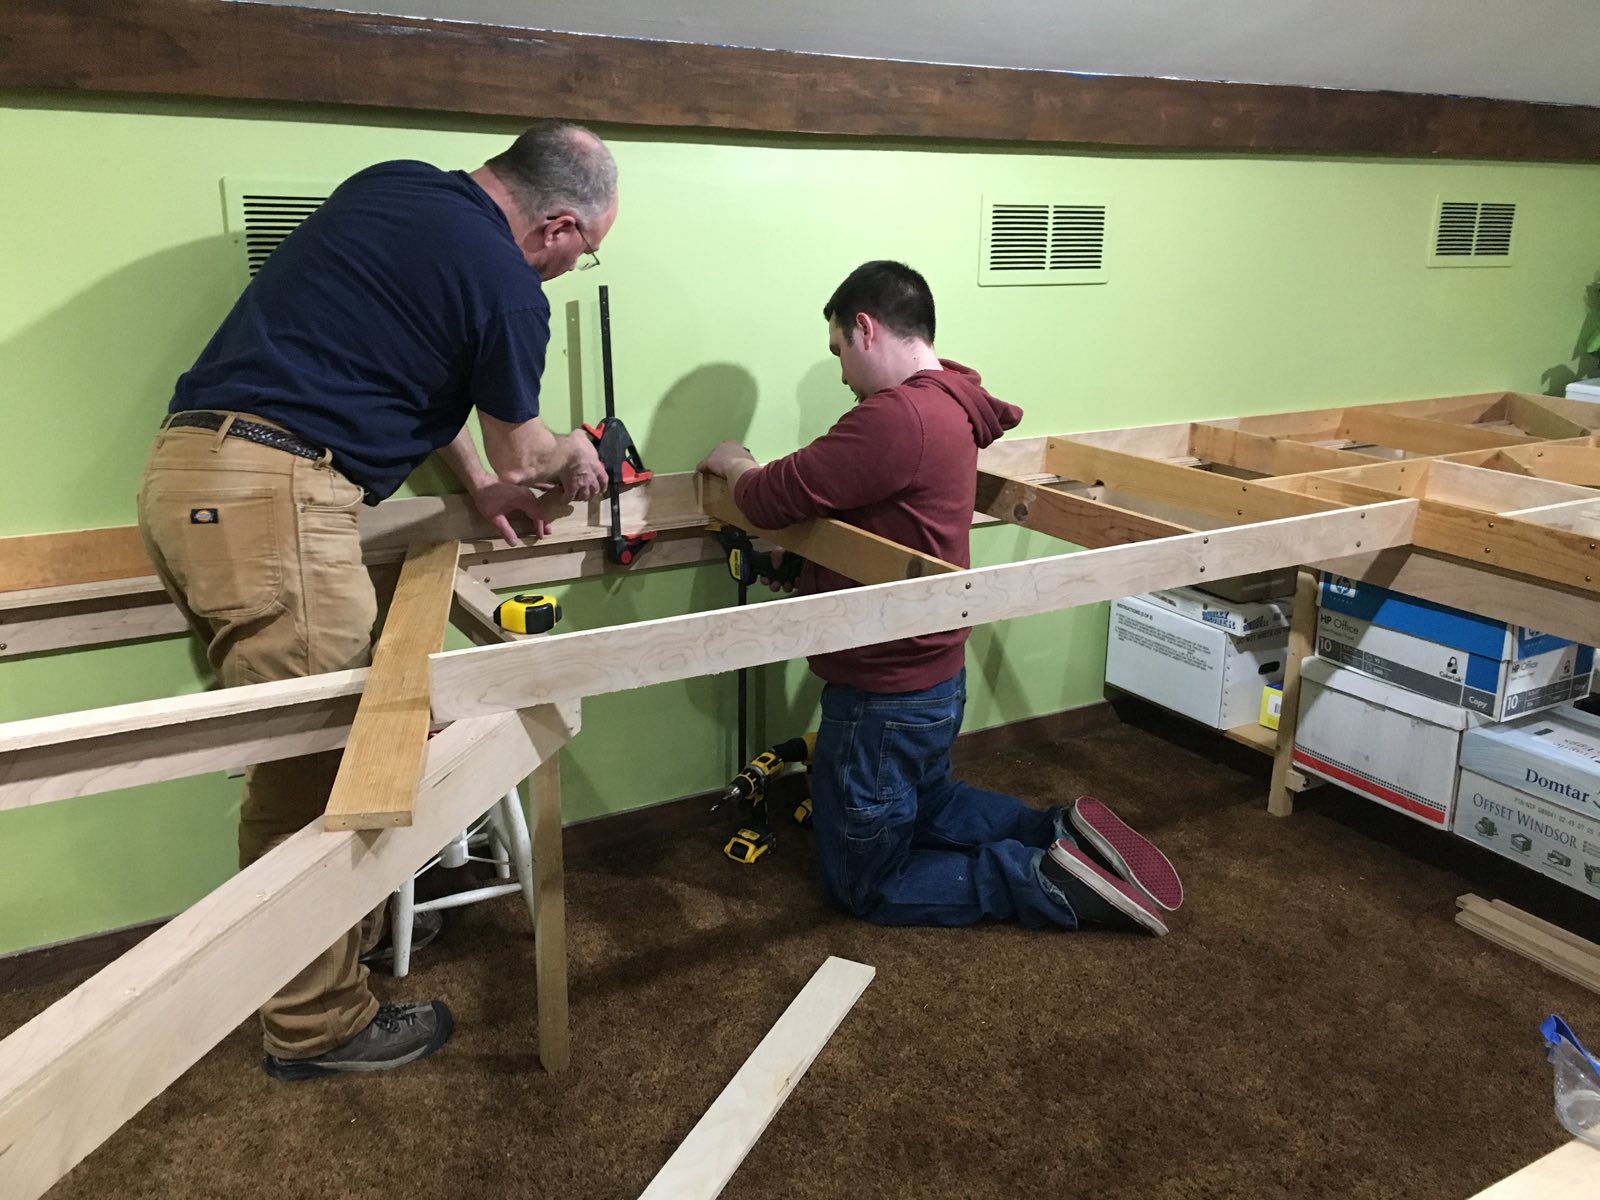
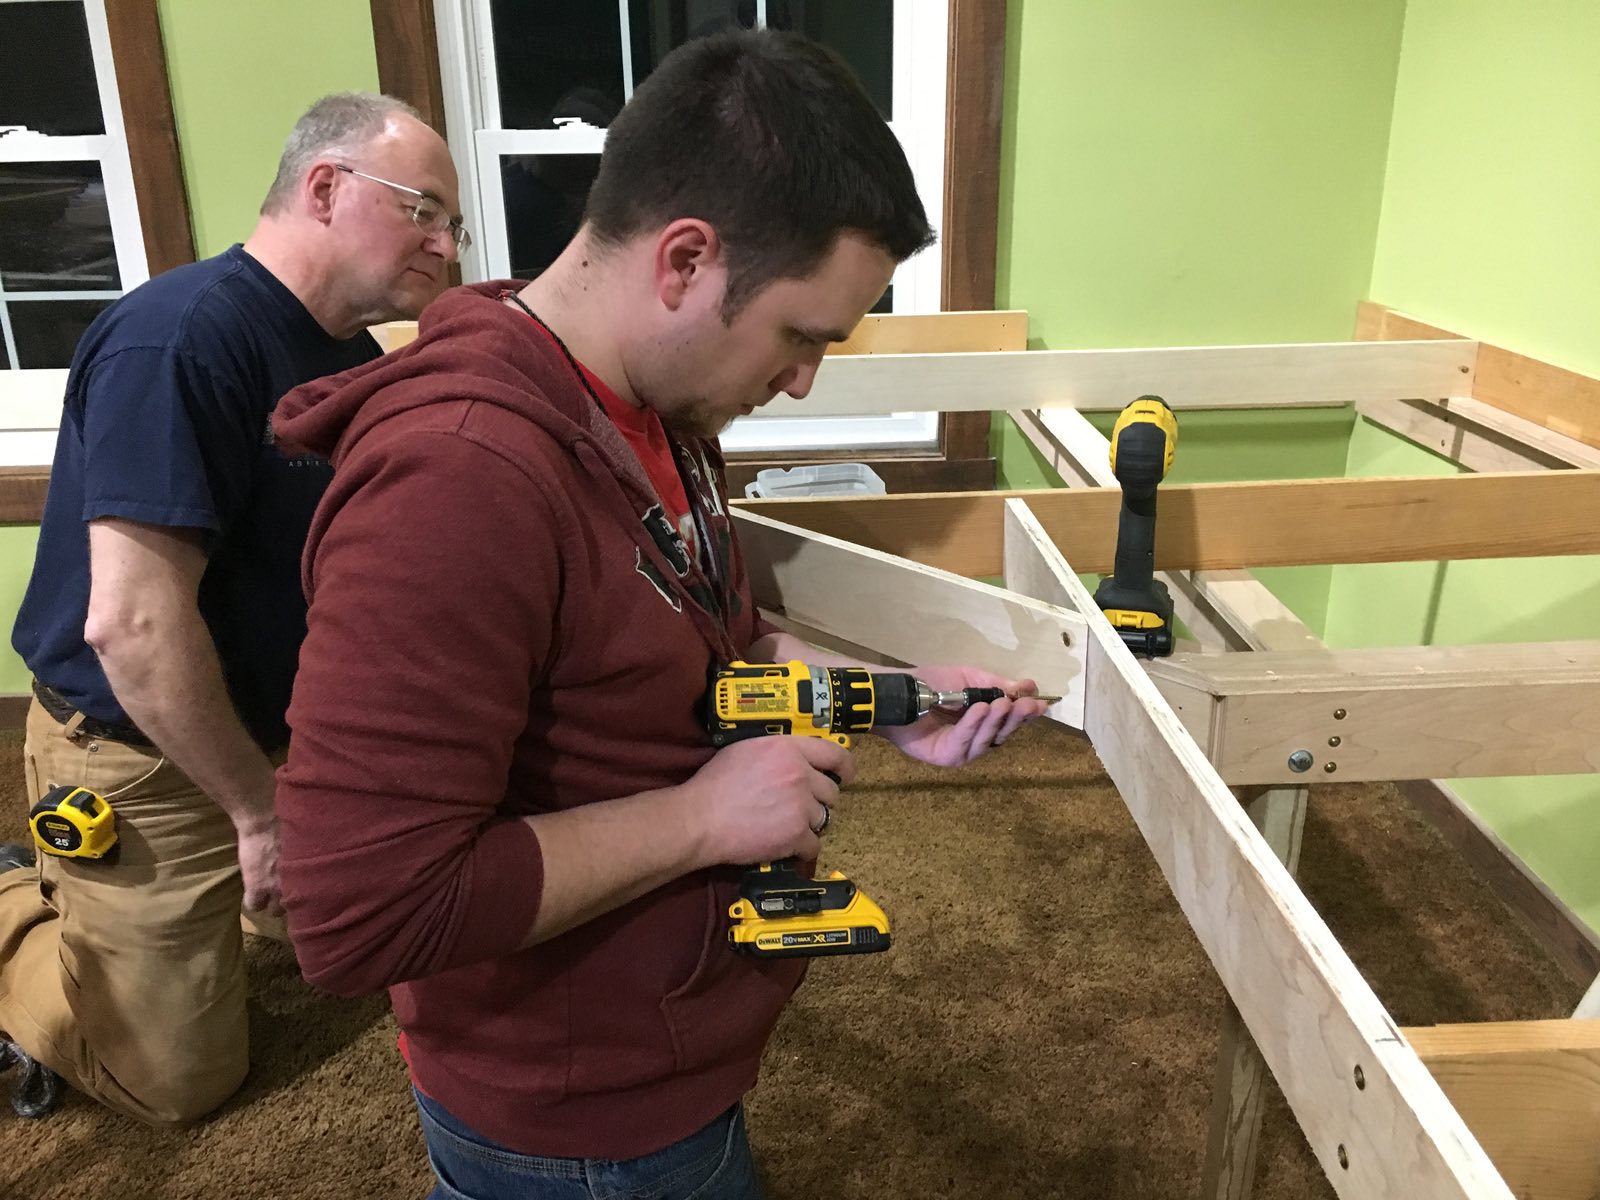
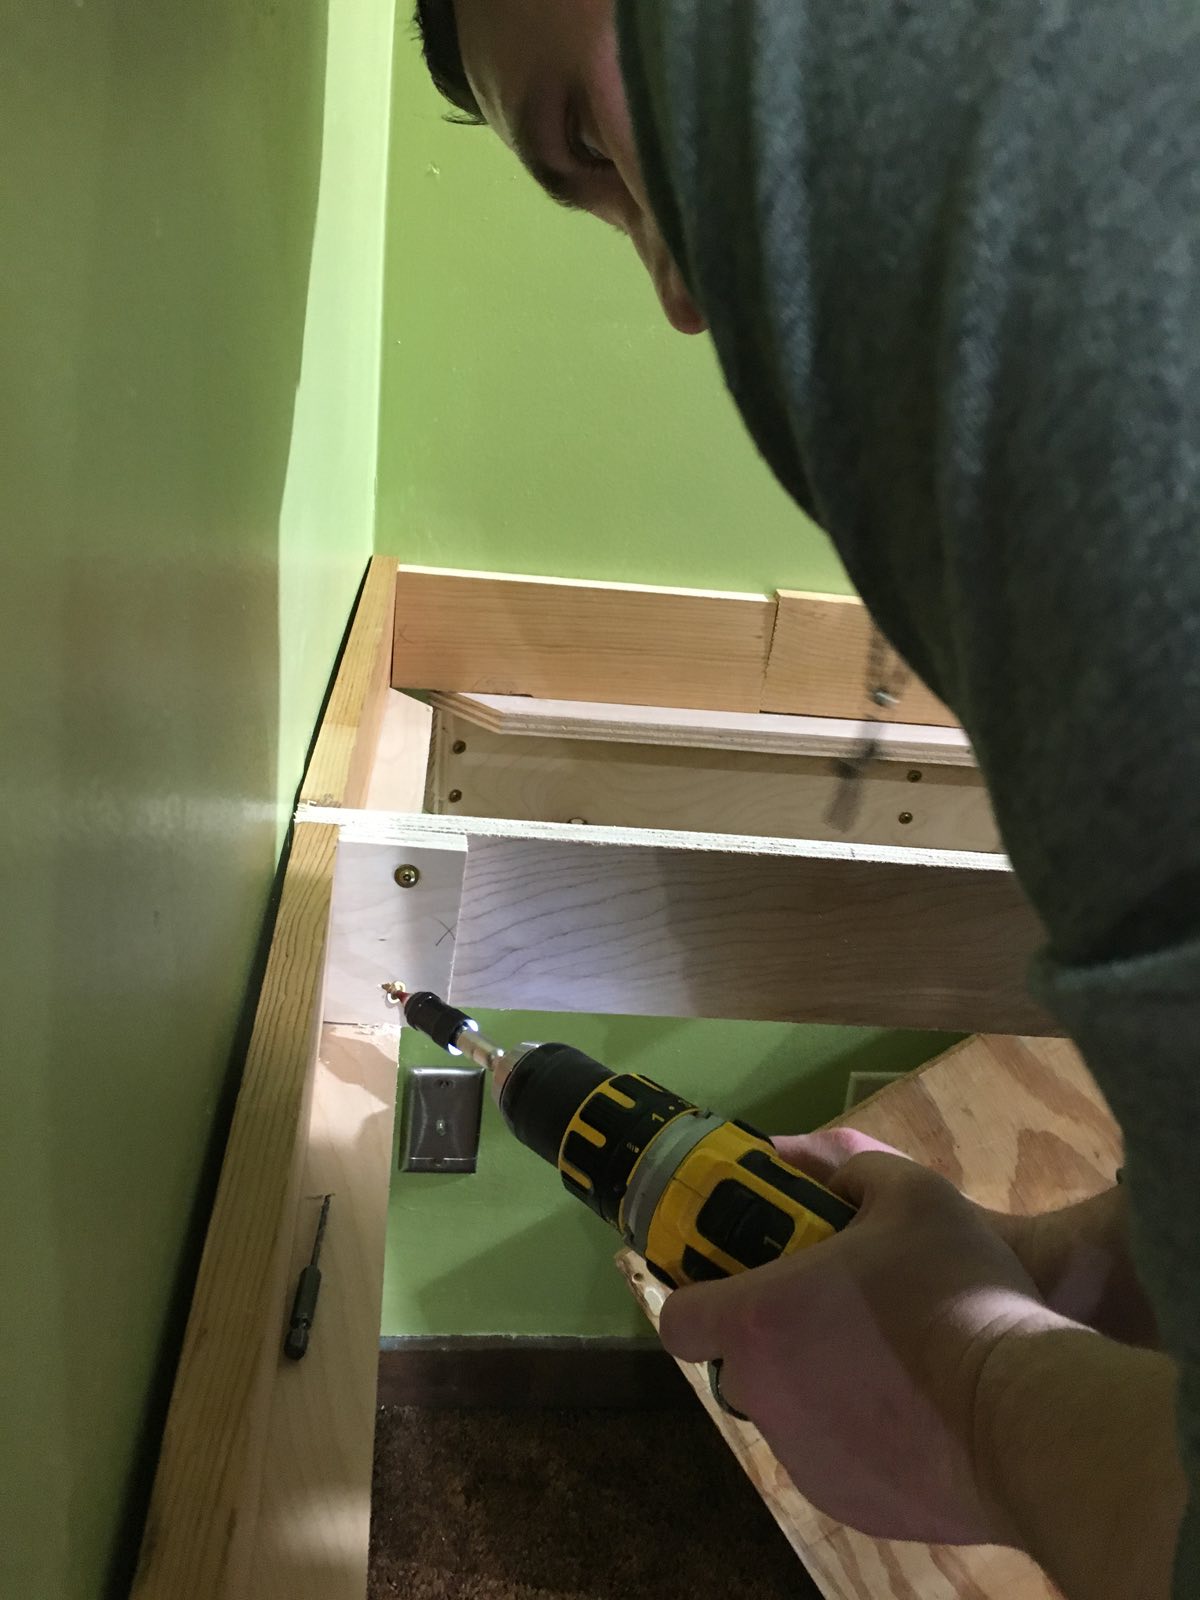
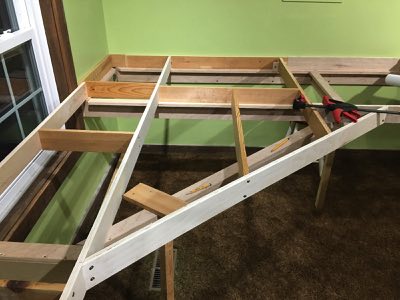
Don't panic! This is only a drill. LJ installs ribbing into the bench work face for the northern section of the S curve leading into Whittier. As spring arrives there is plenty of daylight to supplement the work environment. 
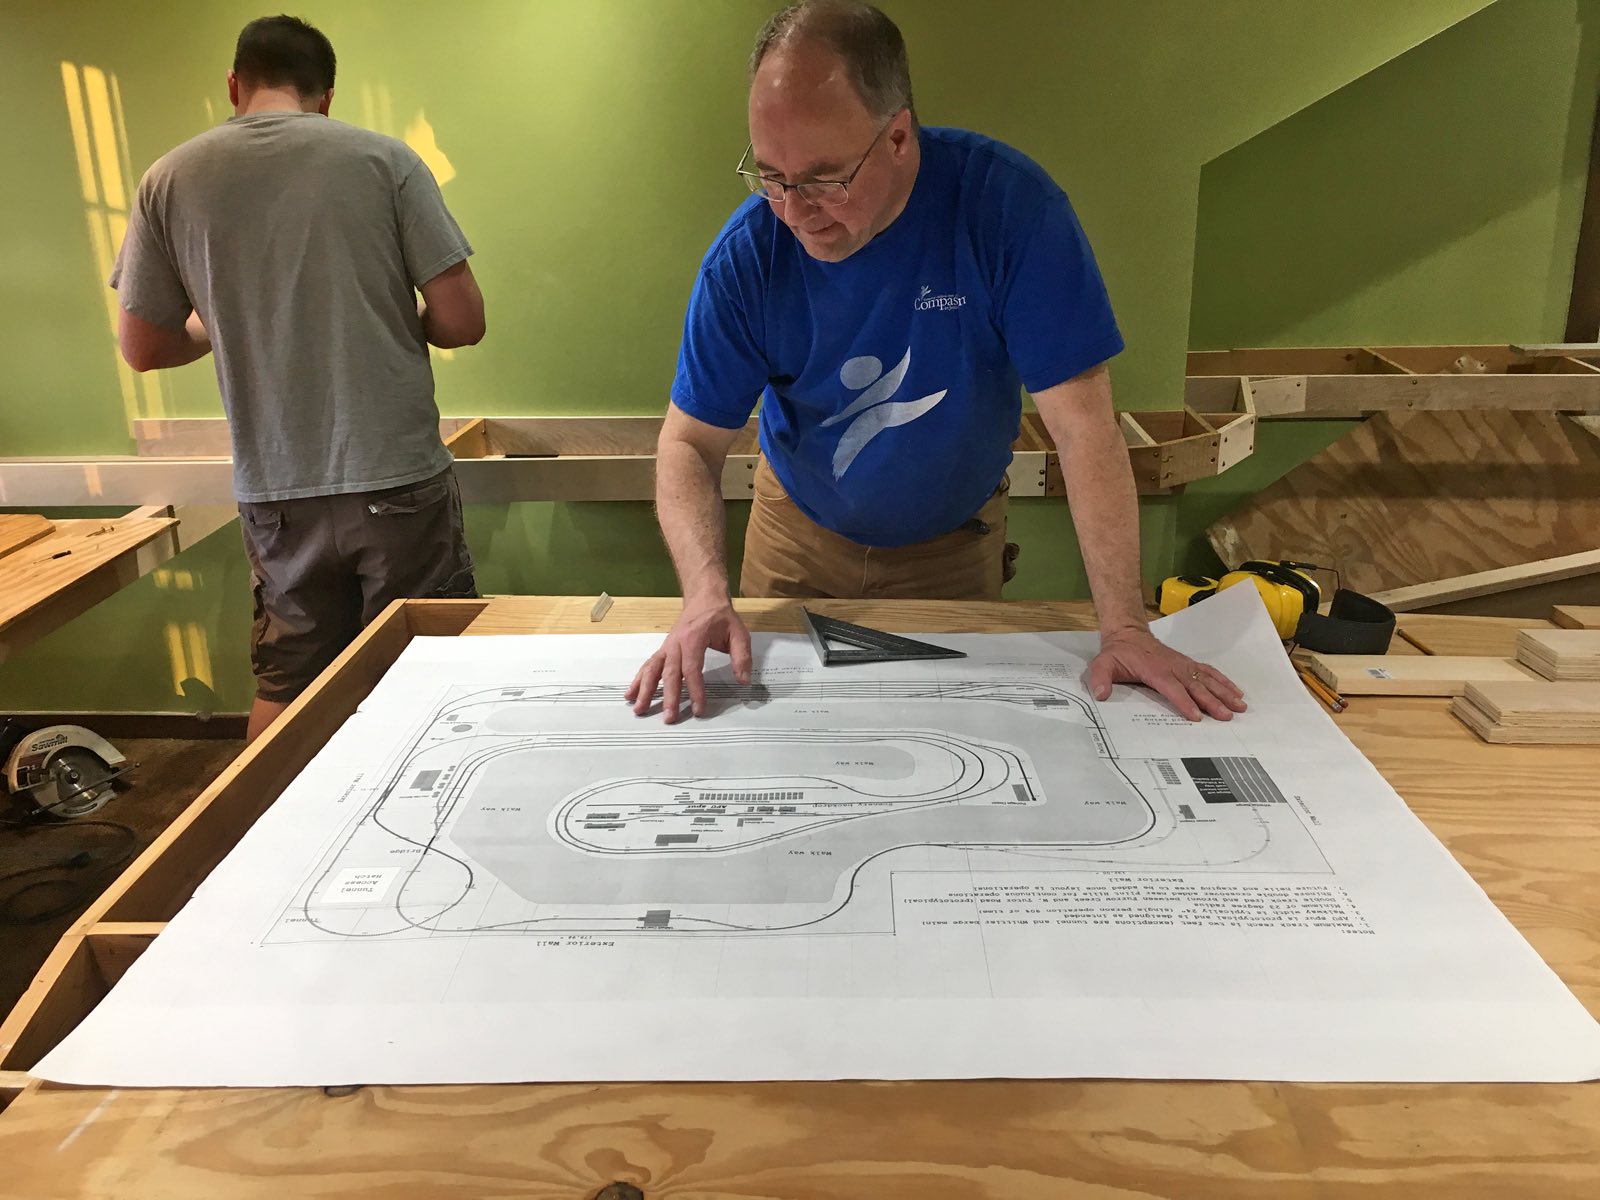
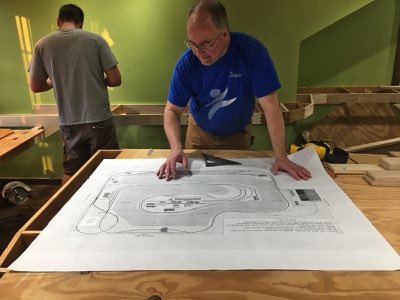
Railmodeller Pro software was used to create the track plan as well as provide a parts list. Construction foreman Mike checks measurements on a large printed version. Exact measurements can be obtained by using the ruler function on the software itself.
image
image
image
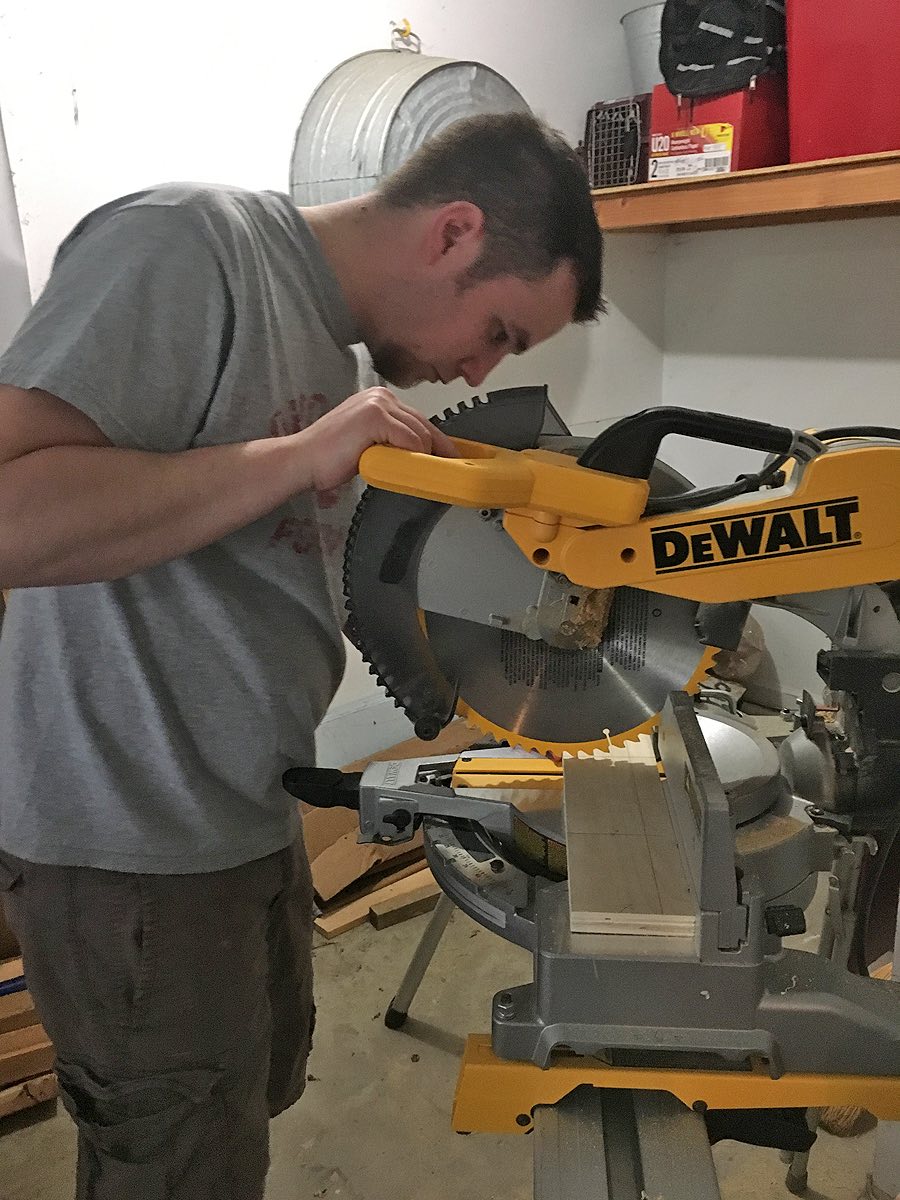
LJ makes a cut for the S curve section using a DeWALT 12" Sliding Miter Saw. Being young and energetic he doesn't mind running down the stairs to make a cut in the garage and then running back upstairs for a test fit. 
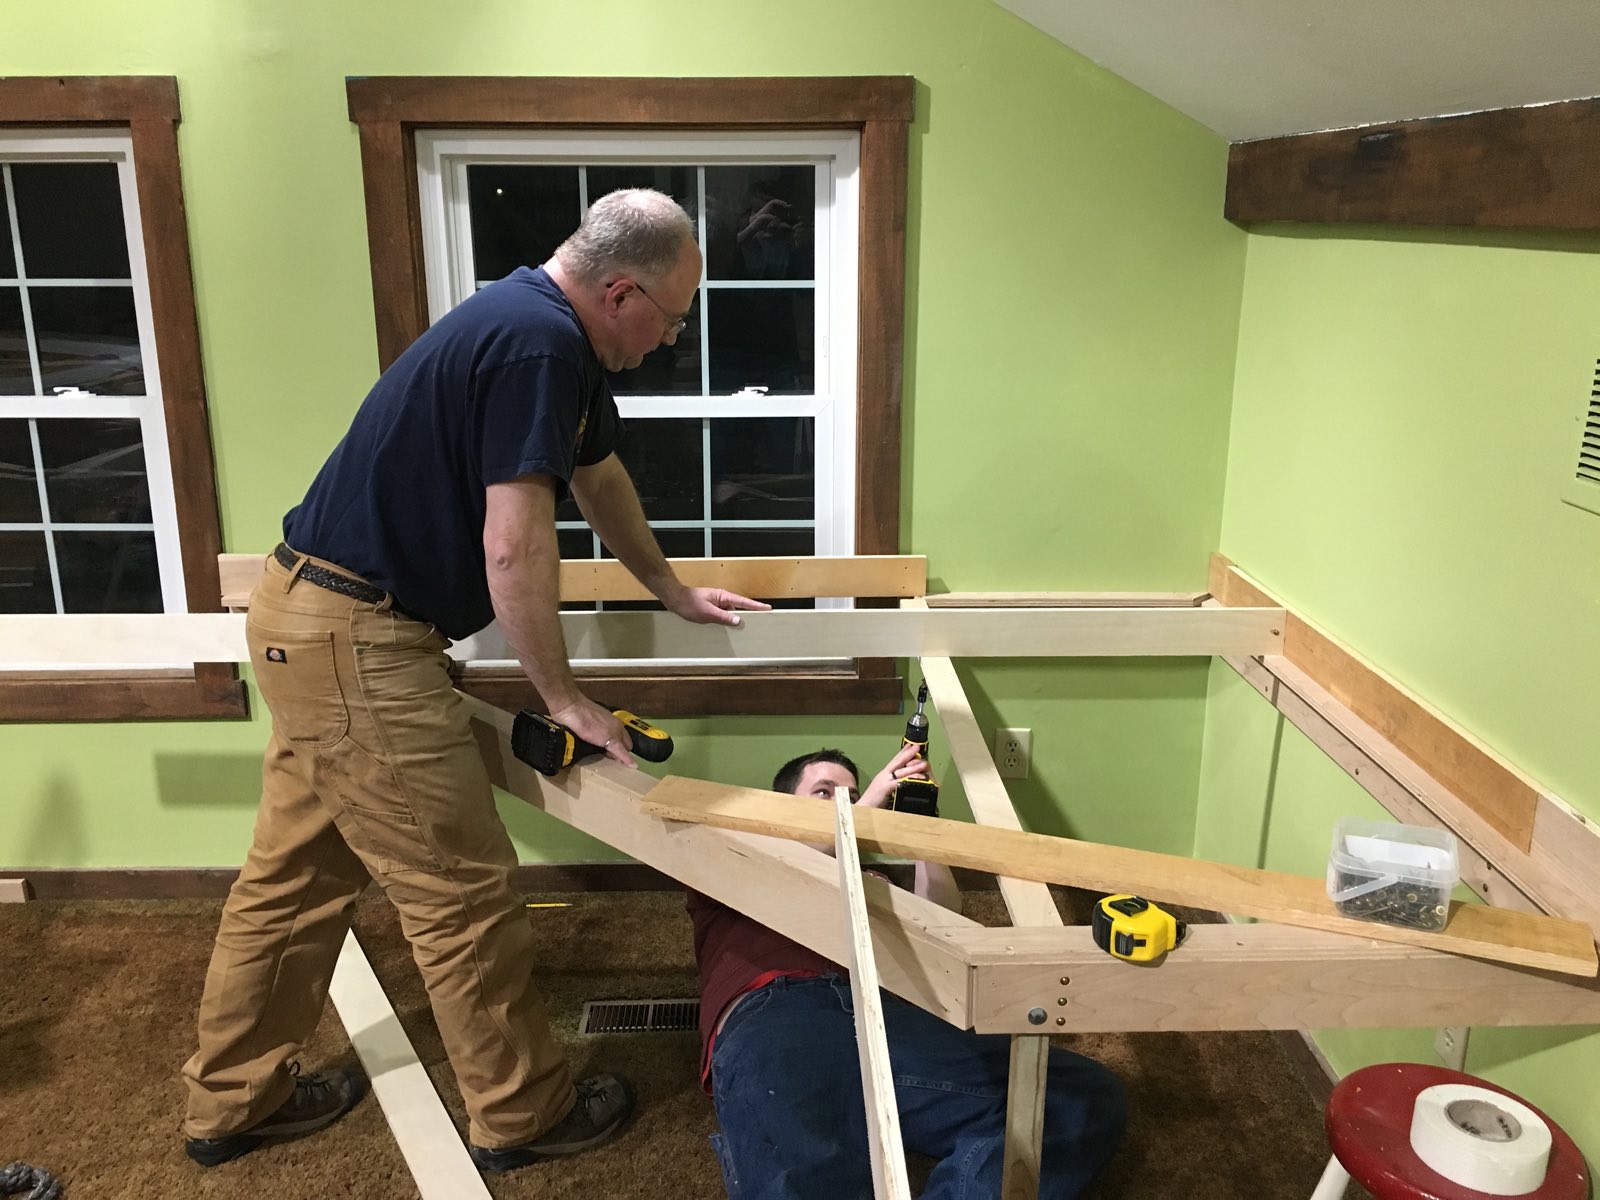
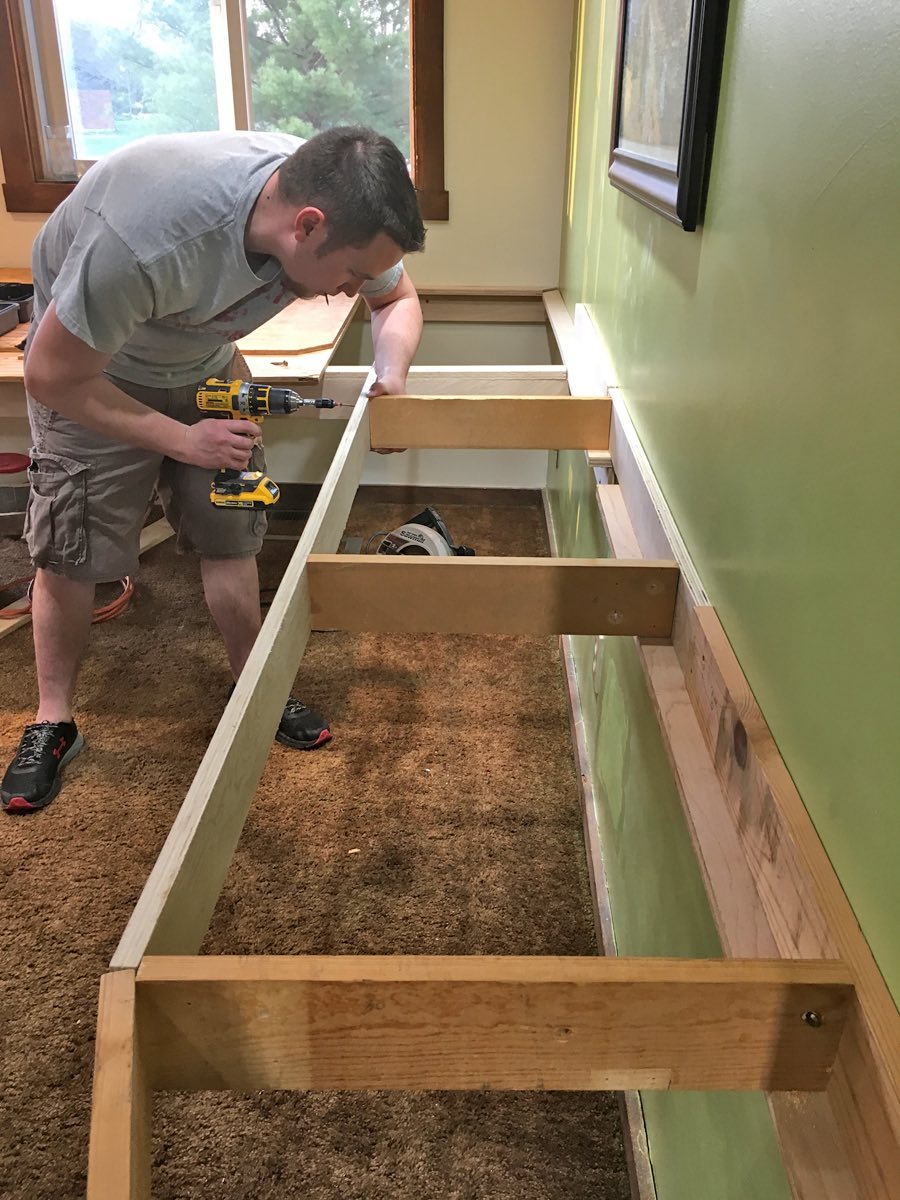
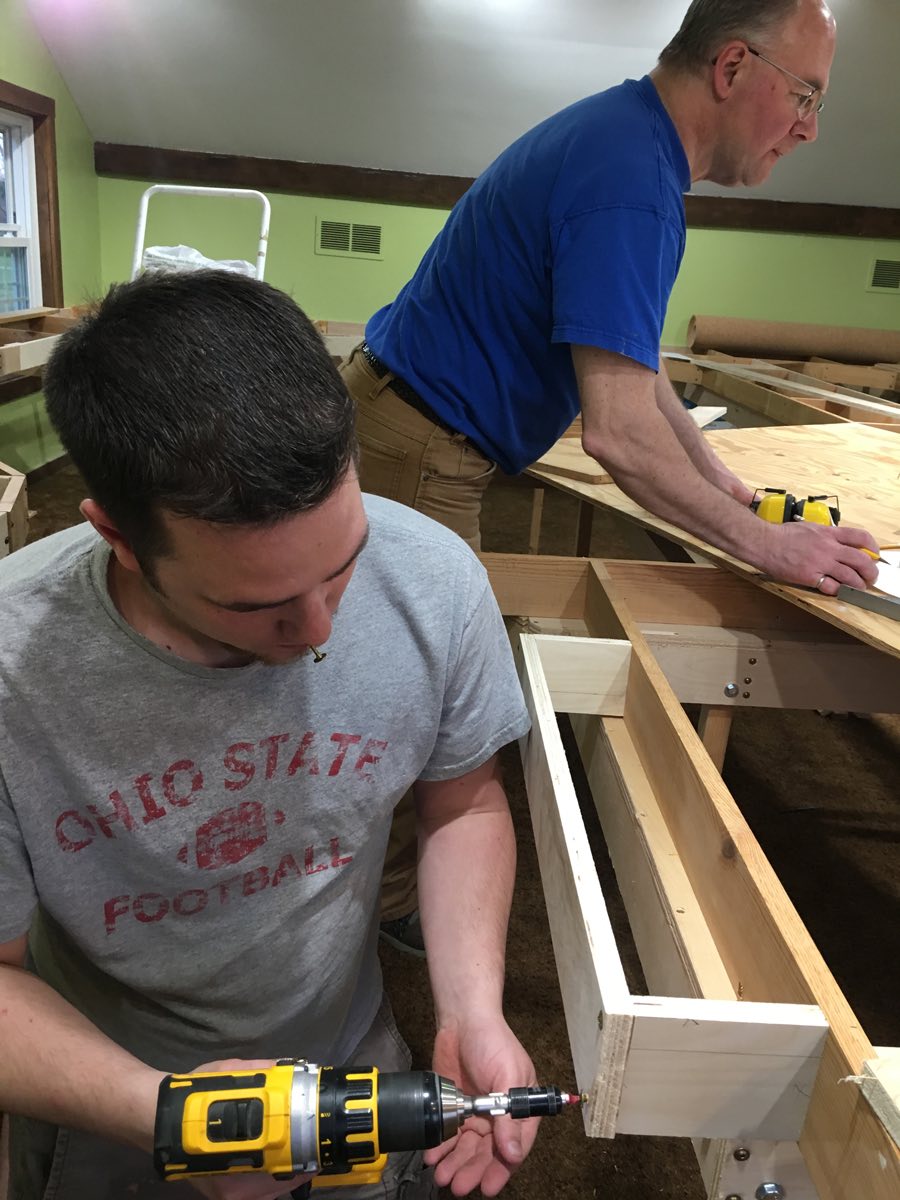
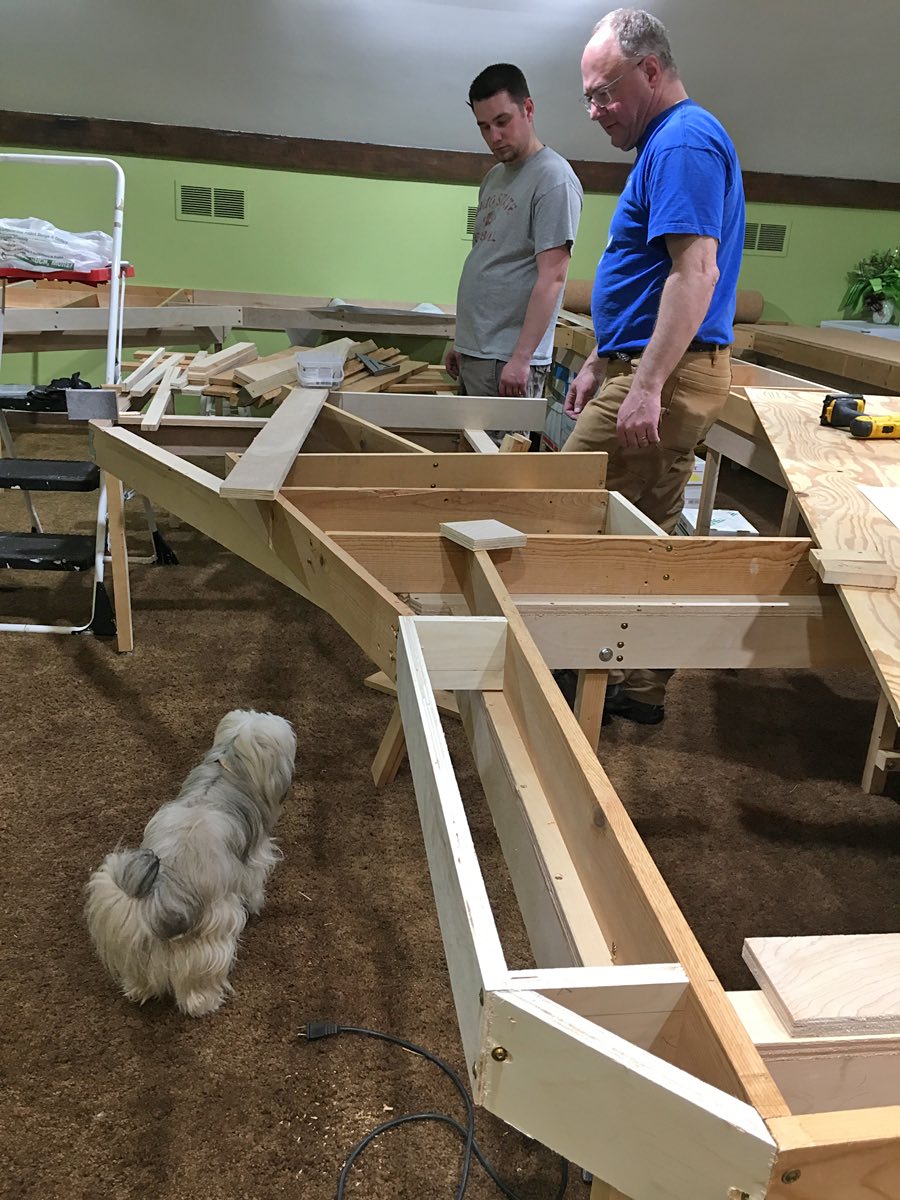
The work progresses onto the APU division with Craftsman LJ attaching outer bench work while Master Craftsman Mike reviews measurements.

LJ puts the final piece in place for the northern end of the APU.

image
image
image
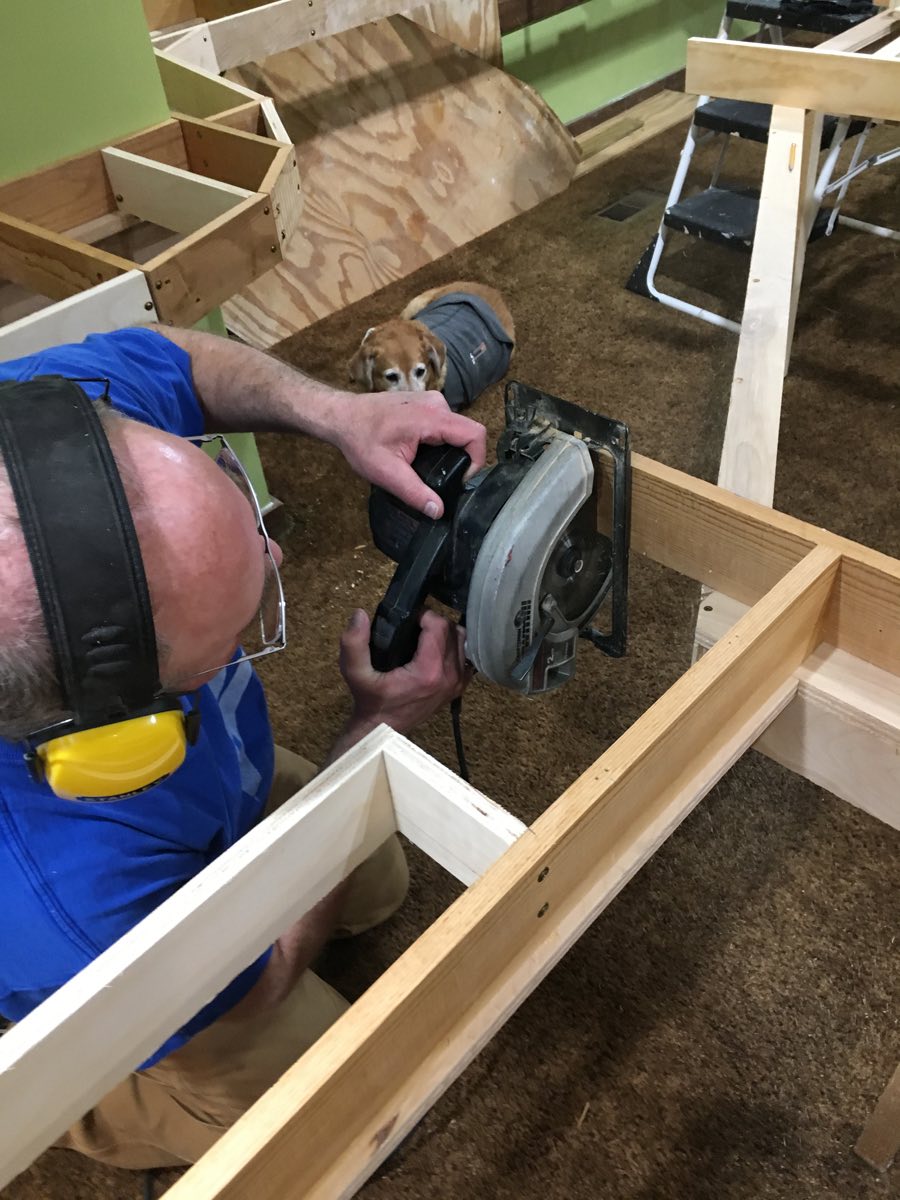
Cayenne supervises Mike as he makes a critical cut with the circular saw. I am afraid to caption this photo. 
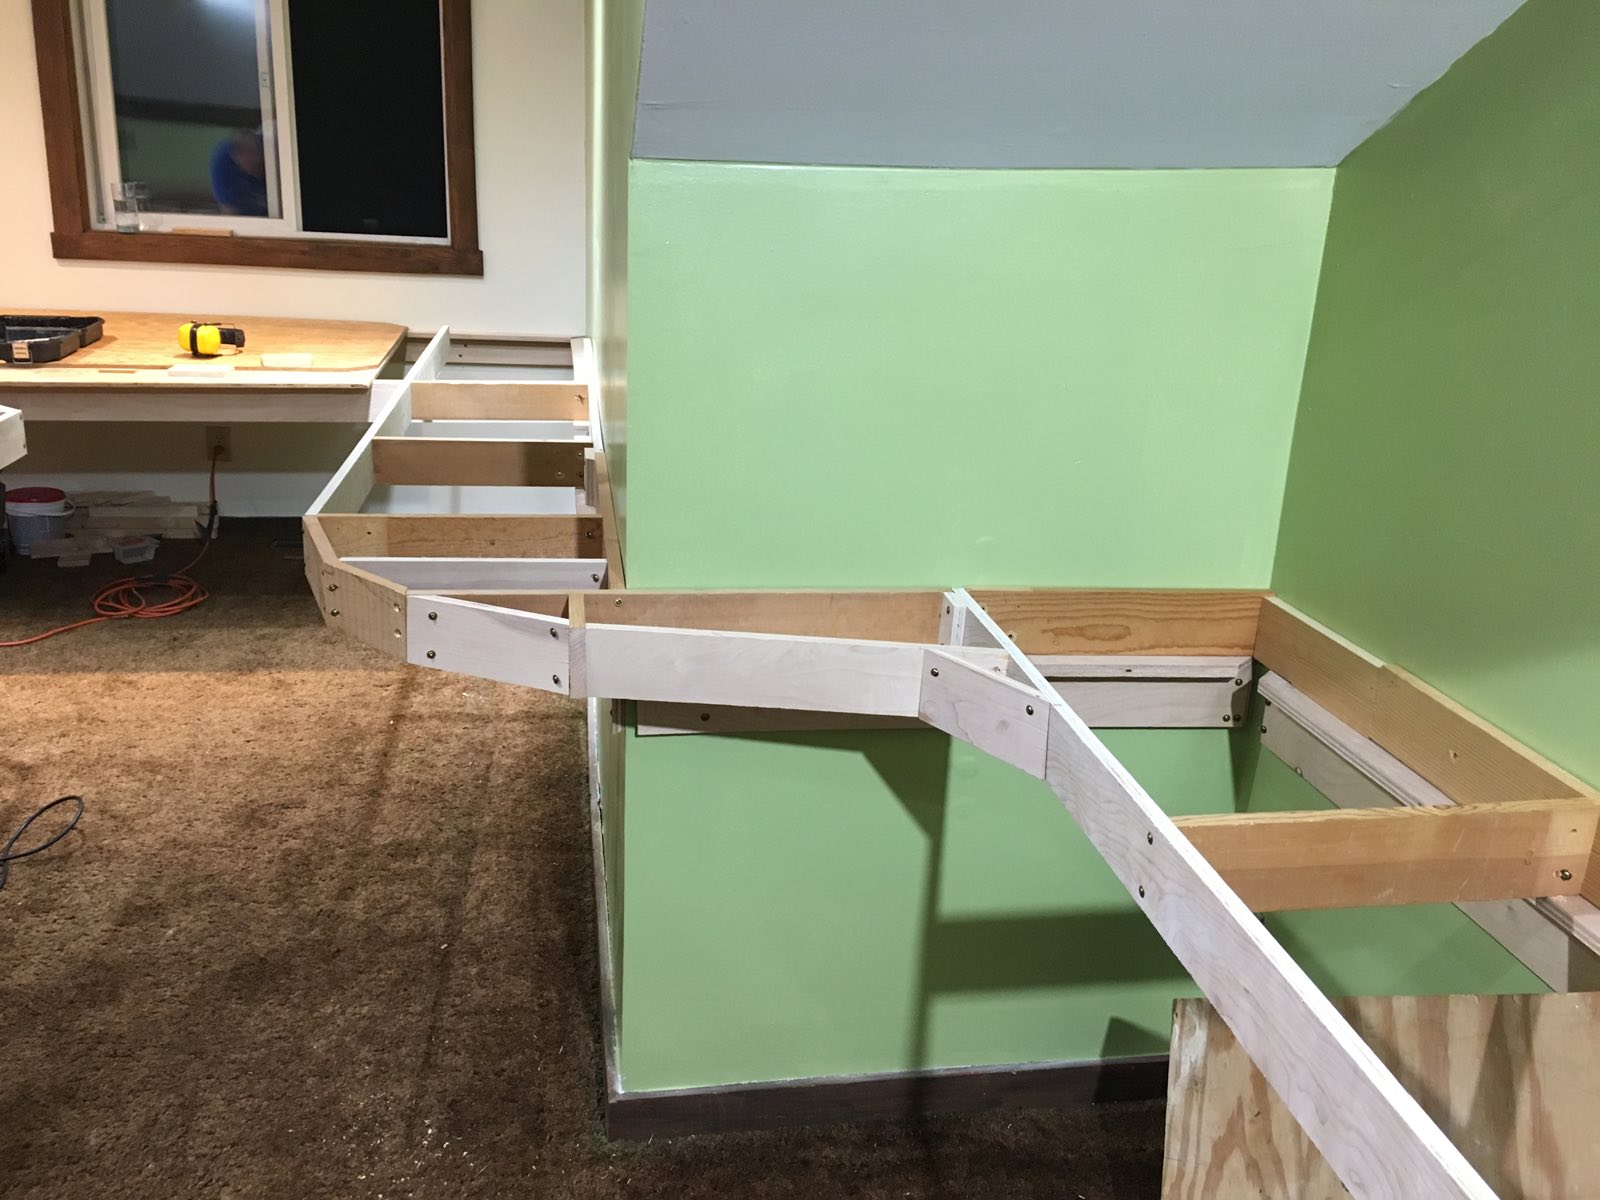
Completed bench work for the S curve as looking north into Whittier. Note the two different shades of wood. The lighter shade indicate new material while the darker wood was harvested from my old HO scale layout.
image
   
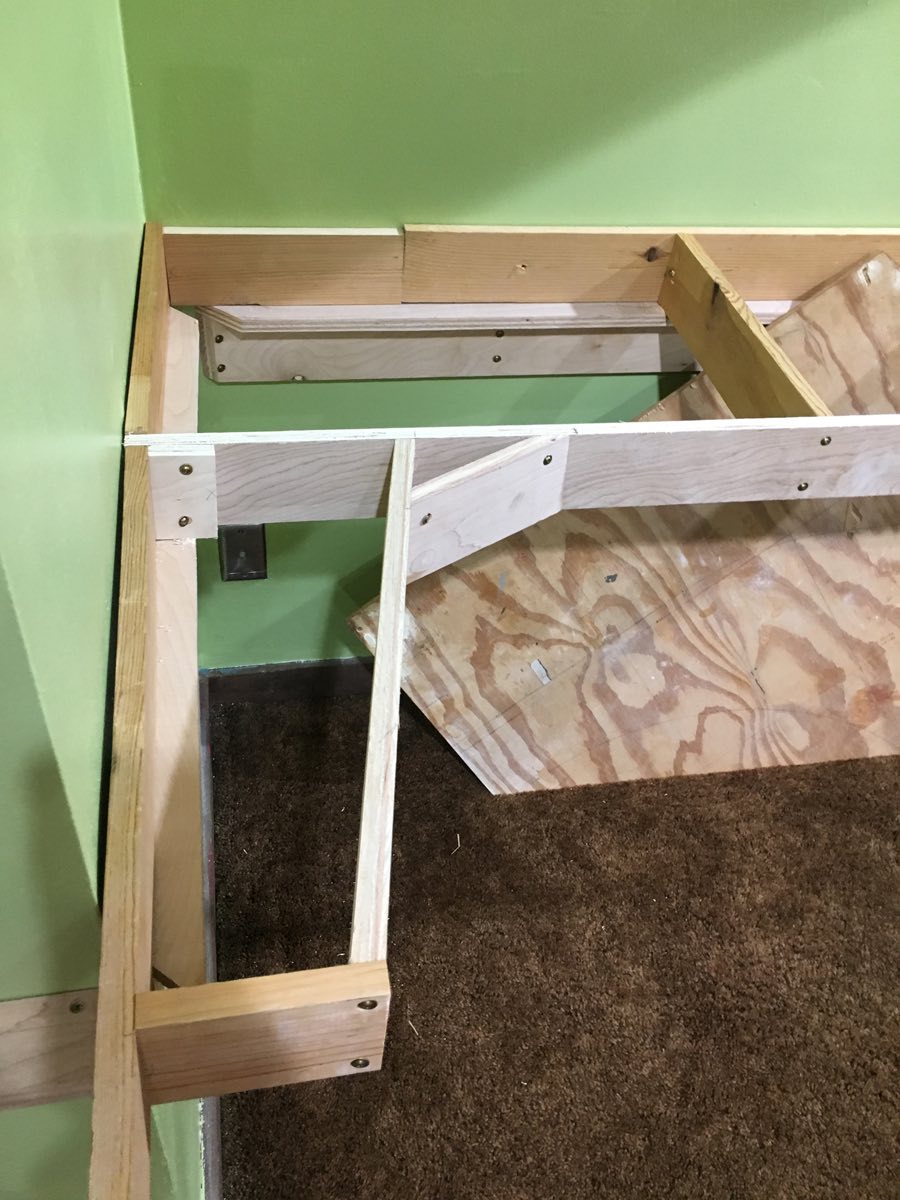
Completed bench work for the northern part of the APU.